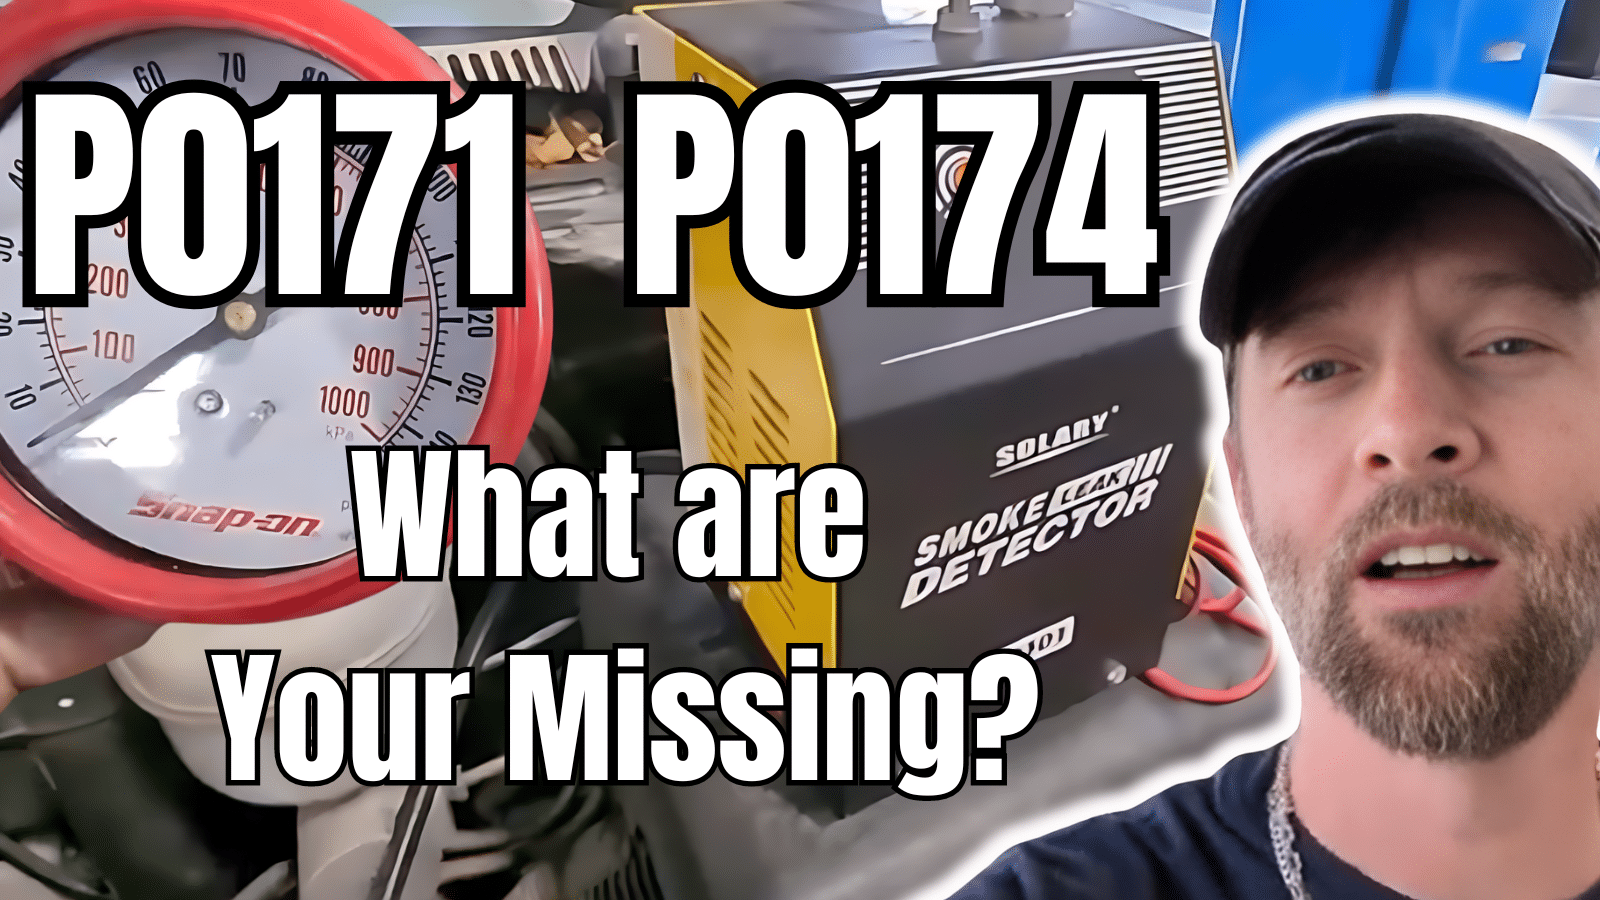
I’m going to go over some common issues causing the P0171 and P0174 error codes in Chevy and GM vehicles, indicating a system too lean in both Bank 1 and Bank 2.
Under standing fuel trim numbers can aid greatly in get to the source of the problem. We start by conducting a smoke test on the intake to detect any leaks. Next, we assess the condition and performance of the mass air flow sensor and fuel pressure test to ensure they meet specifications.
Further inspections include the PCV valve and the brake booster, along with other critical components like fuel pressure regulator, that could lead to a lean-running engine.
Whether you’re a DIY enthusiast looking to understand more about your vehicle or a professional mechanic honing your skills, this video provides step-by-step guidance on diagnosing and fixing lean engine problems and understanding fuel trim reading on a scanner.
Subscribe to my youtube channel here: https://goo.gl/j1pCfn For the most common automotive fixes to the most common car and truck problems. DIY auto repair to help you save money. Connect with me:
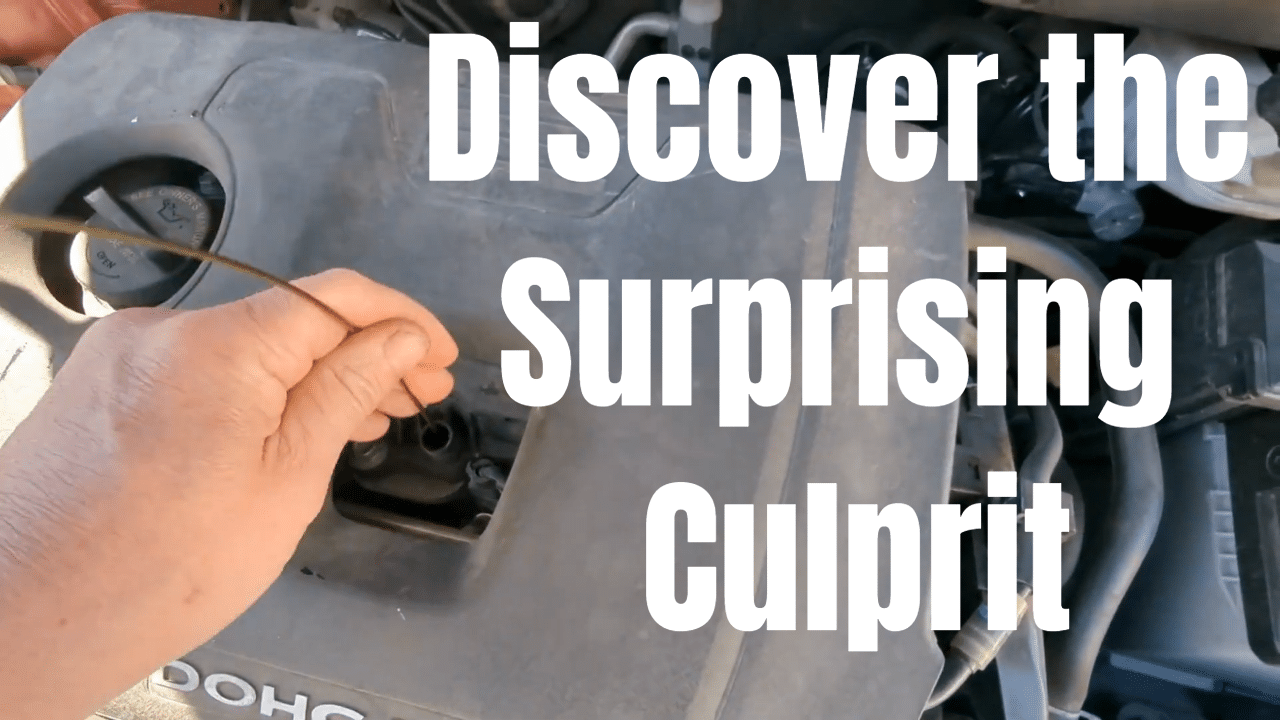
Major engine issue plaguing Chevy 1.5L and 1.4L engines – the dreaded “No Start Surprise Culprit.” In this enlightening video, we delve into the heart of the problem, revealing how a failed vacuum pump leads to an unexpected twist in the engine’s operation.
Codes that could also be set if you have this problem- P0011, P0014, P0016, P0017, P0018, P0021, or P0024 codes
Let’s take a look behind this perplexing issue. I will explain how the failed vacuum pump causes the camshaft reluctor wheel to spin on the camshaft, disrupting the engine’s timing and resulting in a no-start condition. But here’s the kicker – by unplugging the camshaft sensor, the vehicle miraculously starts and runs, providing a temporary workaround if you get stuck on the side of the road.
If you’ve been scratching your head over mysterious engine problems, this video is a must-watch. Arm yourself with knowledge, save your engine, and hit the road with confidence. Don’t forget to like, comment, and subscribe for more invaluable automotive insights. Let’s uncover the truth behind the “No Start Surprise Culprit” together!
Subscribe to my YouTube channel here: https://goo.gl/j1pCfn For the most common automotive fixes to the most common car and truck problems. DIY auto repair to help you save money.
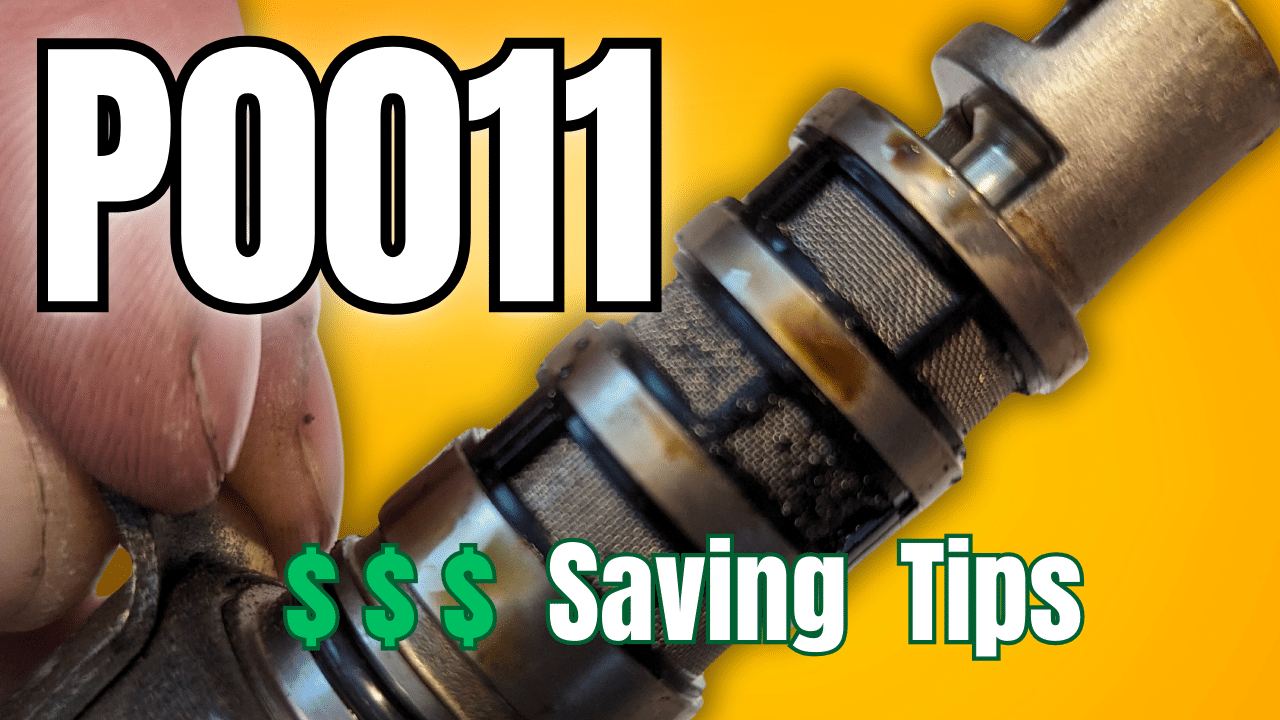
Unlocking Savings: A Comprehensive Guide to Decoding and Fixing P0011, P0014, P0016, P0017, P0018, P0021, P0024 Camshaft Position Timing Codes
Introduction: In the world of automotive diagnostics, few things strike fear into the hearts of car owners quite like the appearance of a dreaded check engine light. Among the myriad of potential culprits lies a set of codes that can signal trouble with the camshaft and crankshaft position timing – P0011, P0014, P0016, P0017, P0018, P0021, and P0024. While these codes may seem daunting at first glance, they hold the key to diagnosing and fixing issues that could otherwise lead to costly repairs. In this comprehensive guide, we’ll delve into the intricacies of these codes, unraveling their meanings, exploring common causes, and providing practical solutions to help you save money on your repairs.
Understanding the Codes: Before we can embark on our journey to savings, it’s essential to understand the significance of these codes. P0011, P0014, P0016, P0017, P0018, P0021, and P0024 all relate to camshaft and crankshaft position timing, indicating deviations from the expected parameters. These deviations can manifest as issues such as over advanced or over retarded timing, which can adversely affect engine performance and fuel efficiency.
Common Causes: The causes of these camshaft position timing codes can vary, but they often stem from malfunctioning components within the engine’s timing system. For example, a faulty camshaft or crankshaft sensor may inaccurately detect the position of these components, leading to timing errors. Similarly, issues with the Oil Control Valve (OCV) or Variable Valve Timing (VVT) system can disrupt the timing of the camshaft, triggering these codes. Understanding these common causes is crucial to accurately diagnosing and fixing the underlying issues.
Diagnosing the Problem: When faced with a P0011, P0014, P0016, P0017, P0018, P0021, or P0024 code, the first step is to perform a thorough diagnostic assessment of the engine’s timing system. This typically involves using a diagnostic scanner to read the codes stored in the vehicle’s onboard computer and conducting visual inspections of key components such as the camshaft and crankshaft sensors, OCV, and VVT solenoids. By meticulously analyzing these components and their associated wiring harnesses for signs of damage or wear, you can pinpoint the source of the problem with precision.
Practical Solutions: Once the problem has been diagnosed, it’s time to implement practical solutions to address the underlying issues. In many cases, repairing or replacing malfunctioning components such as sensors, OCVs, or VVT solenoids can rectify timing errors and clear the associated codes. Additionally, performing routine maintenance tasks such as changing the engine oil and ensuring proper lubrication of moving parts can help prevent future issues from arising. By taking a proactive approach to maintenance and repairs, you can save money in the long run by avoiding costly engine damage and premature component failure.
Conclusion: In conclusion, understanding and addressing P0011, P0014, P0016, P0017, P0018, P0021, and P0024 camshaft position timing codes is essential for maintaining the health and longevity of your vehicle’s engine. By familiarizing yourself with the meanings of these codes, identifying common causes, and implementing practical solutions, you can save money on repairs and ensure your vehicle runs smoothly for years to come. Don’t let these codes intimidate you – armed with knowledge and a willingness to tackle the issue head-on, you can unlock significant savings and enjoy peace of mind on the road.
In this video we will go over how to diagnose and fixed diagnostic trouble code p0128 coolant temperature below regulated temperature. Today we’re working on a Jeep Grand Cherokee. showing you a quick overview of the cooling system and thermostat assembly.
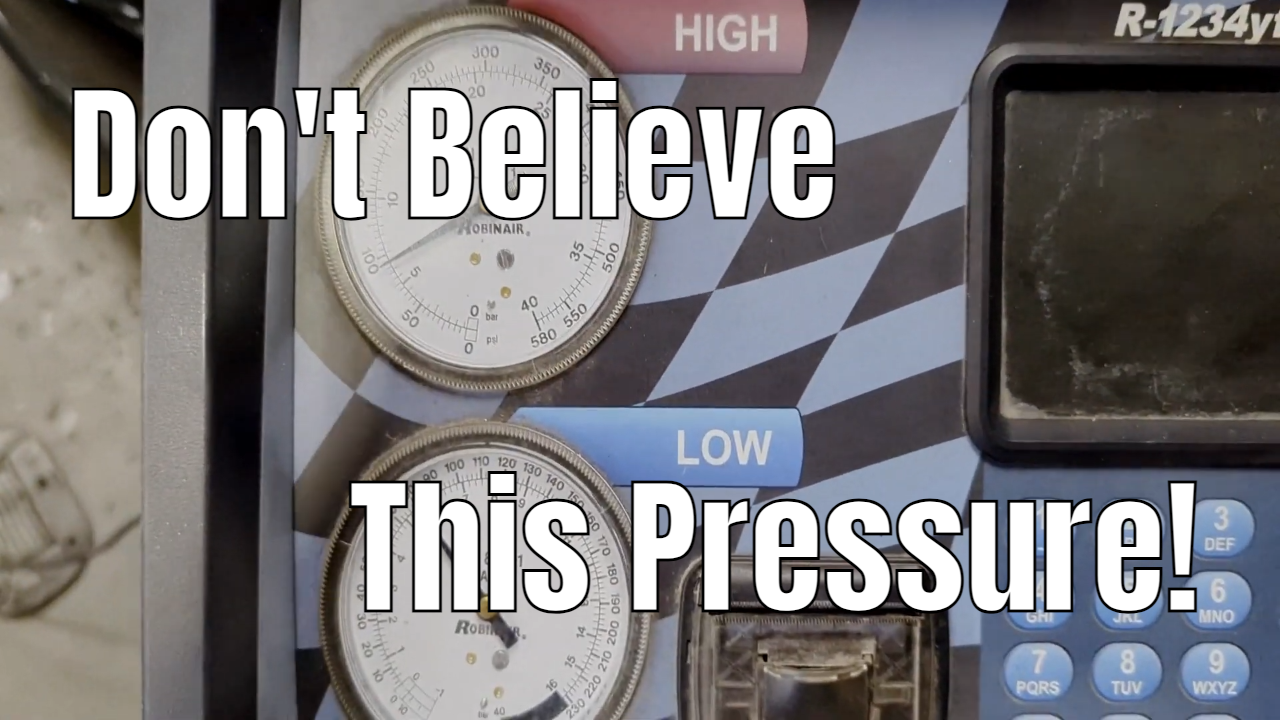
Is your car’s air conditioning not performing as it should? Don’t sweat it! In this informative video, we’ll guide you through the steps to service your car’s A/C system, ensuring you stay cool and comfortable behind the wheel all summer long.
Step 1: Visual Inspection Begin by visually inspecting the A/C system components for any signs of damage or leaks. Check the compressor, hoses, and connections for wear, corrosion, or visible leaks.
Step 2: Refrigerant Level Check Next, check the refrigerant level using a pressure gauge. Low refrigerant levels can impair A/C performance. If the pressure is low, it may indicate a leak in the system.
Step 3: Recharge Refrigerant If the refrigerant level is low, recharge the system with the appropriate refrigerant. Follow the manufacturer’s guidelines for the correct type and amount of refrigerant to use.
Step 4: Check Compressor Operation Test the compressor to ensure it’s functioning properly. Turn on the A/C and listen for the compressor engaging. If the compressor doesn’t engage, it may indicate a problem with the compressor clutch or electrical system.
Step 5: Clean Condenser Clean the condenser to remove dirt, debris, and bugs that can obstruct airflow and impair cooling performance. Use a gentle stream of water or compressed air to clean the fins thoroughly.
Step 6: Inspect Cabin Air Filter Check the cabin air filter for dirt and debris. A clogged filter can restrict airflow and reduce A/C efficiency. Replace the filter if necessary.
Step 7: Test A/C Performance After completing the service steps, test the A/C system to ensure it’s blowing cold air efficiently. Monitor the temperature and airflow to verify proper operation.
Cost Breakdown:
Refrigerant: The cost of refrigerant varies depending on the type and amount needed for your vehicle. Expect to pay between $50 to $150 for a refrigerant recharge.
Cabin Air Filter: Replacement cabin air filters typically range from $10 to $30, depending on the brand and model.
Professional Service: If you prefer to have a professional service your car’s A/C system, expect to pay between $100 to $300 for a basic A/C service, including refrigerant recharge and inspection.
Stay cool and comfortable on the road by following these simple steps to service your car’s A/C system. Don’t let hot summer days ruin your drive – keep your A/C running smoothly with regular maintenance and attention to detail. Subscribe to our channel for more helpful tips and tutorials on car care and maintenance.
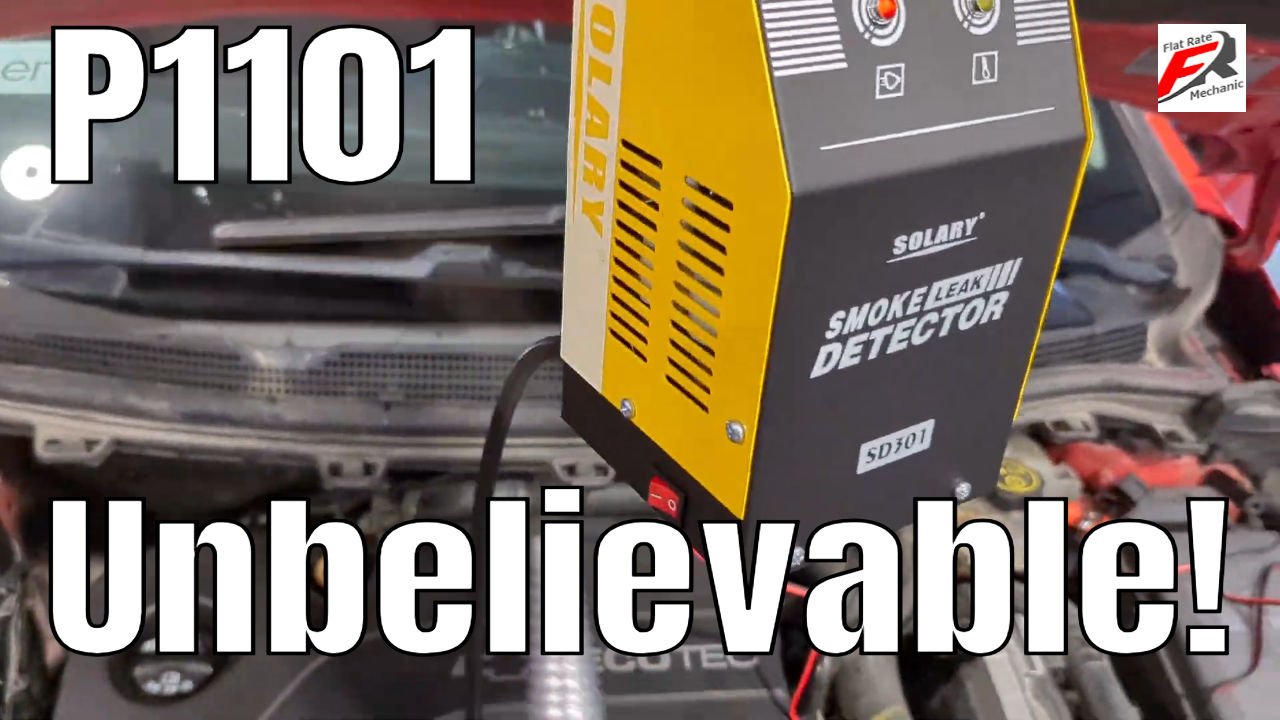
The P1101 code primarily indicates a problem with the Mass Airflow (MAF) sensor in Chevy Cruze and Malibu models. This sensor plays a crucial role in measuring the volume of air entering the engine, which is essential for maintaining the correct air-fuel ratio. A fault in the MAF sensor can lead to inefficiencies in engine performance, including reduced power output, decreased fuel efficiency, and potential stalling or starting issues.
Diagnostic and Repair Guide
PCV Valve and Mass Airflow System Inspection: Begin by inspecting the PCV valve for any signs of faultiness. A rattling sound from the valve upon shaking indicates it needs replacement. For the MAF sensor, use an OBD-II scanner to check for proper voltage readings. Abnormal readings suggest the sensor needs replacement.
Oxygen Sensor Check: A faulty oxygen sensor might contribute to the P1101 code by storing additional trouble codes. Replace any malfunctioning sensors to avoid exacerbating the issue.
Air Filter and Throttle Body: Inspect the air filter for any blockages that could restrict airflow to the engine. A dirty throttle body can also impede airflow, necessitating cleaning or replacement if it’s contributing to the P1101 code.
Vacuum Leak Identification: Vacuum leaks in the engine can disrupt the air-fuel mixture, leading to the P1101 code. Utilize a smoke machine to detect leaks in the intake manifold or any part of the air intake system. Smoke emanating from any component indicates a leak that must be repaired.
Inspecting the Intake Hose: Damage or leaks in the intake hose can lead to issues similar to those caused by vacuum leaks, as they can allow unmeasured air into the engine, disrupting the air-fuel balance.
Preventive Maintenance Tips
Regularly inspect and clean the MAF sensor and replace the air filter as needed to prevent blockages.
Inspect hoses and connections within the air intake system for signs of wear or damage and replace as necessary to prevent future vacuum leaks.
Now, let’s explore the steps you can take to resolve the P1101 code and get your Chevy Cruze or Malibu back on track:
Inspect MAF Sensor Connections: Begin by inspecting the connections to the MAF sensor. Ensure that the electrical connector is securely attached and that there are no visible signs of damage or corrosion.
Clean MAF Sensor: Over time, the MAF sensor can accumulate dirt, oil, or other contaminants, affecting its performance. Use a specialized MAF sensor cleaner to carefully clean the sensor. Be gentle to avoid damaging delicate components.
Check Air Filter: A clogged or dirty air filter can also cause issues with airflow, leading to MAF sensor problems. Inspect the air filter and replace it if necessary.
Inspect for Vacuum Leaks: Vacuum leaks can disrupt the airflow and lead to irregular MAF sensor readings. Perform a thorough inspection of the vacuum lines and connections, repairing any leaks you find.
Reset ECM: After completing the above steps, reset the ECM to clear the trouble code. You can do this by disconnecting the battery for a few minutes or using a diagnostic tool.
Monitor Performance: Once you’ve addressed the potential causes of the P1101 code, monitor your vehicle’s performance. If the check engine light remains off and the engine operates smoothly, you’ve likely resolved the issue.
Professional Assistance:
If you’re uncomfortable performing these steps yourself or if the issue persists after attempting the fixes, it’s advisable to seek assistance from a qualified mechanic or dealership. They have the expertise and diagnostic tools necessary to accurately diagnose and address the problem.
Conclusion:
Encountering the P1101 trouble code on your Chevy Cruze or Malibu can be concerning, but it’s not an insurmountable obstacle. By following the steps outlined above, you can effectively diagnose and resolve the issue, restoring your vehicle’s performance and efficiency. Remember, regular maintenance and prompt attention to warning signs are key to keeping your vehicle running smoothly for years to come.
Is your Hyundai Elantra experiencing mysterious engine stalling with no check engine light on? 🚗💡 In this video, we look into a common yet often overlooked issue that could be causing your engine to stall – low oil levels.
Join us as we unravel the connection between low oil and engine stalling, exploring the critical role that proper lubrication plays in your vehicle’s performance. Learn about the potential consequences of neglecting your Hyundai Elantra’s oil levels and how it can lead to stalling without triggering the check engine light.
Our expert insights and troubleshooting tips will guide you through the signs of low oil, its impact on engine function, and steps to prevent this issue from disrupting your driving experience. Don’t let engine stalling catch you off guard – empower yourself with the knowledge to keep your Hyundai Elantra running smoothly!
🔧 Topics Covered:
Understanding the link between low oil and engine stalling
Signs and symptoms of low oil levels
Consequences of neglecting oil maintenance
Proactive steps to prevent stalling issues
Troubleshooting tips for Hyundai Elantra owners
If you’ve ever wondered why your Hyundai Elantra is stalling without a check engine light, this video is a must-watch. Hit the play button and take the first step towards ensuring your vehicle’s engine stays reliable and trouble-free.
Don’t forget to like, share, and subscribe for more valuable automotive insights! #HyundaiElantra #EngineStalling #LowOilTroubleshooting #CarMaintenanceTips #flatratemechanic
Subscribe to my you tube channel here: https://goo.gl/j1pCfn For the most common automotive fixes to the most common car and truck problems. DIY auto repair to help you save money.
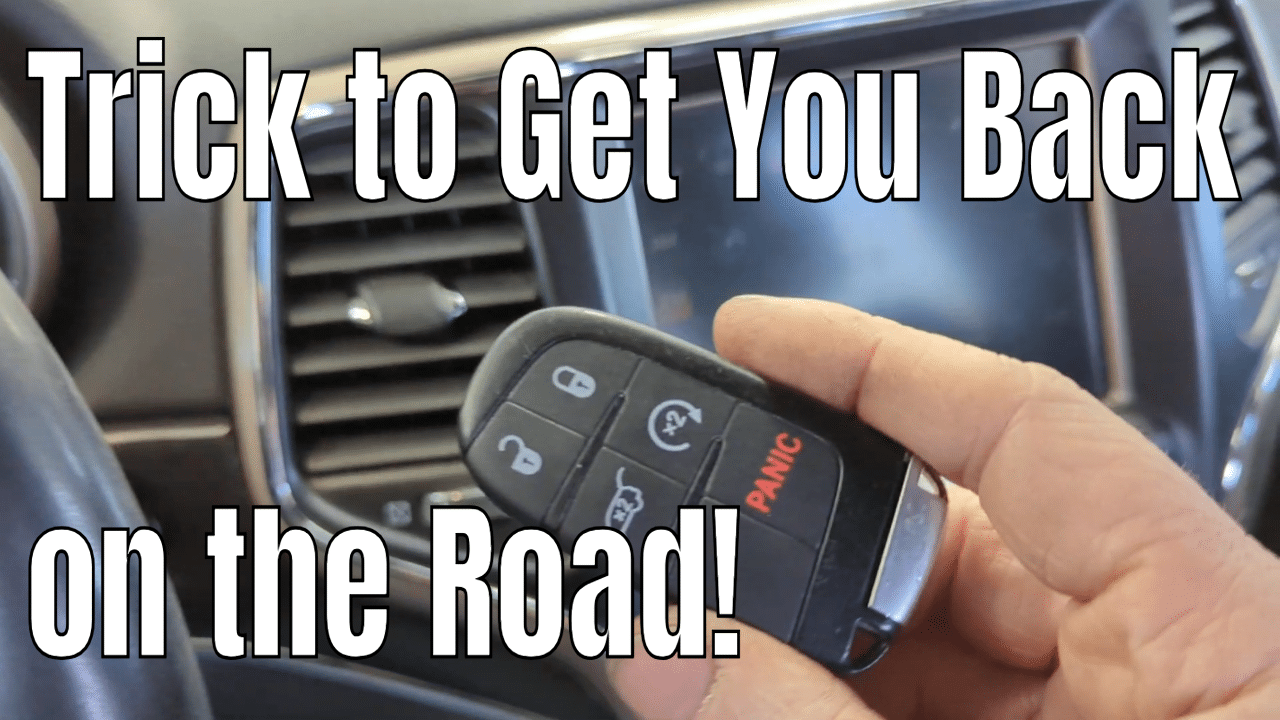
“Hello, Jeep enthusiasts! If you’ve ever found yourself in a situation where your Jeep key fob is not being detected, you know how frustrating it can be. But fear not, because in today’s video, we’re going to share a handy trick to help you troubleshoot and resolve the ‘Jeep Key Fob Not Detected’ issue. Let’s dive into the troubleshooting process and get you back on the road in no time!”
Understanding the Problem “The first step in solving any problem is understanding it. We’ll explore common reasons why your Jeep key fob may not be detected. This could range from a simple battery issue to more complex electronic glitches. By identifying the root cause, you’ll be better equipped to address the problem effectively.”
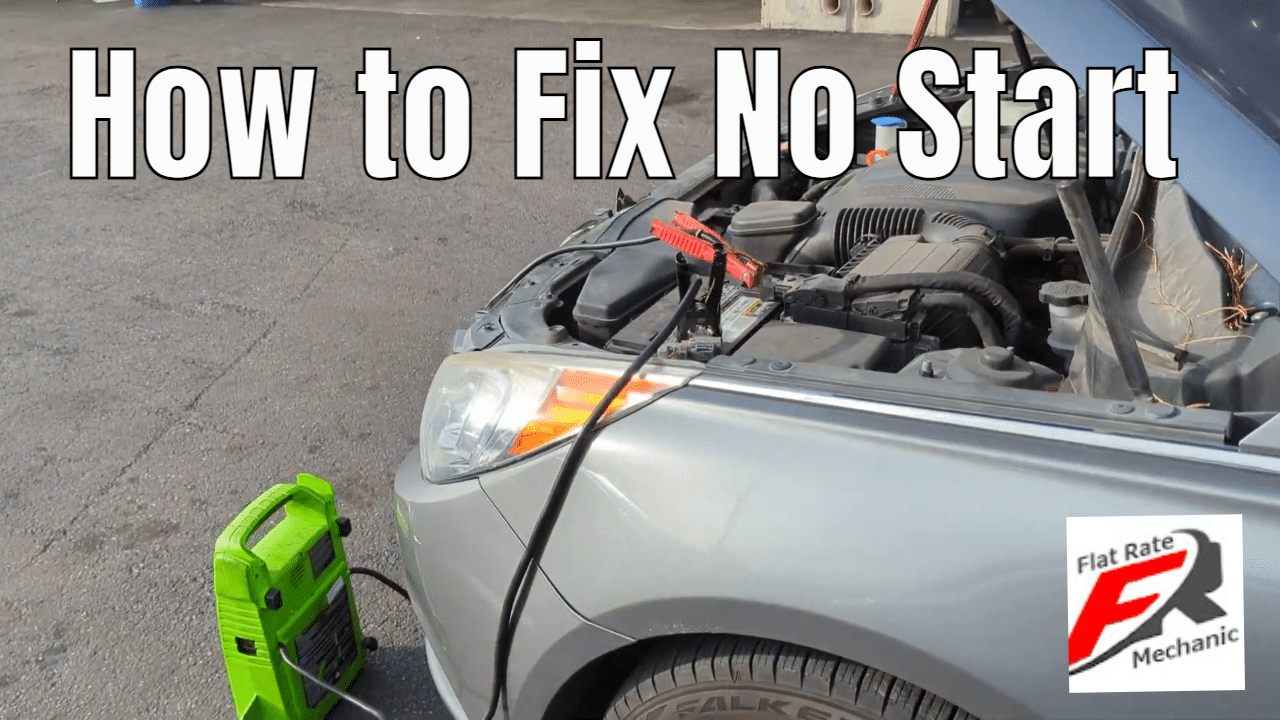
In this video I will show you how to diagnose Hyundai that will not crank over and will not start. On this vehicle it is very hard to access the starter for testing. so I will show you some easy test you can do to determine if it is a starter with out wasting a lot of time, using a scan tool.
So this is why your battery light is on, but the alternator is good.
This video discusses a common problem many car owners may face: a battery not charging. We explain the possible causes of the problem, such as a malfunctioning alternator, a damaged battery, damage to the wiring or connections in the electrical system, a malfunctioning charging system, or possibly a malfunctioning battery sensor. If you have already replaced your battery, this video is for you.
We show you how a qualified mechanic uses specialized diagnostic tools to determine the cause of the problem and recommend the appropriate repairs. This video will teach you how to diagnose and fix this issue and ensure that your car is runs smoothly. Remember to stay on top of your car’s maintenance and take it to a professional if you have any problems. Don’t forget to subscribe to our channel for helpful car maintenance tips and tricks.
Why is My Battery Light on but Alternator is Good
Subscribe to my youtube channel here: https://goo.gl/j1pCfn For the most common automotive fixes to the most common car and truck problems. DIY auto repair to help you save money.
Are you experiencing a problem with your Honda’s charging system and want to know why your battery light is on? You’re not alone. This is a common issue that many Honda owners face, and it can be a frustrating and confusing experience. In this blog post, we’ll explain the possible causes of the problem and how to diagnose and fix it.
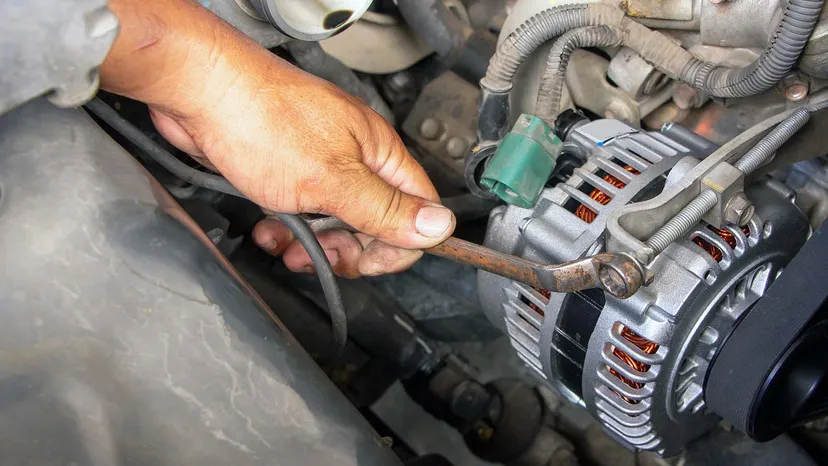
A malfunctioning alternator is one of the most common causes of a battery not charging. The alternator is responsible for charging the battery while the car is running, so if it’s not functioning correctly, the battery won’t receive a charge. You will need a volt meter to check battery output. A battery by itself should be at about 12.6 volts when fully charged. When the engine is running and the alternator is charging as it should voltage will be about 13.5volt to 14.5 volt. If you engine is running and battery volts are below 12.6 and your battery light is on there is a good chance you will need to replace your alternator. This is what you will need to check your Charging system tester
Damaged Battery
Another potential cause of a battery not charging is an old or damaged battery. Over time, batteries lose their ability to hold a charge, and if the battery is no longer holding a charge, it won’t be able to power the car’s electrical systems. It does take a spechal battery tester to check the health of your battery but in most cases you can have it checked for free at your local parts store. Or you can check out these options on Amazon: Battery Tester
Damage to Wiring and Connections
Another issue that can prevent the battery from charging is damage to the wiring or connections in the electrical system. If these connections are corroded or damaged, they can prevent the battery from receiving a charge. A qualified mechanic can check the wiring and connections to see if they need to be repaired or replaced.
Malfunctioning Charging System
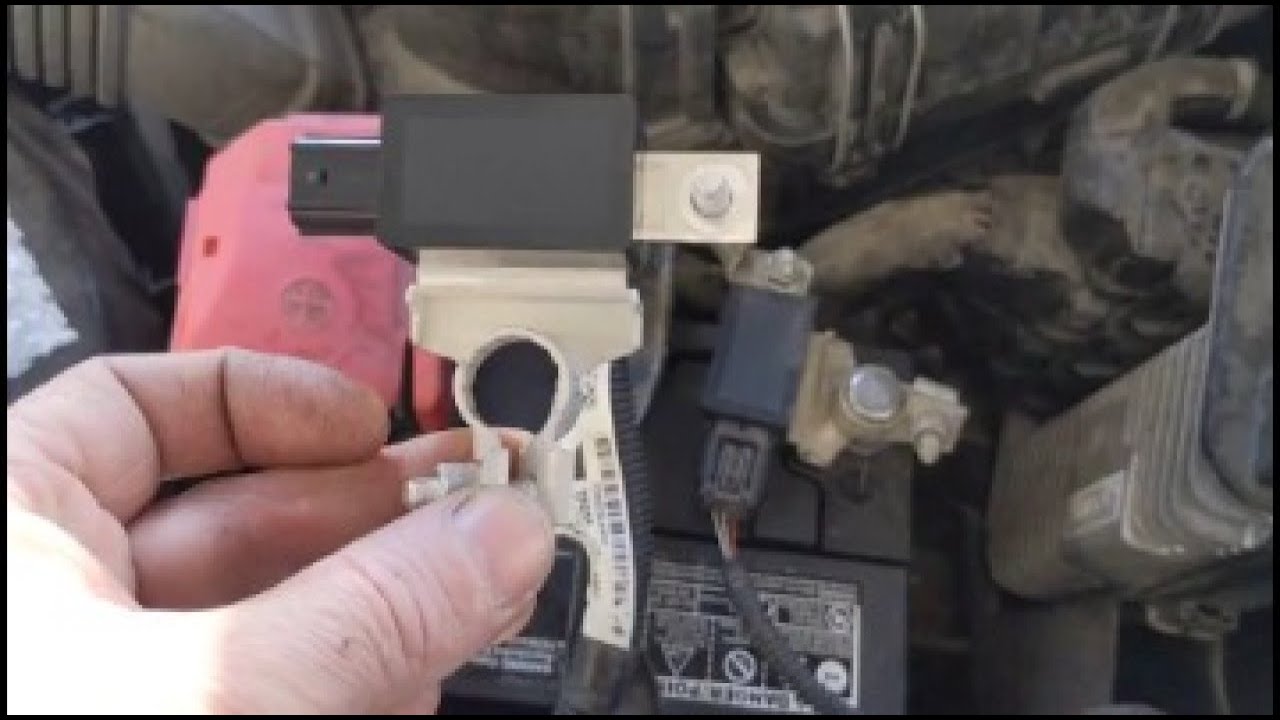
Another possible issue is a malfunctioning charging system, which includes the battery sensor, voltage regulator, and other components. If these components aren’t functioning properly, it can prevent the battery from receiving a charge. On many newer cars, you may also want to scan all the modules for codes and see if any charging codes related to the charging system are present. The Honda in this video had codes stored for the battery sensor. It’s always a good idea to check all the fuse, fusible links, and relays. This Honda had a malfunctioning Battery Sensor
Charging System Battery Sensor and how It Works
The battery sensor, also known as the battery management system (BMS), is an electronic device that is installed in a car to monitor the state of the battery. Suppose the sensor detects an issue with the battery, such as overcharging or overheating. In that case, it may trigger a safety feature that prevents the car from charging to protect the battery from damage. Most battery sensors are located right on the battery and are part of the battery terminal, which is easy to service for any DIY.
Average Cost of Repairs if your Battery light is on
The cost of replacing an alternator can vary depending on the make and model of the vehicle, as well as the location and labor rates of the repair shop. On average, the cost of alternator replacement can range from $300 to $900. However, it is always best to get a specific quote from a reputable repair shop for your specific vehicle and location.
Conclusion
In summary, if your Honda’s battery isn’t charging, you can take your car to a qualified mechanic who can use specialized diagnostic tools to determine the cause of the problem. They’ll be able to check the battery, alternator, charging system, and electrical system to find the root cause of the problem and recommend the appropriate repairs.
Don’t let a problem with your battery keep you from enjoying your Honda. Stay on top of your car’s maintenance and take it to a professional if you have any issues. And don’t forget to check our YouTube channel for more helpful car maintenance tips and tricks . In our latest video, we go over the same information explained in this post but with a visual aid.