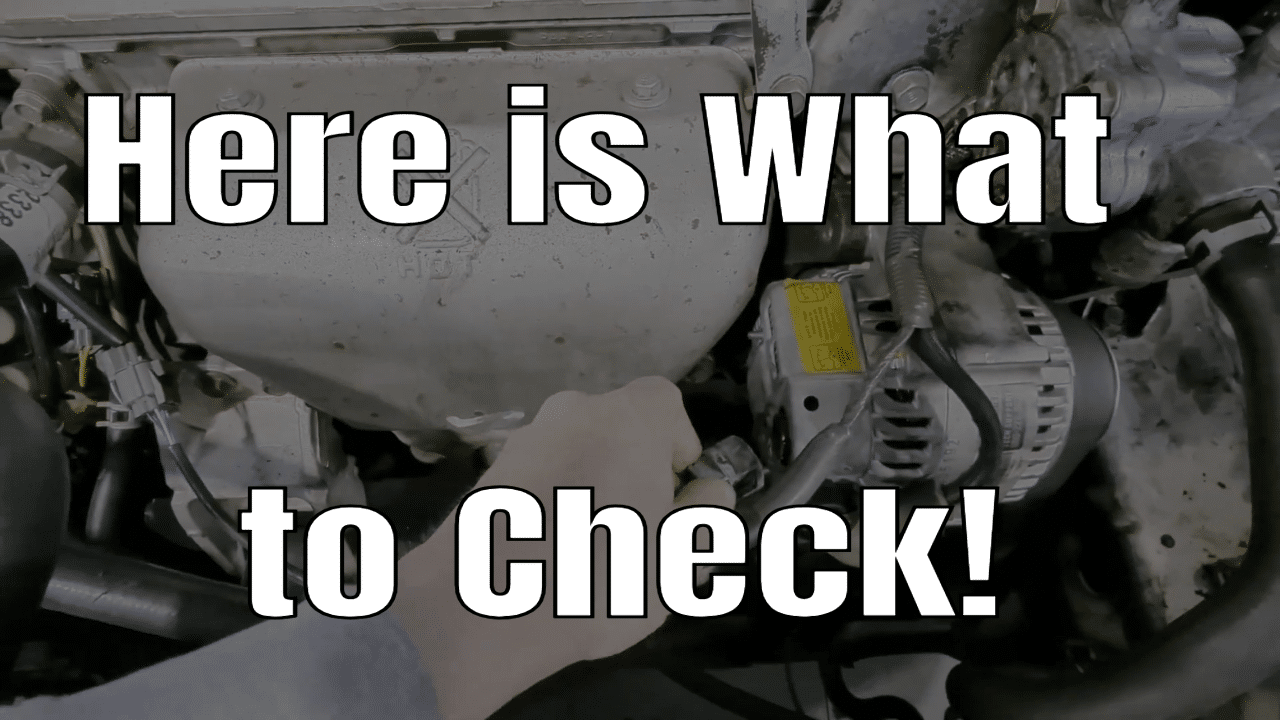
Is your Honda’s battery light on, and the alternator not charging? Don’t panic!
I’ll show you exactly how to test your Honda’s charging system to diagnose the issue accurately. From checking battery connections to testing the alternator output, we’ll walk you through each step of the process in detail.
Whether you’re a seasoned DIYer or a newbie to car maintenance, our easy-to-follow instructions and troubleshooting tips will help you identify and resolve any charging system issues effectively.
Subscribe to my YouTube channel here: https://goo.gl/j1pCfn For the most common automotive fixes to the most common car and truck problems. DIY auto repair to help you save money.
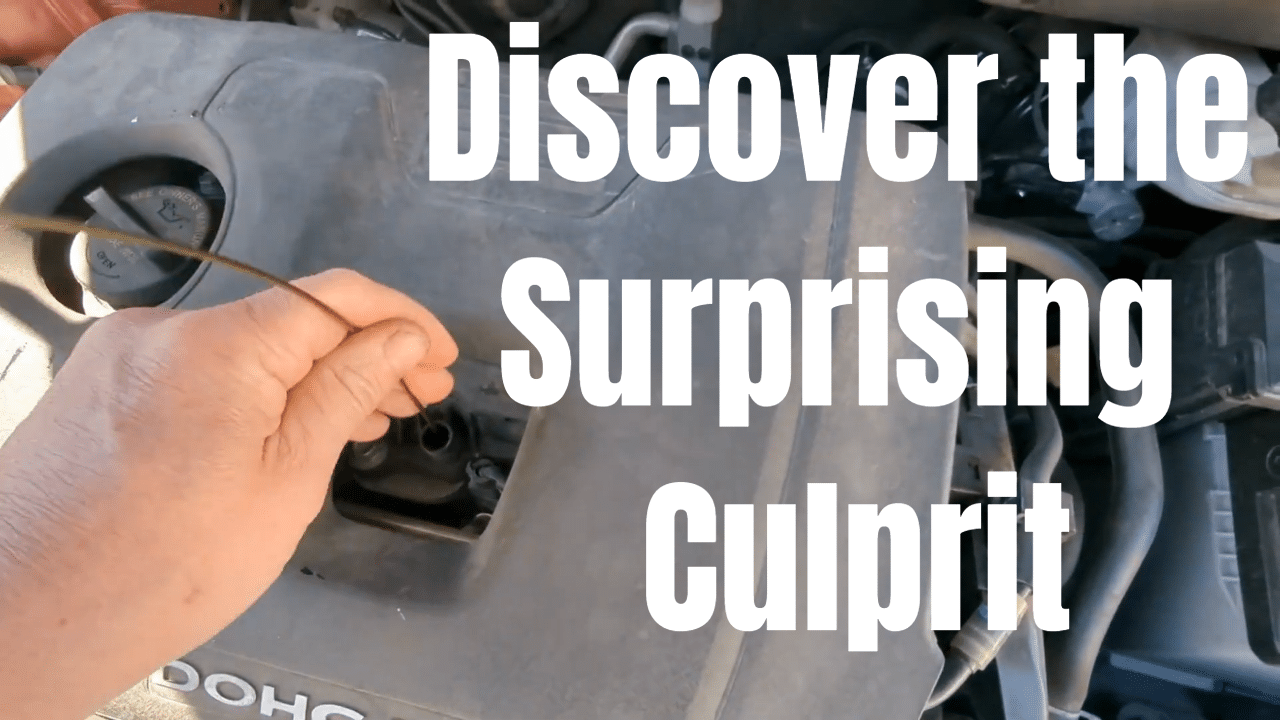
Is your Hyundai Elantra experiencing mysterious engine stalling with no check engine light on? 🚗💡 In this video, we look into a common yet often overlooked issue that could be causing your engine to stall – low oil levels.
Join us as we unravel the connection between low oil and engine stalling, exploring the critical role that proper lubrication plays in your vehicle’s performance. Learn about the potential consequences of neglecting your Hyundai Elantra’s oil levels and how it can lead to stalling without triggering the check engine light.
Our expert insights and troubleshooting tips will guide you through the signs of low oil, its impact on engine function, and steps to prevent this issue from disrupting your driving experience. Don’t let engine stalling catch you off guard – empower yourself with the knowledge to keep your Hyundai Elantra running smoothly!
🔧 Topics Covered:
Understanding the link between low oil and engine stalling
Signs and symptoms of low oil levels
Consequences of neglecting oil maintenance
Proactive steps to prevent stalling issues
Troubleshooting tips for Hyundai Elantra owners
If you’ve ever wondered why your Hyundai Elantra is stalling without a check engine light, this video is a must-watch. Hit the play button and take the first step towards ensuring your vehicle’s engine stays reliable and trouble-free.
Don’t forget to like, share, and subscribe for more valuable automotive insights! #HyundaiElantra #EngineStalling #LowOilTroubleshooting #CarMaintenanceTips #flatratemechanic
Subscribe to my you tube channel here: https://goo.gl/j1pCfn For the most common automotive fixes to the most common car and truck problems. DIY auto repair to help you save money.
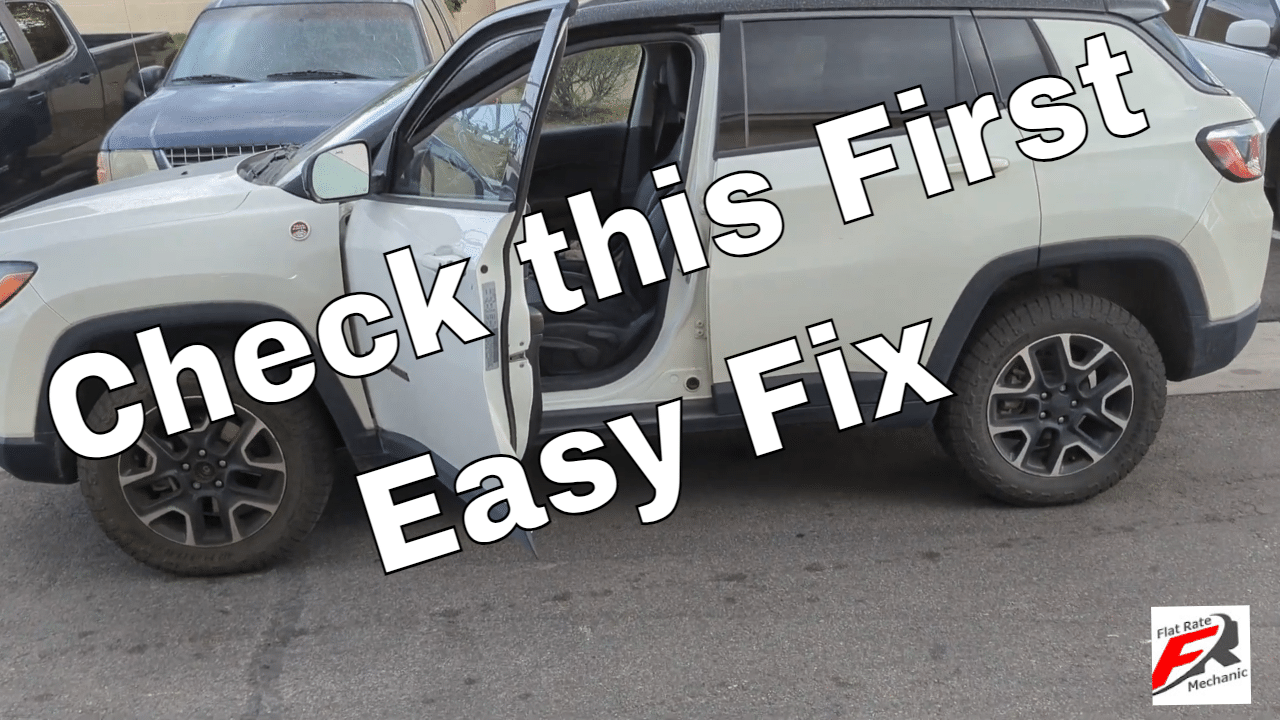
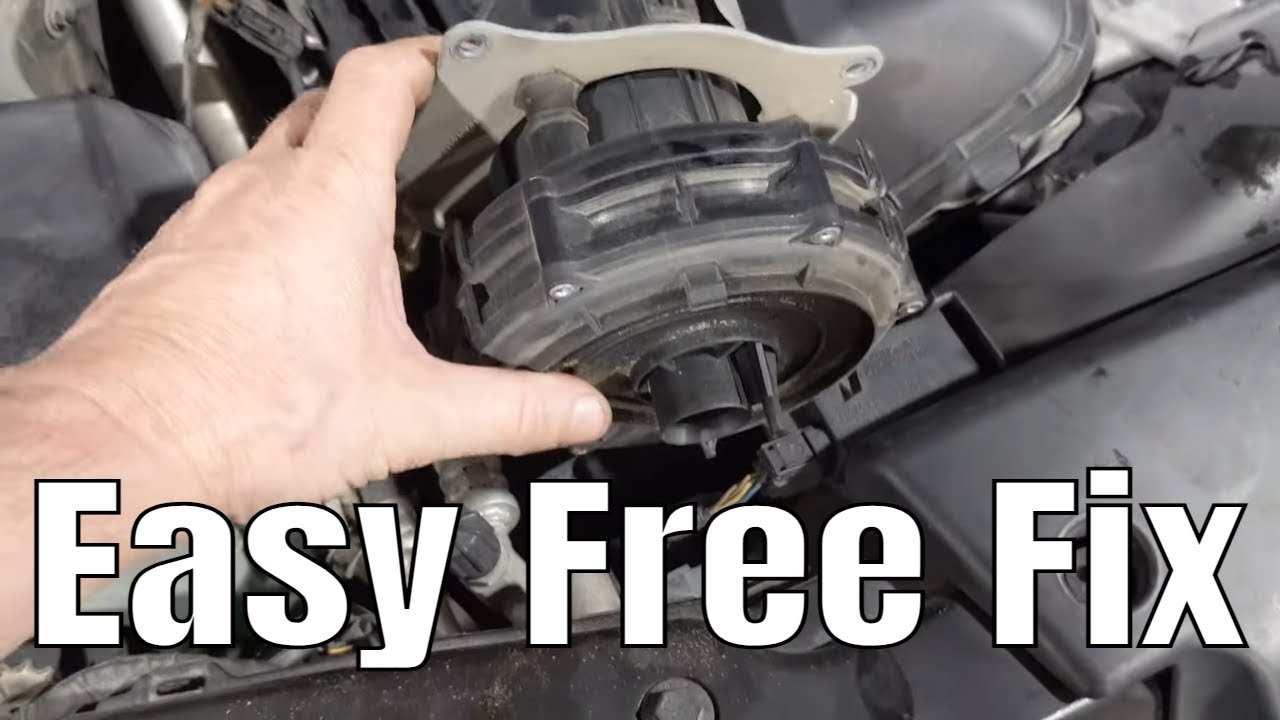
Is your Auto Stop-Start feature on your car acting up or not working at all? Before heading to the service center, check out this video for some simple DIY troubleshooting steps that might save you time and money!
⚙️ In this Video: Understanding the Auto Stop-Start System Common Reasons for Auto Stop-Start Failure DIY Checks You Can Perform Step-by-Step Troubleshooting Guide Quick Fixes You Can Try at Home
🔧 Possible Causes: Weak or Faulty Battery Sensor Malfunctions Issues with the Starter or Alternator System Calibration Problems
🛠️ DIY Troubleshooting Steps: Checking the Battery Health Inspecting Sensors and Connections Verifying System Settings Clearing Error Codes (If applicable)
💡 Why is Auto Stop-Start Important? The Auto Stop-Start feature is designed to enhance fuel efficiency and reduce emissions by automatically turning off the engine when the vehicle is stationary. A malfunctioning system may lead to decreased fuel efficiency.
📌 Disclaimer: Perform these troubleshooting steps at your own risk. If you are unsure or uncomfortable with any procedure, it’s always best to consult a professional mechanic.
👍 Like, Share, and Subscribe for More: If you find this video helpful, don’t forget to hit the like button, share it with fellow car enthusiasts, and subscribe for more automotive troubleshooting and maintenance tips.
Subscribe to my you tube channel here: https://goo.gl/j1pCfn For the most common automotive fixes to the most common car and truck problems. DIY auto repair to help you save money.
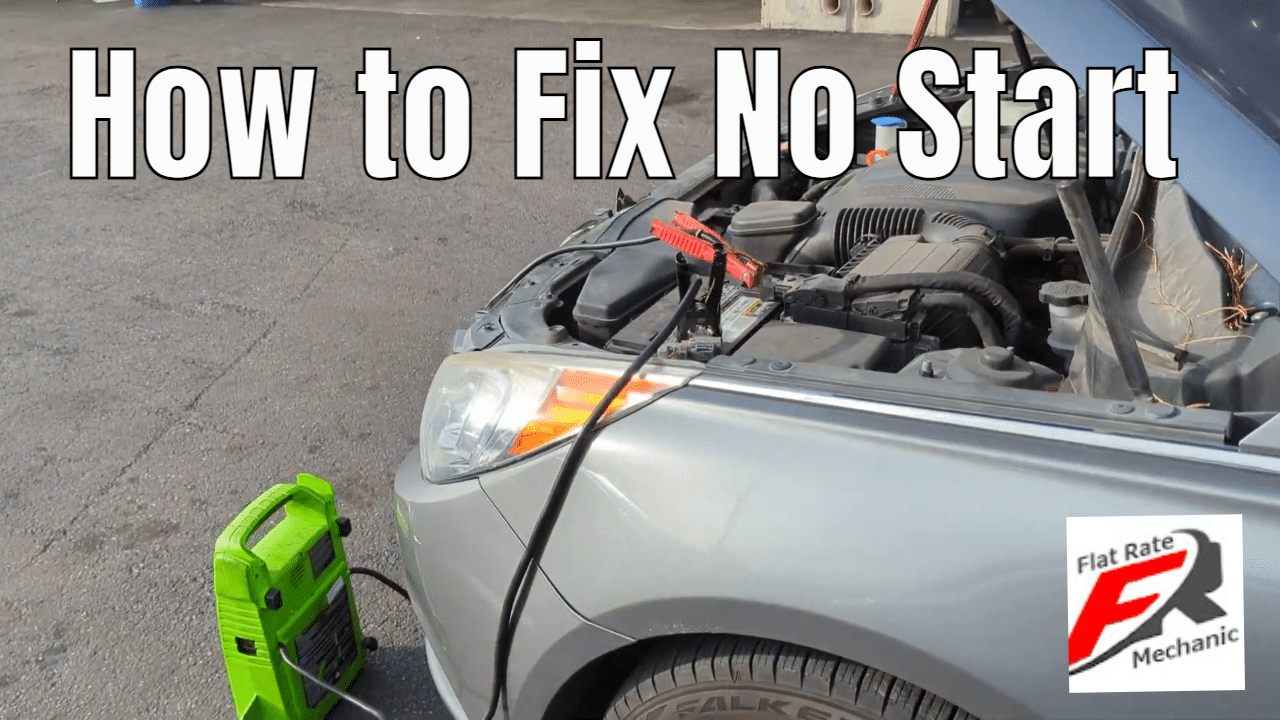
In this video I will show you how to diagnose Hyundai that will not crank over and will not start. On this vehicle it is very hard to access the starter for testing. so I will show you some easy test you can do to determine if it is a starter with out wasting a lot of time, using a scan tool.
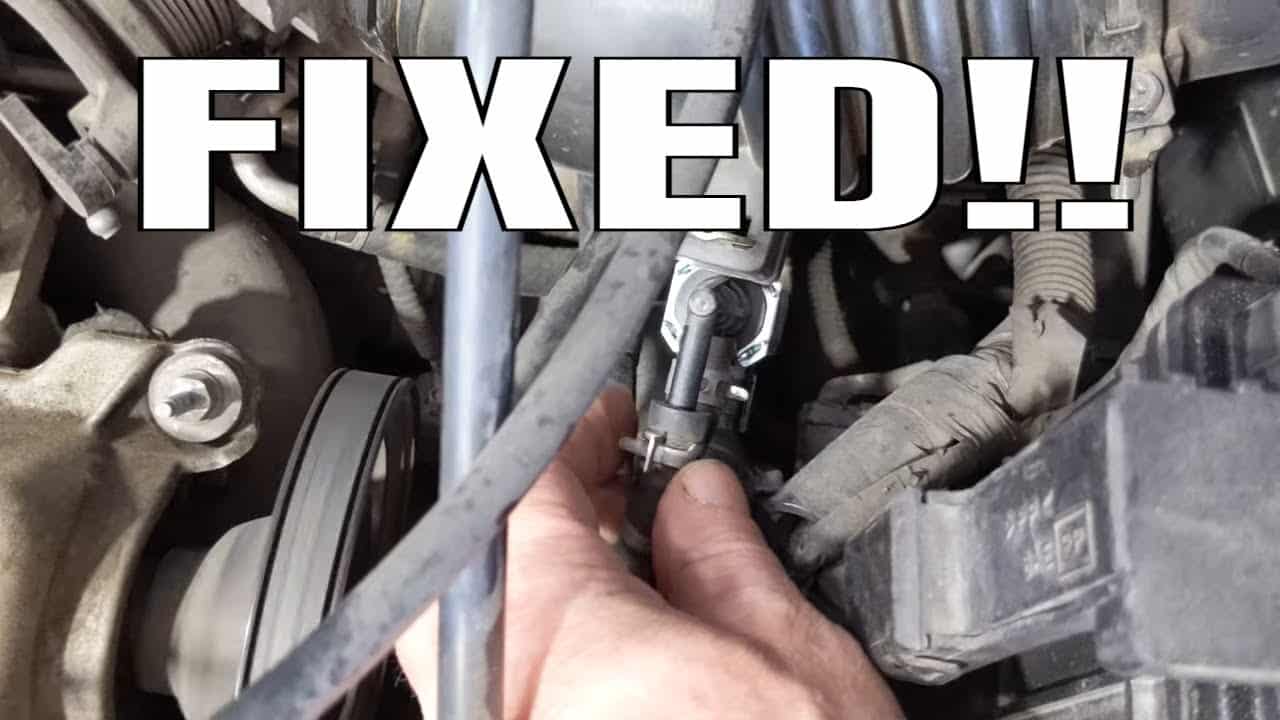
In this video, I will show you how to fix BMW the air injection codes p0491 and P0492. P0492: Secondary Air Injection System Insufficient Flow Bank 2 P0491: Secondary Air Injection System Insufficient Flow Bank 1
Flat rate mechanic here again and we got this BMW in here for a check engine light and we got a couple of codes we got a p0491 and a p0492 BMW secondary air injection so we got some kind of air injection problem as far as the flow goes and I just wanted to go over what we found when we were diagnosing this basically the first thing we did we pulled out the this is the actual air injection pump itself we just disconnected it if I applied power and ground here pumps seem to be working fine so we went ahead and did is um if you look down here the air pump this usually is going to mount right over here like this
We pulled this up so we could get to the diverter valve here um the diverter valve is controlled by vacuum and this vacuum line goes to a vacuum electronic vacuum switch which is located down behind the intake here so we tried activating this with a scan tool we weren’t getting any airflow we did verify we weren’t getting any airflow the air pumps coming on so all that stuff’s good on what we found is we’ve got a there’s actually if you follow this vacuum line down behind the intake you got a check valve here and the vacuum hose was actually actually broken off so the vacuum switching valve wasn’t supplying power or wasn’t oh wasn’t flying back into the diverter valve so let me see if I can actually see back yeah I don’t think you guys are going to be able to see that but the vacuum switching valve is right behind here and it connects to a port in the back of the intake manifold so ultimately what’s going to fix this one is just repairing as simple as repairing you know this rotted out vacuum line so we’ll fix that verify the repair and hopefully this BMW will be good to go thanks for watching if it’s helpful be sure to hit the Thumbs Up And subscribe to the flat rate mechanic
Subscribe to my youtube channel here: https://goo.gl/j1pCfn For the most common automotive fixes to the most common car and truck problems. DIY auto repair to help you save money.
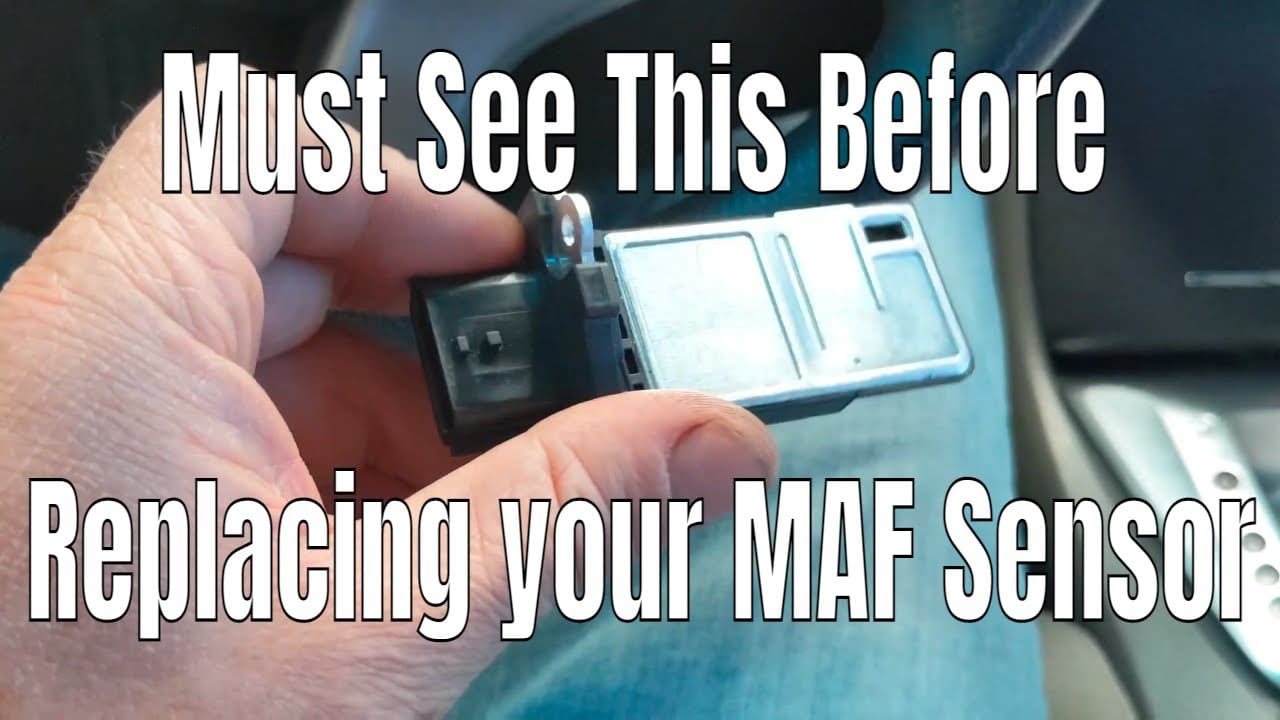
In this video, I will show you how to fix p0101 mass air flow sensor circuit. We’re working on a 2011 Nissan Altima and in this video, I just wanted to go over a few things we found. First, we tried cleaning the mass air flow sensor which in a lot of cases can help and is always a good thing to try before replacing the mass air flow sensor.
If you need to know how to clean the mass air flow sensor they do sell mass air flow sensor cleaner here https://amzn.to/3yef3wP . Sometimes just this alone will fix a p0101 On this vehicle, we actually had to replace the mass air flow sensor and also there’s a service bulletin that states a computer should be updated with new software to prevent this problem from happening. We deliver all this information in this video about Nissan’s mass air flow problems.
If you would like to see more great automotive video be sure to subscribe to The Flat Rate Mechanic Subscribe to my youtube channel here: https://goo.gl/j1pCfn For the most common automotive fixes to the most common car and truck problems. DIY auto repair to help you save money.
For Promotional offers, consulting, training, sponsorships or other inquiries contact me at FlatRateMechanic1@gmail.com The Flat Rate Mechanic. 26-year ASE Master Automotive Technician and Advanced level ASE certified here to help you save money on your automotive repairs The Flat Rate Mechanic is a participant in the Amazon Influencer Program.
Disclaimer: Due to factors beyond the control of The Flat Rate Mechanic, it cannot guarantee against unauthorized modifications of this information or improper use of this information. The Flat Rate Mechanic assumes no liability for property damage or injury incurred as a result of any of the information contained in this automotive repair video. The Flat Rate Mechanic recommends safe practices when working on cars or trucks with power tools, automotive lifts, lifting tools, jack stands, electrical equipment, blunt instruments, chemicals, lubricants, or any other tools or equipment seen or implied in this repair video. Due to factors beyond the control of The Flat Rate Mechanic, no information contained in this automotive repair video shall create any express or implied warranty or guarantee of any particular result. Any injury, damage, or loss that may result from improper use of these tools, equipment, or the information contained.
P0455 P2188 P0441 P2190 System Running Rich, Large EVAP Leak, and Purge Flow Codes. In this video we will show you how to fix p0455 large evap system leak, p2188 system running rich bank 1, p0441 evap purge flow, and p2190 system too rich bank 2. The trouble codes we found in the car PCM are all caused by the same problem and we will go over what we found and show you how to diagnose this problem
In this video, we’ll show you how to check transmission fluid level in a Ford Edge “No Dip Stock”. This is a quick and easy way to check the fluid level without having to take the car in for a service appointment. This video is perfect for Ford Edge drivers who want to keep their car running smoothly and without any unexpected repairs. Watch and learn how to check the transmission fluid level in a Ford Edge “No Dip Stock” today!
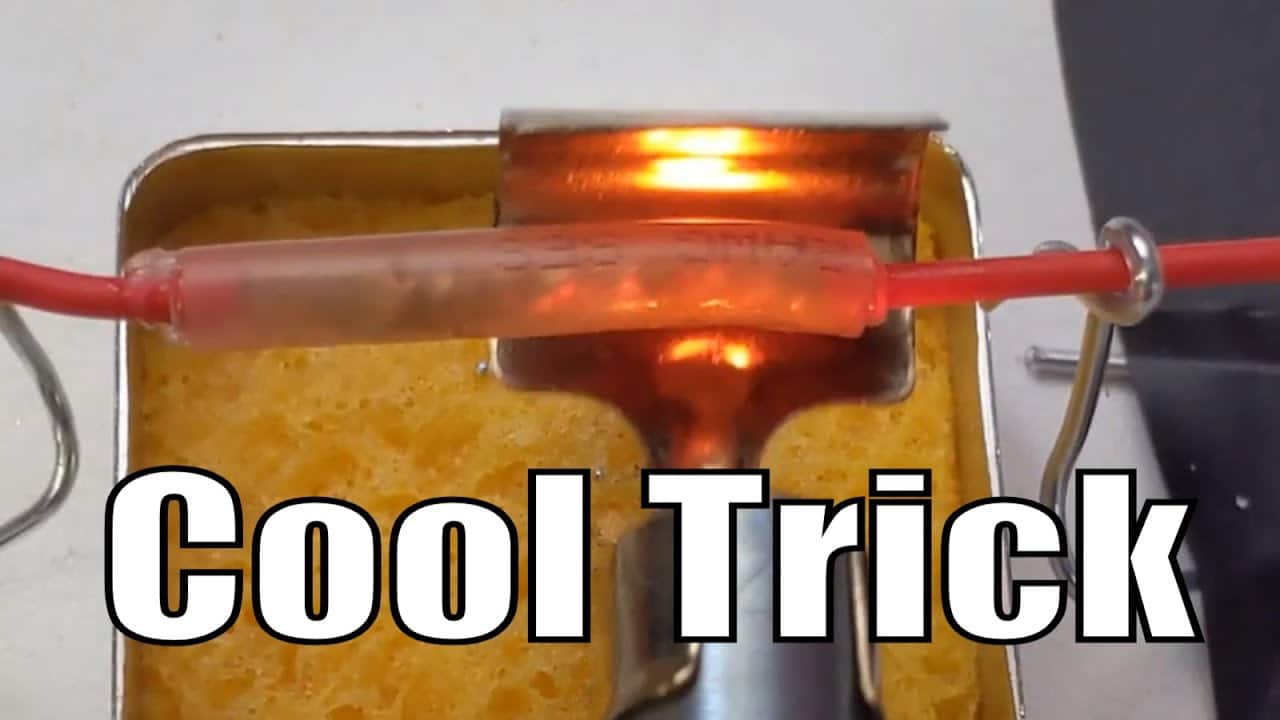
How To Solder And Protect Automotive Wiring. In this video, I will be showing you how to repair the wiring in your car or truck. Automotive wiring should be soldered and protected properly in order to withstand all types of weather rain snow and salt.
I will show you how to solder wires together the right way to seal the solder joint with heat shrink is a must and you also need to make sure you do not have a cold solder joint.
I will be using a power probe butane soldering gun. This tool worked the best for me in the automotive application and make it a breeze get that tuff to reach wires repaired, soldered and sealed properly.
A few tips and tricks to use when soldering is to first always make sure you do not have a cold solder joint, make sure you are using the right solder for the job and always make sure you seal your solder joint from all types of weather. Thanks for watching The Flat Rate Mechanic
Subscribe to my youtube channel here: https://goo.gl/j1pCfn For the most common automotive fixes to the most common car and truck problems. DIY auto repair to help you save money.
Headlight Restoration DIY Preparation And Protection That Will Last OK Like the title says be talking about Headlight Restoration DIY Preparation And Protection That Will Last
I’m going to bust all the headlight restoration myths in this video and explain what really works to keep your headlights looking like new for years to come if your headlights have become hazy oxidized and starting to yellow this is the video for you.
Due to all the misinformation out there plus all the feedback I have gotten on the headlight restoration video I did over a year ago. I have come to a method everyone can agree with and if you know of better headlight restoration and protection practices be sure to comment below with what works for you.
Products in this video:
**Nano-glass-ceramic coating designed specifically for polycarbonate headlight https://amzn.to/2O3qCR5
I will also be referring to it a lot in this video because the preparation method will
be the same and definitely the best way hands down to fix your UV damaged headlights. Were a lot of the controversy comes in is when it comes to how you should protect your freshly restored
plastic headlight
And there are many different ways, all with there advantages and disadvantages as well as the price and time and skill it will take. I will be answering all
questions in this video.
Depending on the condition of your headlights, weather it just is some light fading
or some very bad oxidation and yellowing
Or maybe the factory clear code is starting to chip from the headlight lens.
This will determine how you should go about restoring your headlight.
If the factory protectant layer is still intact I would just recommend a light polish with a 3000 grit sandpaper and a light compound I like to use from 3m
Subscribe to my youtube channel here: https://goo.gl/j1pCfn For the most common automotive fixes to the most common car and truck problems. DIY auto repair to help you save money.