Why is My Battery Light on but Alternator is Good “Fixed”

So this is why your battery light is on, but the alternator is good.

This video discusses a common problem many car owners may face: a battery not charging. We explain the possible causes of the problem, such as a malfunctioning alternator, a damaged battery, damage to the wiring or connections in the electrical system, a malfunctioning charging system, or possibly a malfunctioning battery sensor. If you have already replaced your battery, this video is for you.

We show you how a qualified mechanic uses specialized diagnostic tools to determine the cause of the problem and recommend the appropriate repairs. This video will teach you how to diagnose and fix this issue and ensure that your car is runs smoothly. Remember to stay on top of your car’s maintenance and take it to a professional if you have any problems. Don’t forget to subscribe to our channel for helpful car maintenance tips and tricks.

Why is My Battery Light on but Alternator is Good

Subscribe to my youtube channel here: https://goo.gl/j1pCfn
For the most common automotive fixes to the most common car and truck problems. DIY auto repair to help you save money.

You can also find a Honda battery sensor on Amazon here: https://amzn.to/3WK5cZr 

Are you experiencing a problem with your Honda’s charging system and want to know why your battery light is on? You’re not alone. This is a common issue that many Honda owners face, and it can be a frustrating and confusing experience. In this blog post, we’ll explain the possible causes of the problem and how to diagnose and fix it.

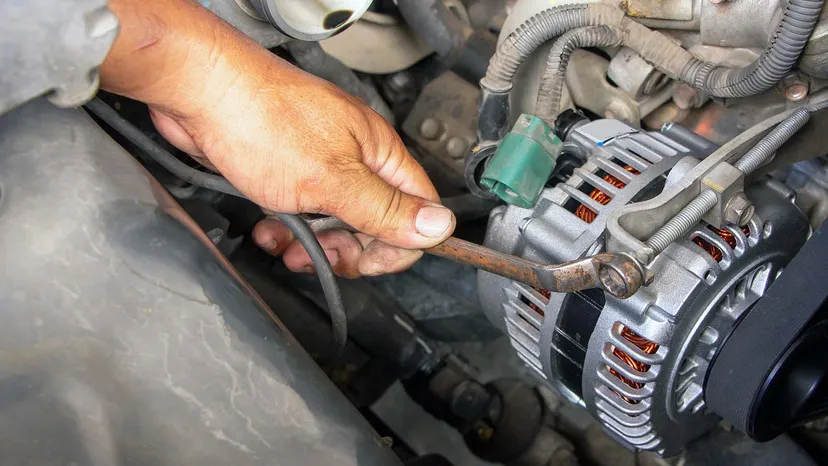
Malfunctioning Alternator

A malfunctioning alternator is one of the most common causes of a battery not charging. The alternator is responsible for charging the battery while the car is running, so if it’s not functioning correctly, the battery won’t receive a charge. You will need a volt meter to check battery output. A battery by itself should be at about 12.6 volts when fully charged. When the engine is running and the alternator is charging as it should voltage will be about 13.5volt to 14.5 volt. If you engine is running and battery volts are below 12.6 and your battery light is on there is a good chance you will need to replace your alternator. This is what you will need to check your Charging system tester

Damaged Battery

Another potential cause of a battery not charging is an old or damaged battery. Over time, batteries lose their ability to hold a charge, and if the battery is no longer holding a charge, it won’t be able to power the car’s electrical systems. It does take a spechal battery tester to check the health of your battery but in most cases you can have it checked for free at your local parts  store. Or you can check out these options on Amazon: Battery Tester

Damage to Wiring and Connections

Another issue that can prevent the battery from charging is damage to the wiring or connections in the electrical system. If these connections are corroded or damaged, they can prevent the battery from receiving a charge. A qualified mechanic can check the wiring and connections to see if they need to be repaired or replaced.

Malfunctioning Charging System

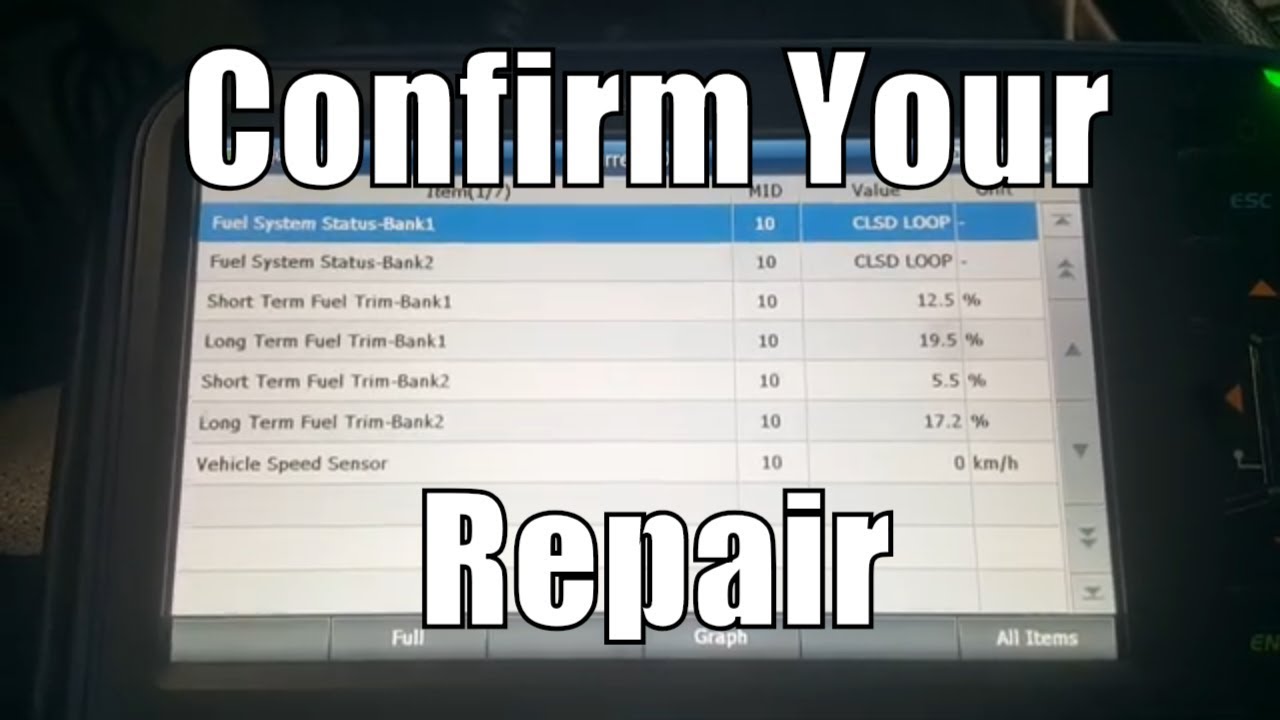
Another possible issue is a malfunctioning charging system, which includes the battery sensor, voltage regulator, and other components. If these components aren’t functioning properly, it can prevent the battery from receiving a charge.  On many newer cars, you may also want to scan all the modules for codes and see if any charging codes related to the charging system are present.  The Honda in this video had codes stored for the battery sensor. It’s always a good idea to check all the fuse, fusible links, and relays.  This Honda had a malfunctioning Battery Sensor


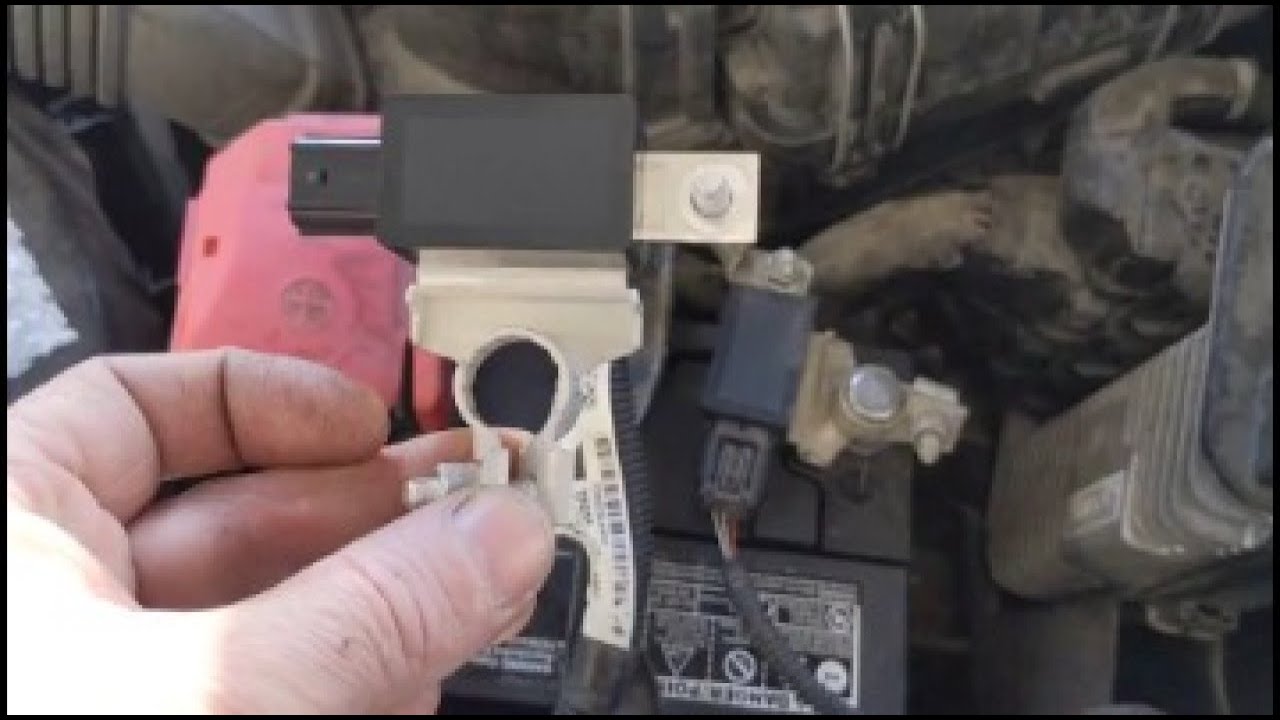
Charging System Battery Sensor and how It Works

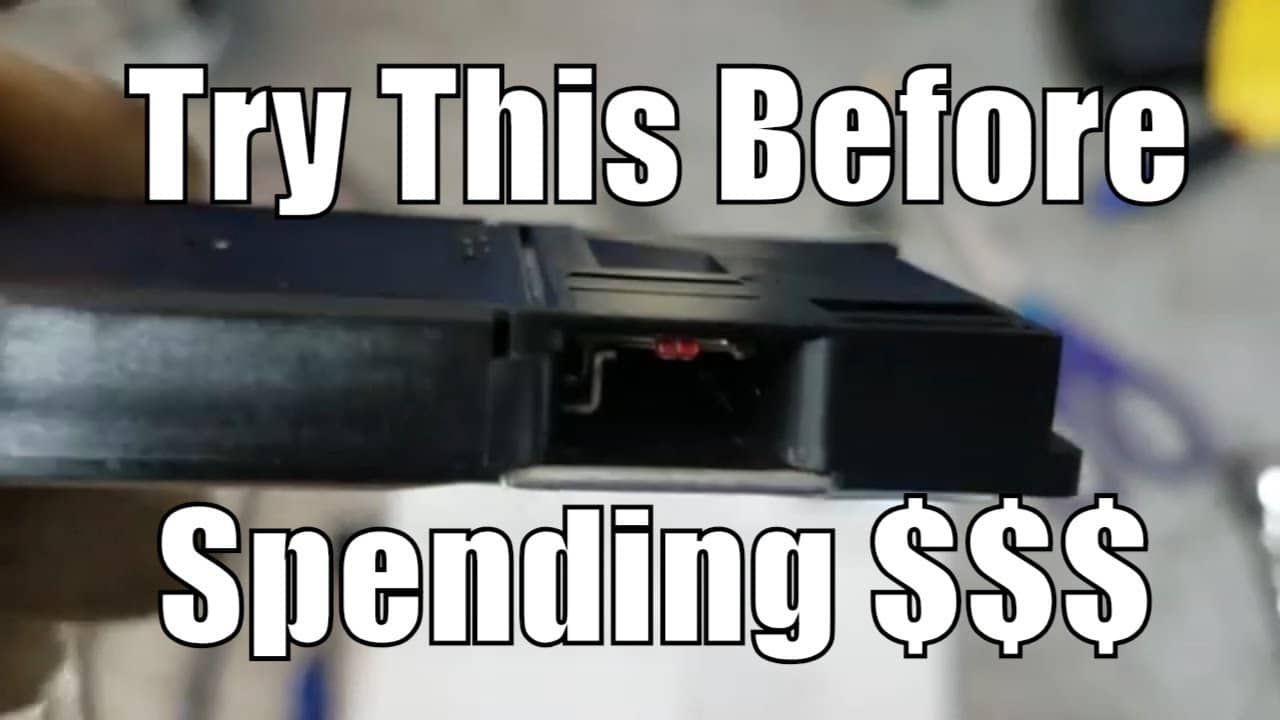
The battery sensor, also known as the battery management system (BMS), is an electronic device that is installed in a car to monitor the state of the battery. Suppose the sensor detects an issue with the battery, such as overcharging or overheating. In that case, it may trigger a safety feature that prevents the car from charging to protect the battery from damage. Most battery sensors are located right on the battery and are part of the battery terminal, which is easy to service for any DIY.

Average Cost of Repairs if your Battery light is on

The cost of replacing an alternator can vary depending on the make and model of the vehicle, as well as the location and labor rates of the repair shop. On average, the cost of alternator replacement can range from $300 to $900. However, it is always best to get a specific quote from a reputable repair shop for your specific vehicle and location.

Conclusion

In summary, if your Honda’s battery isn’t charging, you can take your car to a qualified mechanic who can use specialized diagnostic tools to determine the cause of the problem. They’ll be able to check the battery, alternator, charging system, and electrical system to find the root cause of the problem and recommend the appropriate repairs.

Don’t let a problem with your battery keep you from enjoying your Honda. Stay on top of your car’s maintenance and take it to a professional if you have any issues. And don’t forget to check our YouTube channel for more helpful car maintenance tips and tricks . In our latest video, we go over the same information explained in this post but with a visual aid.

How To Program New GMC Key / Theft Pass Lock Key

[svp]http://www.youtube.com/watch?v=EFD1wHVoFrg[/svp]
GMC Key Program and Theft Pass Lock Key Programming.

The GMC key program is a great way to get a new key for your GMC vehicle. The process is simple and easy, and it only takes a few minutes. You can also use the GMC key program to get a replacement key if you lose your original key.

How the GMC Key Program Works
If you need a new key for your GMC vehicle, the first thing you need to do is find a participating GMC dealer. Once you find a dealer, you will need to provide them with your VIN number. The dealer will then generate a new key for you based on your VIN number.

Once you have your new key, you will need to activate it. To do this, you will need to go to the GMC website and create an account. Once you have created an account, you will be able to activate your new key.

If you lose your original key, you can use the GMC key program to get a replacement key. To do this, you will need to go to the GMC website and sign in to your account. Once you are signed in, you will be able to order a replacement key.

The GMC key program is a great way to get a new key for your GMC vehicle. If you lose your original key, you can use the program to get a replacement key. The process is simple and easy, and it only takes a few minutes.

The GMC Key Program is a great way to get a new or replacement key for your GMC vehicle. The process is simple and easy, and it only takes a few minutes. If you lose your original key, you can use the program to get a replacement key. You can also use the program to get a new key if you need one.

CVT Transmission Fluid Check: Toyota “No Dip Stick”

Toyota vehicles are known for their durability and longevity, but like any vehicle, they require regular maintenance to keep them running at their best. One important aspect of maintenance is checking and changing the transmission fluid. In many vehicles, this is a straightforward process that involves checking the fluid level with a dipstick, but in some Toyota models, the process is a bit different.

Why Toyota CVT Transmission Fluid Check is Different

CVT stands for continuously variable transmission, which is a type of transmission that uses a belt or chain to change gears. Unlike traditional automatic transmissions that have a fixed number of gears, a CVT can change gears seamlessly, resulting in a smooth driving experience. However, because of the way CVT transmissions work, they require a different type of fluid than traditional transmissions.

In addition, many Toyota models with CVT transmissions do not have a traditional dipstick for checking the fluid level. Instead, the fluid level is checked electronically through the vehicle’s onboard computer. This can make it a bit more challenging for the average vehicle owner to check and change the fluid, but it’s still a relatively simple process that can be done at home with the right tools and knowledge.

How to Check CVT Transmission Fluid in Toyota

The first step in checking the CVT transmission fluid in your Toyota is to locate the transmission fluid check valve. This is usually located on the side of the transmission, near the bottom. The location can vary depending on the model and year of your vehicle, so it’s best to consult your owner’s manual or a repair manual for specific instructions.

Once you’ve located the check valve, you’ll need a special tool called a fluid level gauge. This is a long, thin tool that is inserted into the check valve to measure the fluid level. The gauge will have a scale on it that will indicate the fluid level.

It’s important to note that the fluid level should be checked with the vehicle running and at operating temperature, as the fluid level can vary depending on the temperature. It’s also important to check the fluid level when the vehicle is parked on level ground, as the fluid level can vary depending on the vehicle’s position.

What to Do If the Fluid Level is Low

If the fluid level is low, it’s important to add more transmission fluid as soon as possible. The type of transmission fluid recommended for your specific vehicle will be listed in your owner’s manual or a repair manual. It’s important to use the correct type of fluid, as using the wrong type of fluid can cause damage to the transmission.

It’s also important to note that overfilling the transmission fluid can also cause damage. The fluid level should be checked regularly and should be maintained at the proper level, as indicated by the fluid level gauge.

Conclusion

Checking and maintaining the transmission fluid in your Toyota is an important aspect of vehicle maintenance. While the process is a bit different for vehicles with CVT transmissions, it’s still relatively simple and can be done at home with the right tools and knowledge. If you’re unsure about how to check the fluid level in your specific vehicle, consult your owner’s manual or a repair manual for specific instructions. Regularly checking and maintaining the fluid level will help ensure that your vehicle’s transmission runs smoothly and lasts for years to come.

[svp]http://www.youtube.com/watch?v=IYugdaOXQA4[/svp]
In this video I’m going to show you how to service and check your CVT transmission in a Toyota Corolla is also applies to some Toyota Camrys. On the CVT transmissions there is no dipstick so you have to pull the fill plug and the drain check plug to check your fluid level.

You can buy CVT transmission fluid and filter on Amazon here:  https://amzn.to/3woUbSp

How To Check Your Manual Transmission Fluid “Subaru”

[svp]http://www.youtube.com/watch?v=aKOlrRdLs10[/svp]
In this video we will show you how to service a manual transmission fluid and how to check the manual transmission fluid we’ll also go over fluid capacity and the type of transmission fluid that you should put in your Subaru’s manual trans.

Subscribe to my youtube channel here: https://goo.gl/j1pCfn
For the most common automotive fixes to the most common car and truck problems. DIY auto repair to help you save money.

Connect with me:
Website: https://flatratemechanic.com
Facebook: https://www.facebook.com/groups/diyrepair
Twitter: https://goo.gl/mmpqts
Instagram: https://goo.gl/NCjRhM

Check out The Flat Rate Mechanics Tool Store on Amazon https://goo.gl/M8MpdC

For Promotional offers, consulting, training, sponsorships or other inquiries contact me at FlatRateMechanic1@gmail.com

The Flat Rate Mechanic. 26-year ASE Master Automotive Technician and Advanced level ASE certified here to help you save money on your automotive repairs

Disclaimer:
Due to factors beyond the control of The Flat Rate Mechanic, it cannot guarantee against unauthorized modifications of this information or improper use of this information. The Flat Rate Mechanic assumes no liability for property damage or injury incurred as a result of any of the information contained in this automotive repair video. The Flat Rate Mechanic recommends safe practices when working on cars or trucks with power tools, automotive lifts, lifting tools, jack stands, electrical equipment, blunt instruments, chemicals, lubricants, or any other tools or equipment seen or implied in this repair video. Due to factors beyond the control of The Flat Rate Mechanic, no information contained in this automotive repair video shall create any express or implied warranty or guarantee of any particular result. Any injury, damage, or loss that may result from improper use of these tools, equipment, or the information contained.

How to Change Transmission Filter “Honda Odyssey”

[svp]http://www.youtube.com/watch?v=TGJVv3QsOVY[/svp]
In this video I’ll show you how to change the external automatic transmission filter in a Honda Odyssey.

On a lot of vehicles the transmission filter is located in the transmission pan and is only serviceable if you remove the automatic transmission pan and fluid.

On the Honda Odyssey, we have an external transmission filter that’s located on top of the transmission which is pretty easy to get to and service. You can pick one of these transmission filters from any local parts store.

Find it on amazon here https://amzn.to/3TMNgw6

How to Confirm Your Repair P0171 P0174 System Lean

How to Confirm Your Repair P0171 P0174 System Lean

In this video, I will be going over how to confirm you’re repair after diagnosing a p0171 or a p0174 system lean bank 1 and system Lean Bank 2. And this video will be repairing a vacuum leak and monitoring fuel trim values to verify that the repair was successful using fuel trim values on a scan tool. Just a brief overview of fuel trim used to verify a repair.

How to use fuel trim to make sure you car is fixed after the repair!

You fuel trim numbers should always stay around 0% and if they are adding fuel that would mean your engine is running lean. If your fuel trim is taking away the fuel that means your engine is running rich. #systemlean #p0171 #p0174

Check out The Flat Rate Mechanics Tool Store on Amazon https://goo.gl/M8MpdC

Subscribe to my youtube channel here: https://goo.gl/j1pCfn

Most Common Cause of a P0101 “Mass Air Flow (MAF) Circuit/Performance Malfunction”

Most Common Cause of a P0101

Most common cause of a p0101 “Mass Air Flow (MAF) Circuit/Performance Malfunction”?
Code P0101 Definition
Mass Air Flow (MAF) Circuit/Performance Malfunction

Mass air flow sensor cleaner: https://amzn.to/2F9dQht

Code P0101 Meaning
The mass air flow (MAF) sensor measures the amount of air entering the engine. Check engine light code P0101 is set when the measurement of air entering the engine by the mass air flow sensor is outside of the manufacturer’s specified range.

Symptoms
Engine stalling
Difficulty starting
Lack of power
Rough idle
Causes
Dirty, obstructed, or faulty mass air flow sensor
Damaged or disconnected air intake boot (snorkel)
Vacuum leak
Clogged or improperly installed the air filter
Clogged catalytic converter / restricted exhaust

Check out The Flat Rate Mechanics Tool Store on Amazon https://goo.gl/M8MpdC

Subscribe to my youtube channel here: https://goo.gl/j1pCfn

How to Diagnose a Bad Hydraulic Lifter Chevy GMC Trucks

How to Diagnose a Bad Hydraulic Lifter

In this video, I will show you how to diagnose a bad lifter or a hydraulic lifter noise or tick on Chevy and GMC trucks with a 5.3l, 6.0l, or 6.2l.

First I will identify what cylinder is affected by using the factory GM scan tool. Once we know that we will be pulling the valve cover of to check the lifter on this Chevy truck.

P0455 Large EVAP Leak Explained “No Smoke”

P0455 Large EVAP Leak Explained

In this video, I go into detail on why a p0445 large evap system leak sets and hoe the gas vapor system works and why it will set a p0455.

There are a number of different reasons that could cause a p0455 and the #1 reason being the evap vent valve and they are pretty easy to test. In this video, I will be testing the vent valve and the
evap purge valve with a power probe http://amzn.to/2FN2r70

I will active them with the power probe then blow into them to make sure they are sealing properly. And if they don’t that will be the cause of your large EVAP leak. The vent valve is very common and I hope this video helps a few people save a little money on their auto repair bills. Thanks for watching the Fate Rate Mechanic.

The one tool every mechanic should have: http://amzn.to/2FN2r70

Subscribe here: https://goo.gl/j1pCfn


How to Replace Rear Axle Seals DIY “Quick Overview”

How to Replace Rear Axle Seals DIY

In this video, I will give you a very fast overview on how to remove and replace your rear axles so you can the leaking axle seals can be replaced. There are also a few tools you will need, you can get cheap on Amazon here are the links:

Slide Hammer https://amzn.to/2NQjl4u
Seal installer https://amzn.to/2Q5q5gh
Gear Oil https://amzn.to/2NiloBb
Bearing Grease https://amzn.to/2wHEgPS

The one tool every mechanic should have: http://amzn.to/2FN2r70

Subscribe here: https://goo.gl/j1pCfn