
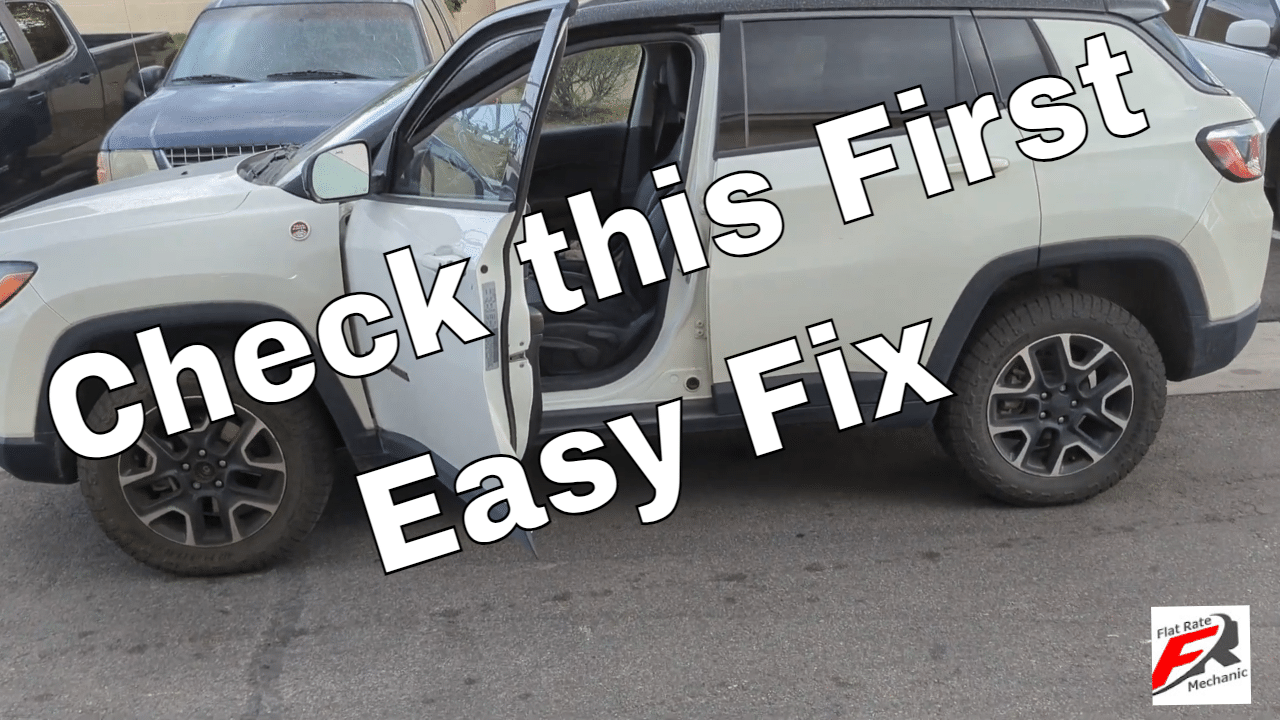
In this video we will go over how to diagnose and fixed diagnostic trouble code p0128 coolant temperature below regulated temperature. Today we’re working on a Jeep Grand Cherokee. showing you a quick overview of the cooling system and thermostat assembly.
how to
How to Service your Car A/C System Plus Cost
Is your car’s air conditioning not performing as it should? Don’t sweat it! In this informative video, we’ll guide you through the steps to service your car’s A/C system, ensuring you stay cool and comfortable behind the wheel all summer long.
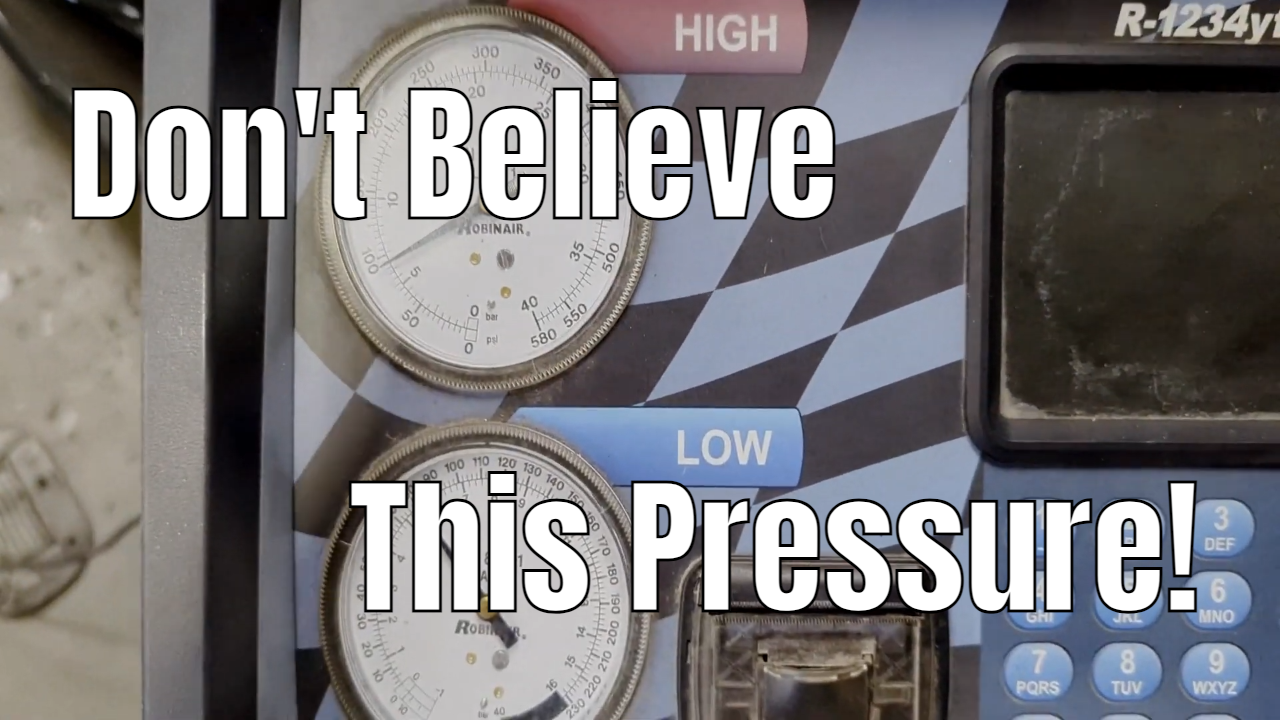
Step 1: Visual Inspection Begin by visually inspecting the A/C system components for any signs of damage or leaks. Check the compressor, hoses, and connections for wear, corrosion, or visible leaks.
Step 2: Refrigerant Level Check Next, check the refrigerant level using a pressure gauge. Low refrigerant levels can impair A/C performance. If the pressure is low, it may indicate a leak in the system.
Step 3: Recharge Refrigerant If the refrigerant level is low, recharge the system with the appropriate refrigerant. Follow the manufacturer’s guidelines for the correct type and amount of refrigerant to use.
Step 4: Check Compressor Operation Test the compressor to ensure it’s functioning properly. Turn on the A/C and listen for the compressor engaging. If the compressor doesn’t engage, it may indicate a problem with the compressor clutch or electrical system.
Step 5: Clean Condenser Clean the condenser to remove dirt, debris, and bugs that can obstruct airflow and impair cooling performance. Use a gentle stream of water or compressed air to clean the fins thoroughly.
Step 6: Inspect Cabin Air Filter Check the cabin air filter for dirt and debris. A clogged filter can restrict airflow and reduce A/C efficiency. Replace the filter if necessary.
Step 7: Test A/C Performance After completing the service steps, test the A/C system to ensure it’s blowing cold air efficiently. Monitor the temperature and airflow to verify proper operation.
Cost Breakdown:
- Refrigerant: The cost of refrigerant varies depending on the type and amount needed for your vehicle. Expect to pay between $50 to $150 for a refrigerant recharge.
- Cabin Air Filter: Replacement cabin air filters typically range from $10 to $30, depending on the brand and model.
- Professional Service: If you prefer to have a professional service your car’s A/C system, expect to pay between $100 to $300 for a basic A/C service, including refrigerant recharge and inspection.
Stay cool and comfortable on the road by following these simple steps to service your car’s A/C system. Don’t let hot summer days ruin your drive – keep your A/C running smoothly with regular maintenance and attention to detail. Subscribe to our channel for more helpful tips and tutorials on car care and maintenance.
P1101 Chevy Cruze and Malibu- Fix!
Understanding the P1101 Code
The P1101 code primarily indicates a problem with the Mass Airflow (MAF) sensor in Chevy Cruze and Malibu models. This sensor plays a crucial role in measuring the volume of air entering the engine, which is essential for maintaining the correct air-fuel ratio. A fault in the MAF sensor can lead to inefficiencies in engine performance, including reduced power output, decreased fuel efficiency, and potential stalling or starting issues.
Diagnostic and Repair Guide
- PCV Valve and Mass Airflow System Inspection: Begin by inspecting the PCV valve for any signs of faultiness. A rattling sound from the valve upon shaking indicates it needs replacement. For the MAF sensor, use an OBD-II scanner to check for proper voltage readings. Abnormal readings suggest the sensor needs replacement.
- Oxygen Sensor Check: A faulty oxygen sensor might contribute to the P1101 code by storing additional trouble codes. Replace any malfunctioning sensors to avoid exacerbating the issue.
- Air Filter and Throttle Body: Inspect the air filter for any blockages that could restrict airflow to the engine. A dirty throttle body can also impede airflow, necessitating cleaning or replacement if it’s contributing to the P1101 code.
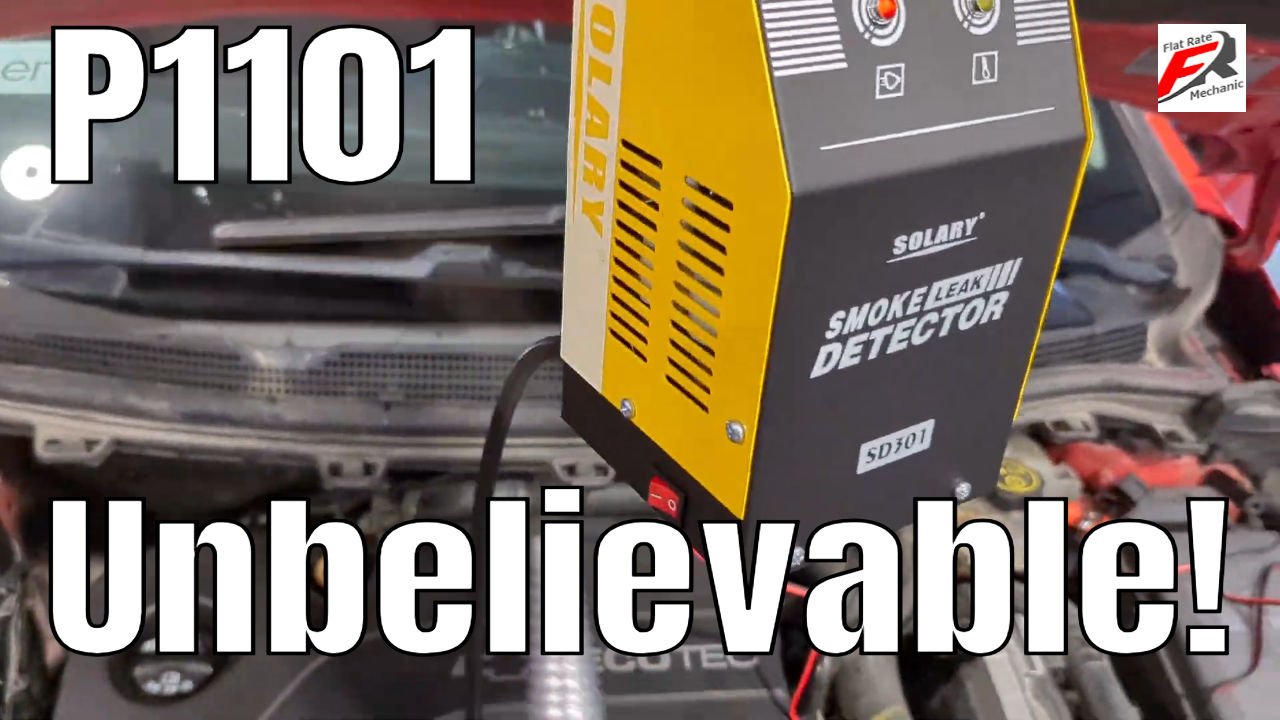
- Vacuum Leak Identification: Vacuum leaks in the engine can disrupt the air-fuel mixture, leading to the P1101 code. Utilize a smoke machine to detect leaks in the intake manifold or any part of the air intake system. Smoke emanating from any component indicates a leak that must be repaired.
- Inspecting the Intake Hose: Damage or leaks in the intake hose can lead to issues similar to those caused by vacuum leaks, as they can allow unmeasured air into the engine, disrupting the air-fuel balance.
Preventive Maintenance Tips
- Regularly inspect and clean the MAF sensor and replace the air filter as needed to prevent blockages.
- Inspect hoses and connections within the air intake system for signs of wear or damage and replace as necessary to prevent future vacuum leaks.
Now, let’s explore the steps you can take to resolve the P1101 code and get your Chevy Cruze or Malibu back on track:
- Inspect MAF Sensor Connections: Begin by inspecting the connections to the MAF sensor. Ensure that the electrical connector is securely attached and that there are no visible signs of damage or corrosion.
- Clean MAF Sensor: Over time, the MAF sensor can accumulate dirt, oil, or other contaminants, affecting its performance. Use a specialized MAF sensor cleaner to carefully clean the sensor. Be gentle to avoid damaging delicate components.
- Check Air Filter: A clogged or dirty air filter can also cause issues with airflow, leading to MAF sensor problems. Inspect the air filter and replace it if necessary.
- Inspect for Vacuum Leaks: Vacuum leaks can disrupt the airflow and lead to irregular MAF sensor readings. Perform a thorough inspection of the vacuum lines and connections, repairing any leaks you find.
- Reset ECM: After completing the above steps, reset the ECM to clear the trouble code. You can do this by disconnecting the battery for a few minutes or using a diagnostic tool.
- Monitor Performance: Once you’ve addressed the potential causes of the P1101 code, monitor your vehicle’s performance. If the check engine light remains off and the engine operates smoothly, you’ve likely resolved the issue.
Professional Assistance:
If you’re uncomfortable performing these steps yourself or if the issue persists after attempting the fixes, it’s advisable to seek assistance from a qualified mechanic or dealership. They have the expertise and diagnostic tools necessary to accurately diagnose and address the problem.
Conclusion:
Encountering the P1101 trouble code on your Chevy Cruze or Malibu can be concerning, but it’s not an insurmountable obstacle. By following the steps outlined above, you can effectively diagnose and resolve the issue, restoring your vehicle’s performance and efficiency. Remember, regular maintenance and prompt attention to warning signs are key to keeping your vehicle running smoothly for years to come.
How to Check your Cars Coolant level and Condition!
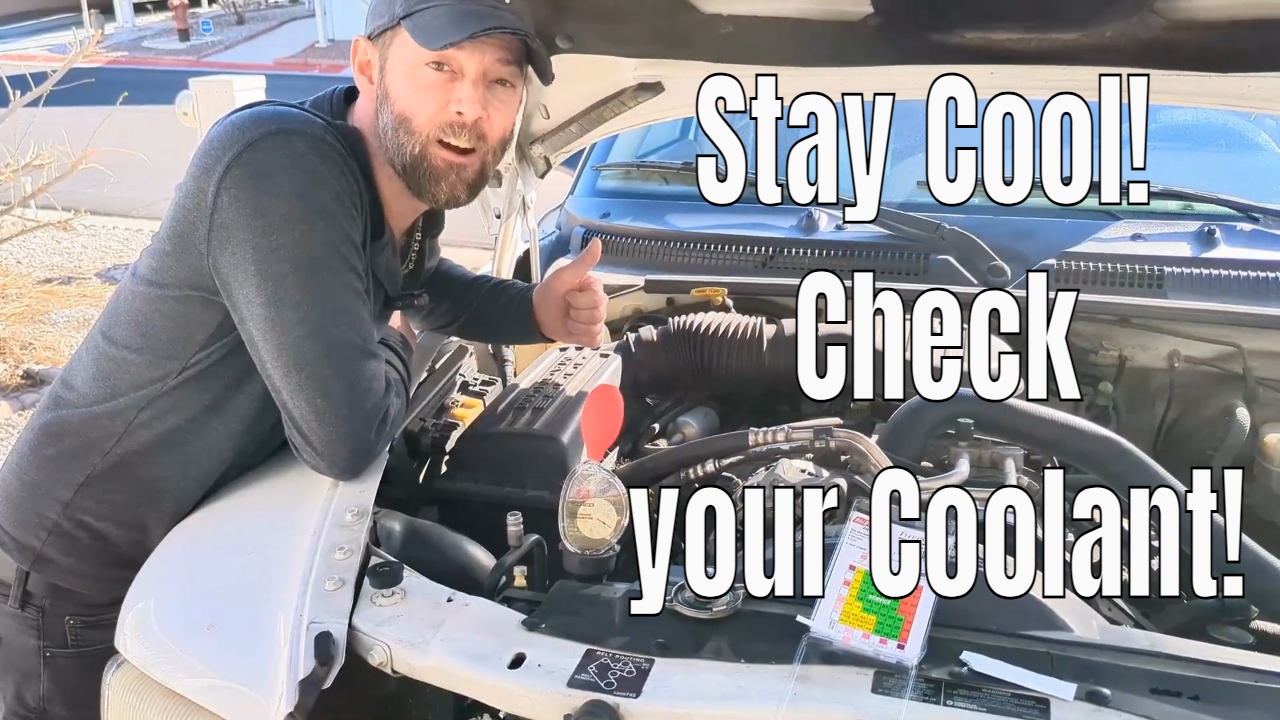
How to check your car’s coolant level and condition! Properly maintaining your vehicle’s cooling system is crucial for engine health and performance. In this video, we’ll walk you through the step-by-step process of checking your coolant level and condition to ensure your cooling system continues to work properly. Subscribe to my YouTube channel here: https://goo.gl/j1pCfn For the most common automotive fixes to car and truck problems. DIY auto repair to help you save money.
Coolant freeze tester on Amazon https://amzn.to/3wW7E7E and coolant test strips here https://amzn.to/4cmVswW
Honda Battery Light on Not Charging? How to Test Charging System!
Is your Honda’s battery light on, and the alternator not charging? Don’t panic!
I’ll show you exactly how to test your Honda’s charging system to diagnose the issue accurately. From checking battery connections to testing the alternator output, we’ll walk you through each step of the process in detail.
Whether you’re a seasoned DIYer or a newbie to car maintenance, our easy-to-follow instructions and troubleshooting tips will help you identify and resolve any charging system issues effectively.
Subscribe to my YouTube channel here: https://goo.gl/j1pCfn For the most common automotive fixes to the most common car and truck problems. DIY auto repair to help you save money.
Auto Stop Start not Working Service – Check this First!
🚗 Auto Stop-Start Not Working? Learn How to Troubleshoot & Fix it | Car Service Guide
Auto Start Stop Eliminator on Amazon https://amzn.to/3PeYaLj
Is your Auto Stop-Start feature on your car acting up or not working at all? Before heading to the service center, check out this video for some simple DIY troubleshooting steps that might save you time and money!
⚙️ In this Video: Understanding the Auto Stop-Start System Common Reasons for Auto Stop-Start Failure DIY Checks You Can Perform Step-by-Step Troubleshooting Guide Quick Fixes You Can Try at Home
🔧 Possible Causes: Weak or Faulty Battery Sensor Malfunctions Issues with the Starter or Alternator System Calibration Problems
🛠️ DIY Troubleshooting Steps: Checking the Battery Health Inspecting Sensors and Connections Verifying System Settings Clearing Error Codes (If applicable)
💡 Why is Auto Stop-Start Important? The Auto Stop-Start feature is designed to enhance fuel efficiency and reduce emissions by automatically turning off the engine when the vehicle is stationary. A malfunctioning system may lead to decreased fuel efficiency.
📌 Disclaimer: Perform these troubleshooting steps at your own risk. If you are unsure or uncomfortable with any procedure, it’s always best to consult a professional mechanic.
👍 Like, Share, and Subscribe for More: If you find this video helpful, don’t forget to hit the like button, share it with fellow car enthusiasts, and subscribe for more automotive troubleshooting and maintenance tips.
Subscribe to my you tube channel here: https://goo.gl/j1pCfn For the most common automotive fixes to the most common car and truck problems. DIY auto repair to help you save money.
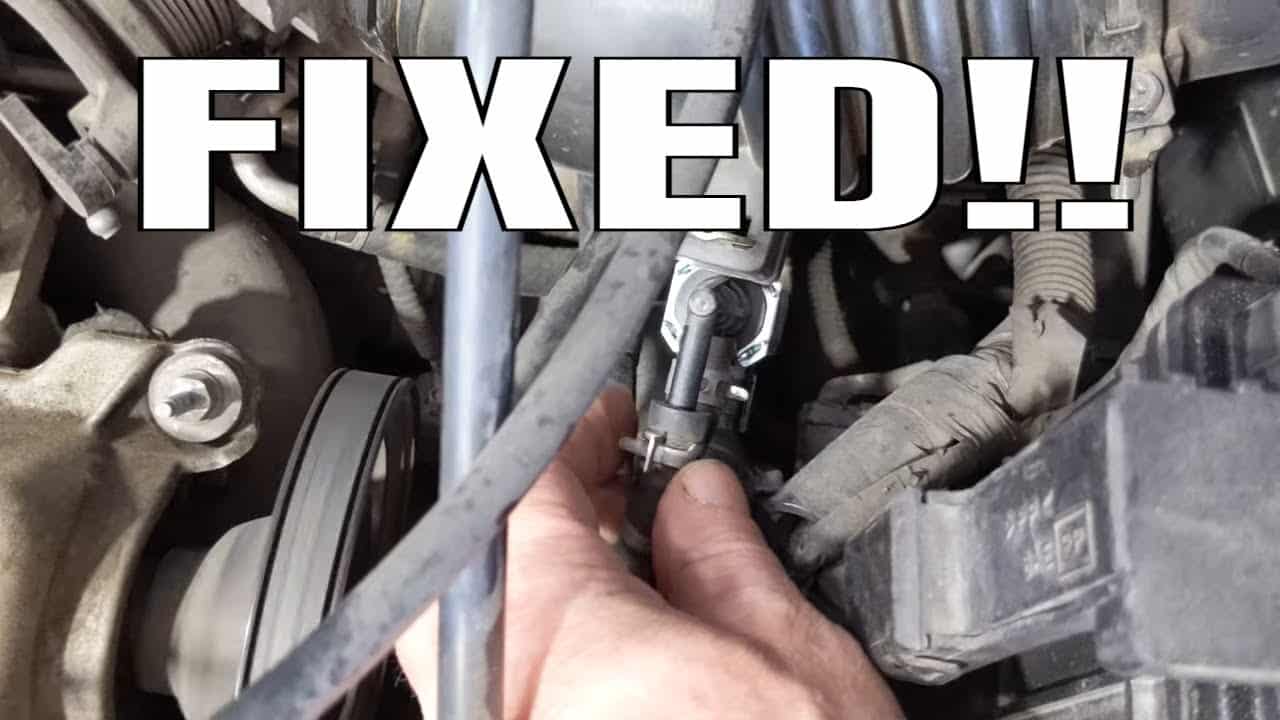
P1101 Air Flow Volume Chevy Malibu “Help Needed”
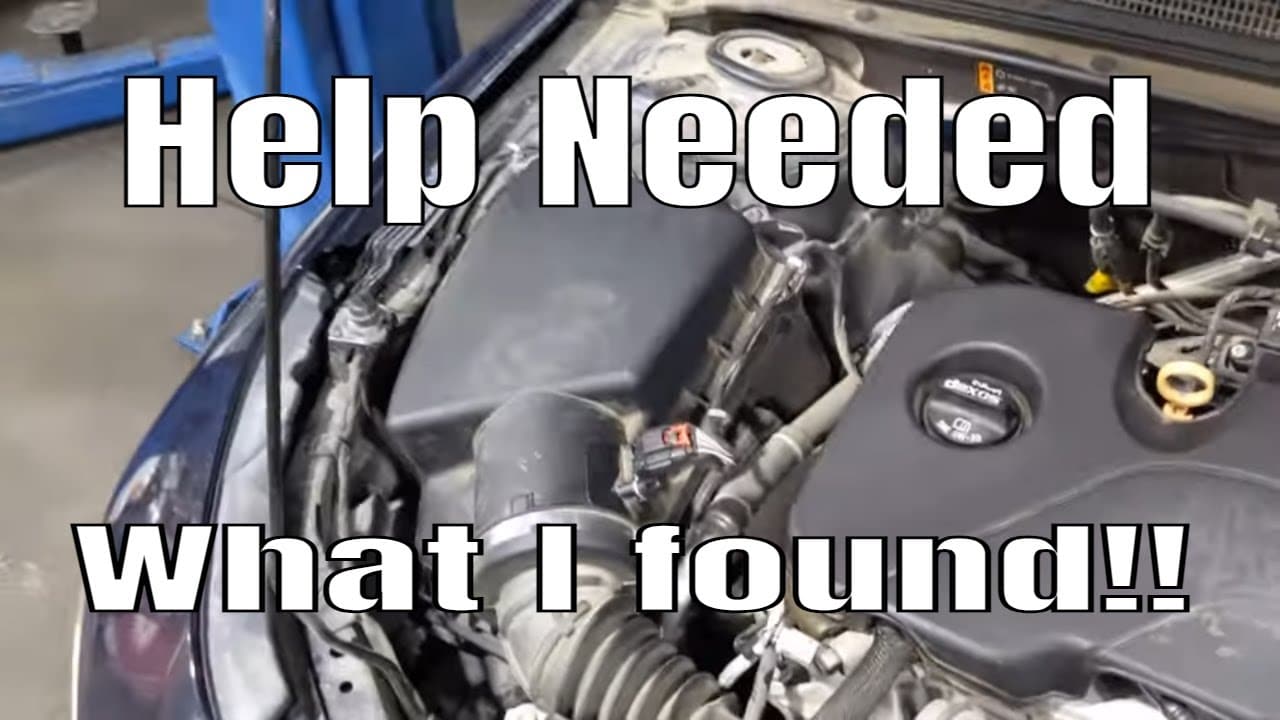
All right flat rate mechanic here again and we’re diagnosing a p1101 for airflow volume on this Chevy Malibu which seems to be a pretty common problem. The customer came in and they had already replaced the mass airflow sensor one of my techs diagnosed it and we ended up cleaning the throttle body and putting in a map sensor. The check engine light still came back on so I’m gonna kind to go through what I found and how to check these first. What you really need to do if you’re trying to fix p1101 for the airflow is you’re going to need to smoke the actual boost side of this intake system so basically you’re going to have to block off where the air comes in here and lock it off here and you’re going to want to check for leaks through this uh through the turbo through the intercooler and see if you got any leaks on that air charge side of this whole system there’s any leaks whatsoever it’s going to cause that p1101
we did smoke that we took it up here we actually smoked it through here blocked this off we didn’t find any leaks so that all checked out good and we’ve replaced both the booth sensor and the mass airflow sensor or the map sensor sorry the only sensor we haven’t done is a boost sensor but thus far that seems to check out our right but I’m going to show you what we found um I do have this little deal here wants us to check some some of the perimeters on the scan tool which I have up right now we got our boost pressure sensor fuel trim manifold pressure and mass airflow so um and on here one of the first things it wants you to do is uh we want you to basically compare your boost pressure sensor to your Maps sensor pressure so we can go ahead and do that and you’re going to want to do that with the engine off so we’ll go ahead and shut the engine off and we’ll go to English here so we’ve got pounds and you can see where uh relatively close to win range we got 13.5 and 14.1 so I would consider that acceptable so now we’ll go ahead and start it the next thing he wants us to do is check the mass airflow sensor we should have approximately three grams per second at idle so we’re going to go ahead and check that next we’re going to go ahead and start it up and we’ll change our scan tool to metric so we can read grams per second and looks like we’re at about 2.8 and now this is a new Point 2.4 actually so this is a new mass airflow sensor our idle uh seems like we are idling very low we did do a throttle body cleaning Subscribe to my youtube channel here: https://goo.gl/j1pCfn
For the most common automotive fixes to the most common car and truck problems. DIY auto repair to help you save money. Connect with me:
Website: https://flatratemechanic.com
Facebook: https://www.facebook.com/groups/diyrepair
Twitter: https://goo.gl/mmpqts Instagram:
https://goo.gl/NCjRhM
Check out The Flat Rate Mechanics Tool Store on Amazon https://goo.gl/M8MpdC For Promotional offers, consulting, training, sponsorships or other inquiries contact me at FlatRateMechanic1@gmail.com
The Flat Rate Mechanic. 26-year ASE Master Automotive Technician and Advanced level ASE certified here to help you save money on your automotive repairs The Flat Rate Mechanic is a participant in the Amazon Influencer Program. Disclaimer: Due to factors beyond the control of The Flat Rate Mechanic, it cannot guarantee against unauthorized modifications of this information or improper use of this information. The Flat Rate Mechanic assumes no liability for property damage or injury incurred as a result of any of the information contained in this automotive repair video. The Flat Rate Mechanic recommends safe practices when working on cars or trucks with power tools, automotive lifts, lifting tools, jack stands, electrical equipment, blunt instruments, chemicals, lubricants, or any other tools or equipment seen or implied in this repair video. Due to factors beyond the control of The Flat Rate Mechanic, no information contained in this automotive repair video shall create any express or implied warranty or guarantee of any particular result. Any injury, damage, or loss that may result from improper use of these tools, equipment, or the information contained.
How to Fix P0101 Mass or Volume Air Flow “Nissan Altima” Mass Air Flow Sensor Fixed
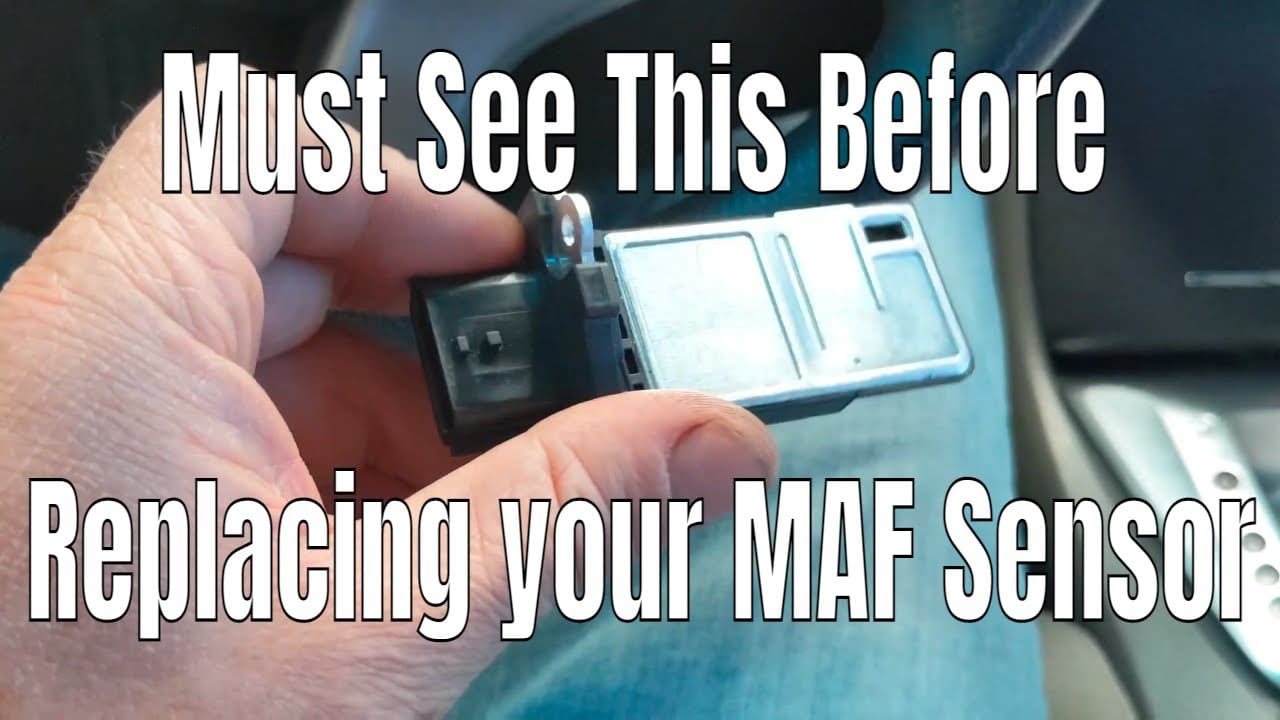
In this video, I will show you how to fix p0101 mass air flow sensor circuit. We’re working on a 2011 Nissan Altima and in this video, I just wanted to go over a few things we found. First, we tried cleaning the mass air flow sensor which in a lot of cases can help and is always a good thing to try before replacing the mass air flow sensor.
If you need to know how to clean the mass air flow sensor they do sell mass air flow sensor cleaner here https://amzn.to/3yef3wP . Sometimes just this alone will fix a p0101 On this vehicle, we actually had to replace the mass air flow sensor and also there’s a service bulletin that states a computer should be updated with new software to prevent this problem from happening. We deliver all this information in this video about Nissan’s mass air flow problems.
If you would like to see more great automotive video be sure to subscribe to The Flat Rate Mechanic Subscribe to my youtube channel here: https://goo.gl/j1pCfn For the most common automotive fixes to the most common car and truck problems. DIY auto repair to help you save money.
Connect with me:
Website: https://flatratemechanic.com
Facebook: https://www.facebook.com/groups/diyrepair
Twitter: https://goo.gl/mmpqts
Instagram: https://goo.gl/NCjRhM
Check out The Flat Rate Mechanics Tool Store on Amazon https://goo.gl/M8MpdC
For Promotional offers, consulting, training, sponsorships or other inquiries contact me at FlatRateMechanic1@gmail.com The Flat Rate Mechanic. 26-year ASE Master Automotive Technician and Advanced level ASE certified here to help you save money on your automotive repairs The Flat Rate Mechanic is a participant in the Amazon Influencer Program.
Disclaimer: Due to factors beyond the control of The Flat Rate Mechanic, it cannot guarantee against unauthorized modifications of this information or improper use of this information. The Flat Rate Mechanic assumes no liability for property damage or injury incurred as a result of any of the information contained in this automotive repair video. The Flat Rate Mechanic recommends safe practices when working on cars or trucks with power tools, automotive lifts, lifting tools, jack stands, electrical equipment, blunt instruments, chemicals, lubricants, or any other tools or equipment seen or implied in this repair video. Due to factors beyond the control of The Flat Rate Mechanic, no information contained in this automotive repair video shall create any express or implied warranty or guarantee of any particular result. Any injury, damage, or loss that may result from improper use of these tools, equipment, or the information contained.
How To Get Your Car Out Of Park If Your Battery is Dead

Stuck shifter
In this video I’ll show you how to get your car out of park if your battery’s dead or if the shifter cable is broken. I’m working on a 2015 Ford escape and it’s actually stuck in reverse you cannot put it in park and you cannot move the shifter from park also the car won’t start because it’s stuck in reverse. What we found is a broken shifter cable but I was able to shift the car out of park by releasing the lock mechanism underneath the shifter. You can do this on just about every vehicle but they are all different.
P0455 P2188 P0441 P2190 System Running Rich, Large EVAP Leak, and Purge Flow
P0455 P2188 P0441 P2190 System Running Rich, Large EVAP Leak, and Purge Flow Codes. In this video we will show you how to fix p0455 large evap system leak, p2188 system running rich bank 1, p0441 evap purge flow, and p2190 system too rich bank 2. The trouble codes we found in the car PCM are all caused by the same problem and we will go over what we found and show you how to diagnose this problem