“Stay Cool and Leak-Free: Your Guide to Spotting Common AC Leaks!”

In the scorching heat of summer, few things are more essential than a reliable air conditioner. However, even the most well-maintained AC units can experience issues, and one of the most common problems is leaks. These leaks not only compromise the efficiency of your cooling system but can also lead to costly repairs if left unaddressed. In this comprehensive guide, we’ll walk you through everything you need to know about spotting and addressing common AC leaks, so you can stay cool and comfortable all season long.

Understanding Common AC Leaks: Before we delve into spotting AC leaks, it’s essential to understand where they typically occur. Common culprits include refrigerant leaks, which can result from worn-out seals or damaged coils, and condensate leaks, ac compressor leaks. Additionally, leaks can also stem from cracked or corroded components within the AC unit.

Signs of AC Leaks: Spotting AC leaks early is crucial for preventing further damage to your cooling system. Some common signs to watch out for include:

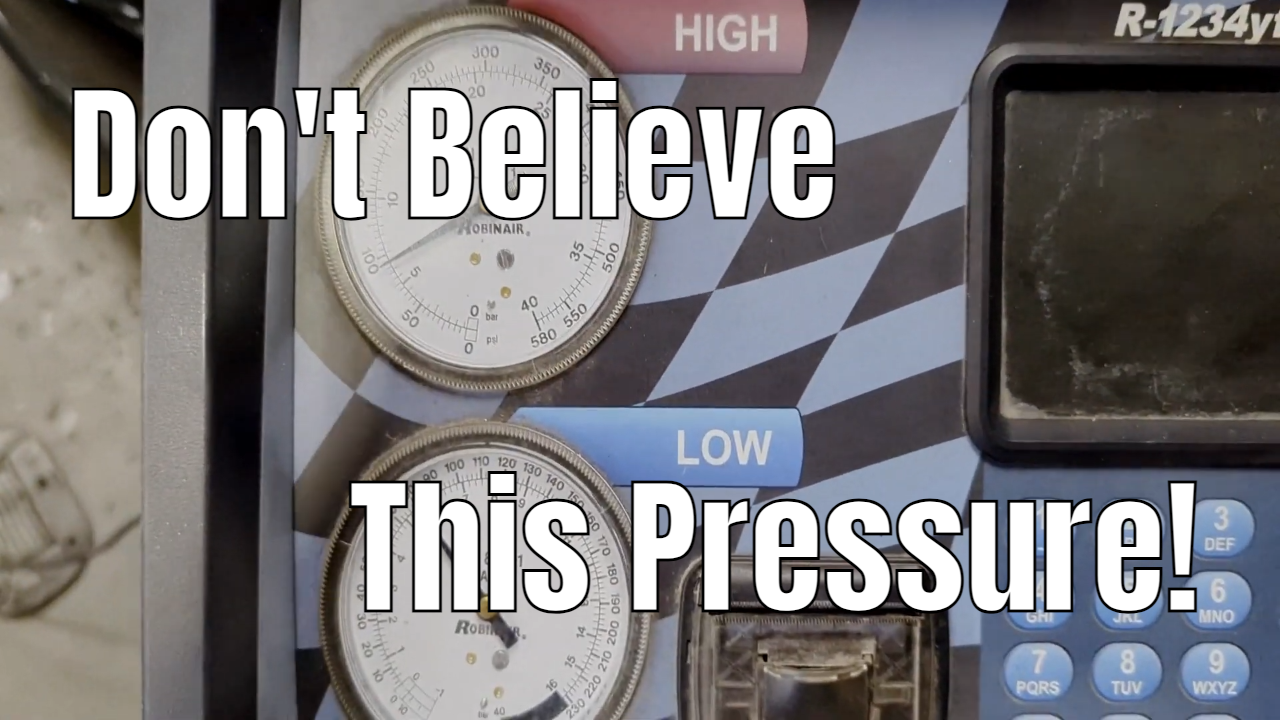
  1. Reduced Cooling Performance: If you notice that your AC isn’t cooling your car as effectively as it used to, it could be a sign of a refrigerant leak.
  2. Unusual Sounds: Hissing or bubbling noises coming from your AC unit may indicate a refrigerant leak.
  3. Moisture Buildup: Excessive moisture or puddles of water around your AC unit could signal a condensate leak.
  4. Ice Buildup: Ice forming on the refrigerant lines or evaporator coil may indicate a refrigerant leak or airflow problem.

Spotting AC Leaks: Now that you’re familiar with the signs of AC leaks let’s discuss how to spot them:

  1. Visual Inspection: Begin by visually inspecting your AC unit for any signs of leaks, such as moisture buildup or corrosion on components.
  2. Check Refrigerant Lines: Examine the refrigerant lines for any signs of damage, such as cracks or corrosion.
  3. Inspect Condensate Drain Line: Ensure that the condensate drain line is clear of any obstructions and free from damage.
  4. Monitor Cooling Performance: Keep an eye on your AC’s cooling performance and take note of any changes or inconsistencies.
  5. Listen for Unusual Sounds: Pay attention to any hissing or bubbling noises coming from your AC unit, as these may indicate a refrigerant leak.

Addressing AC Leaks: If you suspect that your AC unit has a leak, it’s essential to address it promptly to prevent further damage. Depending on the severity of the leak, you may need to:

  1. Seal Refrigerant Leaks: Repairing refrigerant leaks often requires professional assistance, as handling refrigerant can be dangerous. A qualified HVAC technician can locate and seal the leak, then recharge the system with the correct amount of refrigerant.
  2. Unclog Condensate Drain Line: If the condensate drain line is clogged, you can attempt to clear it using a wet/dry vacuum or a pipe brush. However, if you’re unsure how to do this, it’s best to seek professional help.
  3. Replace Damaged Components: In cases where AC leaks are caused by damaged components, such as coils or seals, these parts may need to be replaced to prevent future leaks.

Conclusion: Spotting and addressing AC leaks is essential for maintaining the efficiency and longevity of your cooling system. By familiarizing yourself with the signs of common AC leaks and knowing how to spot them, you can address issues promptly and avoid costly repairs down the line. If you’re unsure how to handle an AC leak, it’s always best to consult with a qualified HVAC technician who can diagnose the problem and recommend the appropriate course of action. With the right knowledge and proactive approach, you can keep your home cool and leak-free throughout the summer months.

How to Service your Car A/C System Plus Cost

Is your car’s air conditioning not performing as it should? Don’t sweat it! In this informative video, we’ll guide you through the steps to service your car’s A/C system, ensuring you stay cool and comfortable behind the wheel all summer long.

Step 1: Visual Inspection Begin by visually inspecting the A/C system components for any signs of damage or leaks. Check the compressor, hoses, and connections for wear, corrosion, or visible leaks.

Step 2: Refrigerant Level Check Next, check the refrigerant level using a pressure gauge. Low refrigerant levels can impair A/C performance. If the pressure is low, it may indicate a leak in the system.

Step 3: Recharge Refrigerant If the refrigerant level is low, recharge the system with the appropriate refrigerant. Follow the manufacturer’s guidelines for the correct type and amount of refrigerant to use.

Step 4: Check Compressor Operation Test the compressor to ensure it’s functioning properly. Turn on the A/C and listen for the compressor engaging. If the compressor doesn’t engage, it may indicate a problem with the compressor clutch or electrical system.

Step 5: Clean Condenser Clean the condenser to remove dirt, debris, and bugs that can obstruct airflow and impair cooling performance. Use a gentle stream of water or compressed air to clean the fins thoroughly.

Step 6: Inspect Cabin Air Filter Check the cabin air filter for dirt and debris. A clogged filter can restrict airflow and reduce A/C efficiency. Replace the filter if necessary.

Step 7: Test A/C Performance After completing the service steps, test the A/C system to ensure it’s blowing cold air efficiently. Monitor the temperature and airflow to verify proper operation.

Cost Breakdown:

  • Refrigerant: The cost of refrigerant varies depending on the type and amount needed for your vehicle. Expect to pay between $50 to $150 for a refrigerant recharge.
  • Cabin Air Filter: Replacement cabin air filters typically range from $10 to $30, depending on the brand and model.
  • Professional Service: If you prefer to have a professional service your car’s A/C system, expect to pay between $100 to $300 for a basic A/C service, including refrigerant recharge and inspection.

Stay cool and comfortable on the road by following these simple steps to service your car’s A/C system. Don’t let hot summer days ruin your drive – keep your A/C running smoothly with regular maintenance and attention to detail. Subscribe to our channel for more helpful tips and tutorials on car care and maintenance.

Ford F-150 dash trim panel removal and HVAC control head replacement

Ford F-150 dash trim panel removal

This video is a quick overview of how to remove the dash trim panel in a Ford F-150 or Ford F250 pickup truck. Will be removing the interior trim panel to gain access to the heater control head or the HVAC control head so we can replace it. They’re not very many special tools you need to do this job and it is relatively easy DIY repair.

On this Ford F-150 pickup truck and the customer was complaining of the blower motor randomly coming on and the customer could not shut the blower motor off. After testing at the back of the control head itself found blower motor output was always constant even with the blower motor controls turn down. Indicating the HVAC control head shorted internally. In this video, we replace the HVAC control head with a used unit and retested good.

Jeep Grand Cherokee broken blend door HVAC “NO Heat”

Jeep Grand Cherokee broken blend door

In this video, we had a Jeep Cherokee in and the customer is complaining of there not being any heat. Are not being able to switch that I heat from hot to cold. After further inspection, I was able to gain access to the blend door motor underneath the driver’s side Dash. I was able to check to make sure the blend door was working and it was working properly but found the shaft that the heater blend door controls were broken.

Had to remove the complete Dash Jeep Grand Cherokee to be able to gain access to the HVAC box. I did have to replace the complete unit because you cannot replace just the blend door is self. The blend doors or Mode door seems are being a bigger problem on these Jeep Grand Cherokees and have done a few over the last several months. It ends up being about a six-hour job to pull the dash in one of these.


Volvo Blower Motor not Working “Fixed”

Volvo Blower Motor Repair

In this video, the customer was complaining of her blower motor cutting out intermittently. We observe that the lights for the speed control for the blower motor won’t lighting up on her HVAC control panel and also all the controls are very erratic.

The blower motor for the heat and air conditioning would cut out randomly. The video will show you what we found and how we fix the problem on this Volvo heating and air conditioning blower motor problem.

The one tool every mechanic should have: http://amzn.to/2FN2r70

Subscribe to my youtube channel here: https://goo.gl/j1pCfn


A/C cutting out intermittently Honda Civic “Easy Test”

AC cutting out intermittently Honda Civic

Flat Rate Mechanic here and in this video I have a 2010 Honda Civic that the customer was complaining of the AC cutting out when it gets hot. So whatever is able to do is monitor the power actually going to the AC compressor clutch. And when the problem actually occurred there was still power being applied to the AC compressor.

Honda A/C compressor clutch https://amzn.to/2x4m4jH

I was actually able to tap on the front of the AC compressor clutch and it would engage indicating that the AC compressor clutch coil is getting weak. And typically they will fail when they get hot because resistance in the electric circuit goes up and the magnetic coil in AC clutch is made up of just a huge winding of copper wire so resistance relative to heat when they start to fail can go up quite a bit.

Thanks for watching the flat rate mechanic be sure to subscribe to my channel hope this video was helpful. Stay greasy my friends.

#HondaAC #ACFix #FlatRateMechanic

The one tool every mechanic should have: http://amzn.to/2FN2r70

Subscribe here: https://goo.gl/j1pCfn