How to Fix P0420 without replacing the Catalytic Converter

[svp]http://www.youtube.com/watch?v=N66f-JAF9mk[/svp]

Are you experiencing a P0420 code on your vehicle? A P0420 code indicates that the catalytic converter is not functioning correctly The most common solution for this problem is replacing the converter, which can be costly and time-consuming. In this article, we’ll show you a few ways to fix your P0420 without replacing your catalytic converter. This fix will save you time and money, and you won’t have to take your car in for repairs!

Why Replacing the Catalytic Converter May Not Be the Best Solution

First, it’s important to note that bypassing a catalytic converter is illegal in most states and countries and it’s also not a safe way to solve the problem. It may cause more emissions and damage to the engine and the environment. We recommend diagnosing the problem and fixing it accordingly to the manufacturer’s recommendations.

The catalytic converter is an emissions control device located in the exhaust system. It converts harmful pollutants in the exhaust gas into less harmful gases before they are released into the atmosphere. The converter is made up of a ceramic or metallic substrate that is coated with a catalytic material, such as platinum, palladium, or rhodium. The converter is designed to last the life of the vehicle, but it can fail due to several reasons.

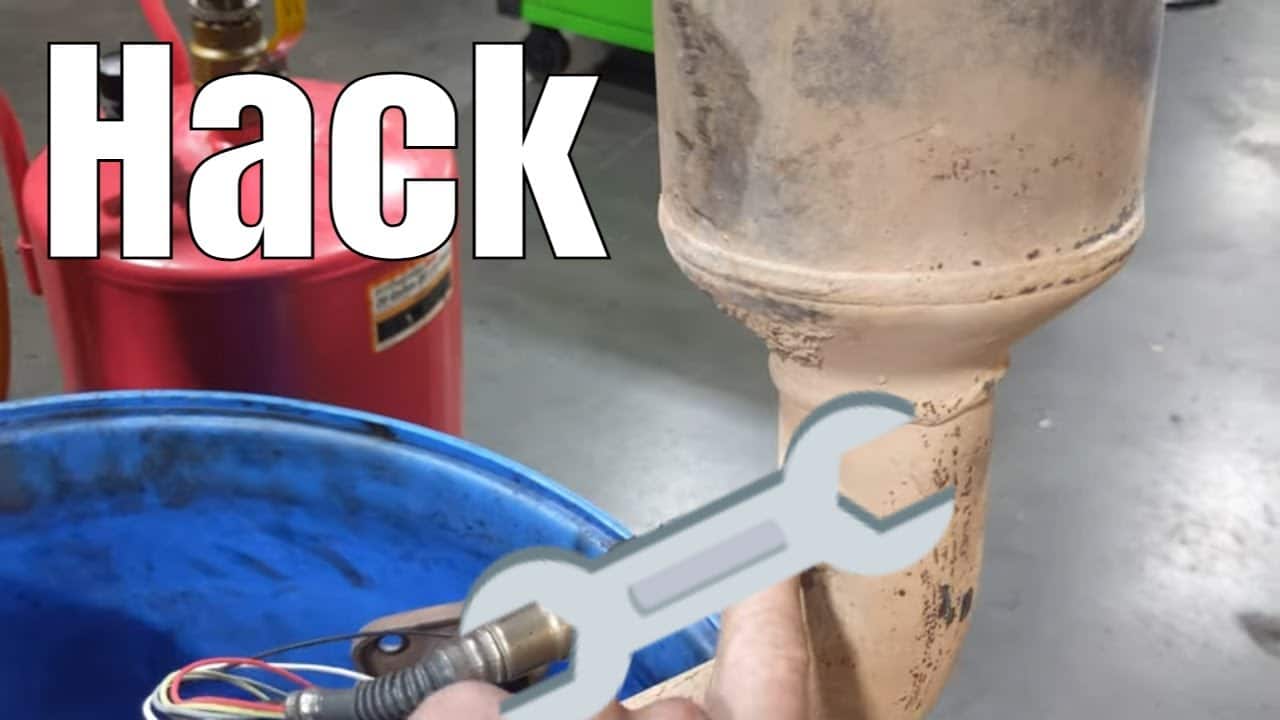
Check the Oxygen Sensors

One of the first things to check is the oxygen sensors. These sensors measure the amount of oxygen in the exhaust and send the data to the engine control module (ECM). If the sensors are faulty or malfunctioning, they may send incorrect data to the ECM, causing it to think the catalytic converter is not working properly. In this case, replacing the oxygen sensors can solve the problem without having to replace the entire catalytic converter.

There are two oxygen sensors in the exhaust system, one before the catalytic converter and one after. The sensor before the converter is called the upstream sensor, and the sensor after the converter is called the downstream sensor. The downstream sensor monitors the output of the converter, and the upstream sensor monitors the input.

If the upstream sensor is malfunctioning, it may send incorrect data to the ECM, causing it to think the converter is not working properly. This can trigger a P0420 code. Replacing the upstream sensor can solve the problem and clear the code.

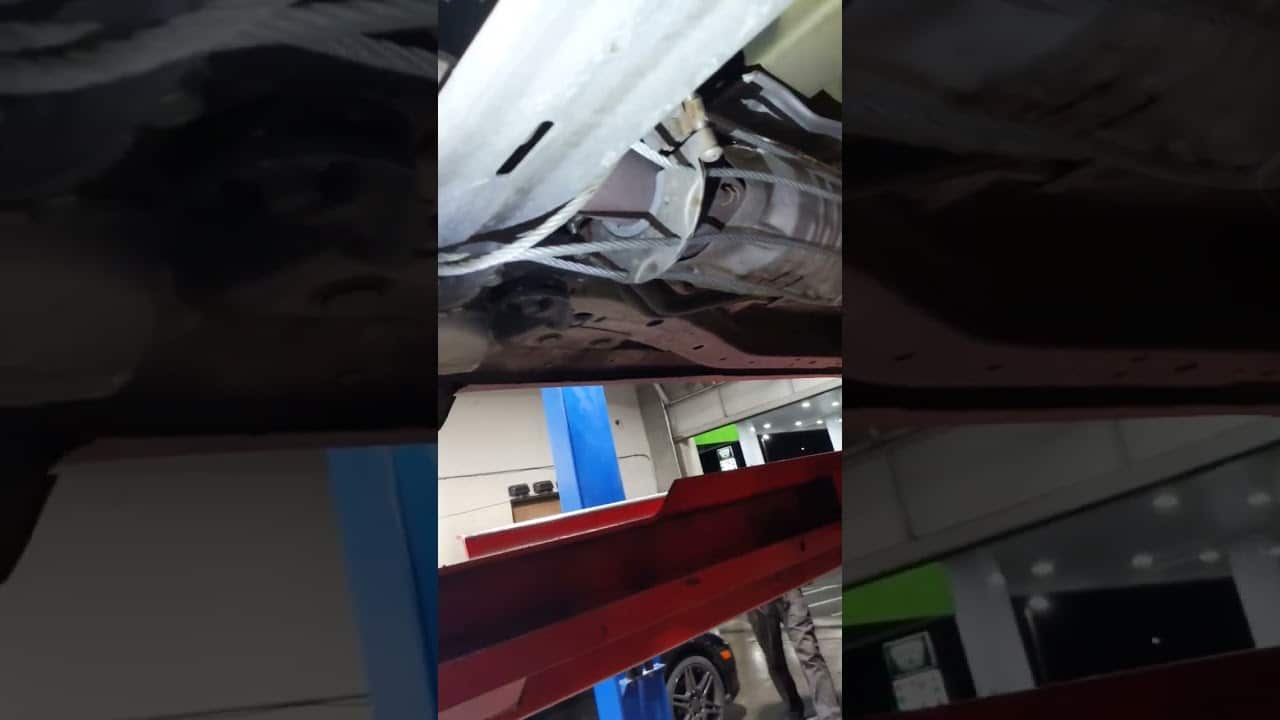
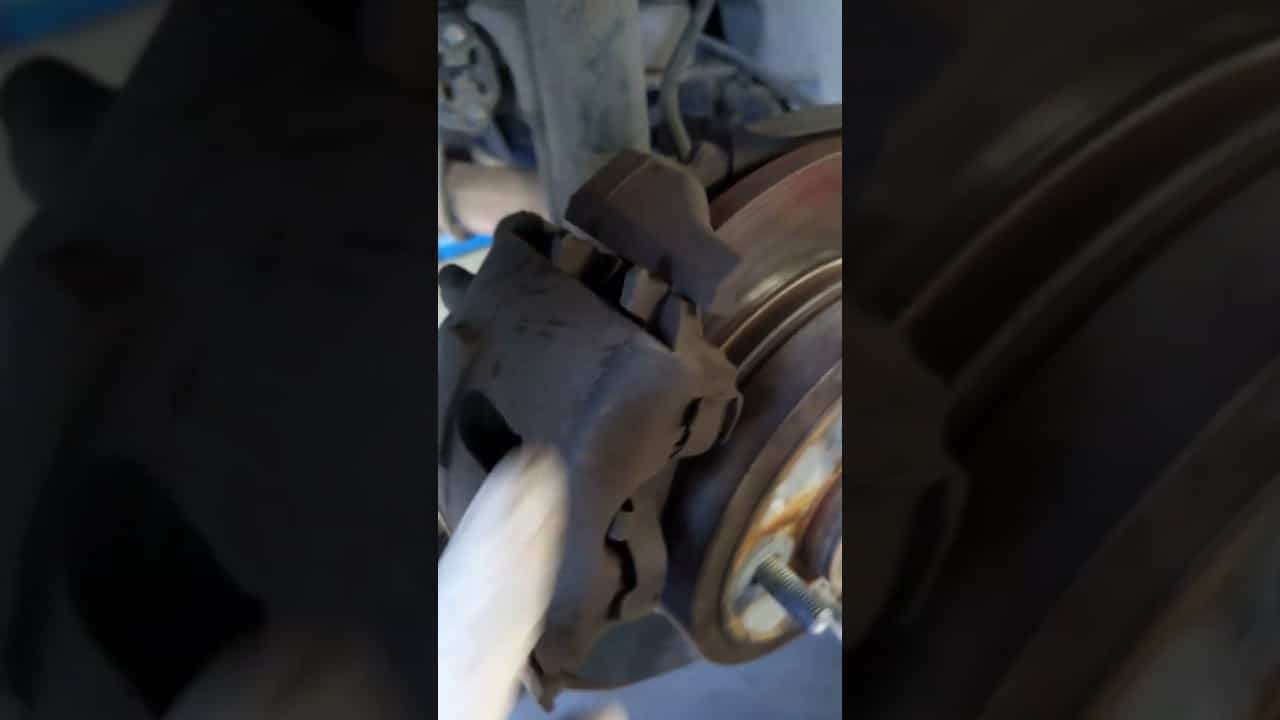
Inspect the Exhaust System

Another common cause of P0420 codes is a clogged or damaged exhaust system. Inspect the exhaust pipes, muffler, and catalytic converter for any signs of damage or blockages. If you find any, repair or replace the affected parts. This can include fixing leaks, dents, or rust in the exhaust pipe, or replacing a damaged muffler.

A clogged or restricted exhaust system can cause the engine to run lean, which can trigger a P0420 code. The converter needs a certain amount of exhaust flow to function properly, and if the flow is restricted, it can cause the converter to overheat and fail.

Check the Engine Management System

Another possible cause of a P0420 code is a problem with the engine management system. The engine management system controls the air-fuel ratio and the ignition timing. If there is a problem with the system, it can cause the engine to run lean or rich, which can trigger a P0420 code.

Using a Spark Plug Fowler

Another option is to use a spark plug Fowler, also known as a spark plug non-fouler. A spark plug Fowler is a device that can be used to bypass the catalytic converter. It redirects exhaust gases around the o2 sensor. The spark plug Fowler is inserted into the exhaust pipe and is designed to fit around the oxygen sensor, which is located before the catalytic converter. The device has a hollow center that allows the exhaust gases to bypass the sensor and flow around the converter.

However, it’s important to note that using a spark plug Fowler to bypass a catalytic converter is not legal in all areas and can cause more emissions and damage to the engine and the environment. Additionally, a spark plug Fowler is not a permanent solution, as it may cause the catalytic converter to fail eventually. It’s only a temporary solution and should be used as a last resort after all other options have been exhausted.

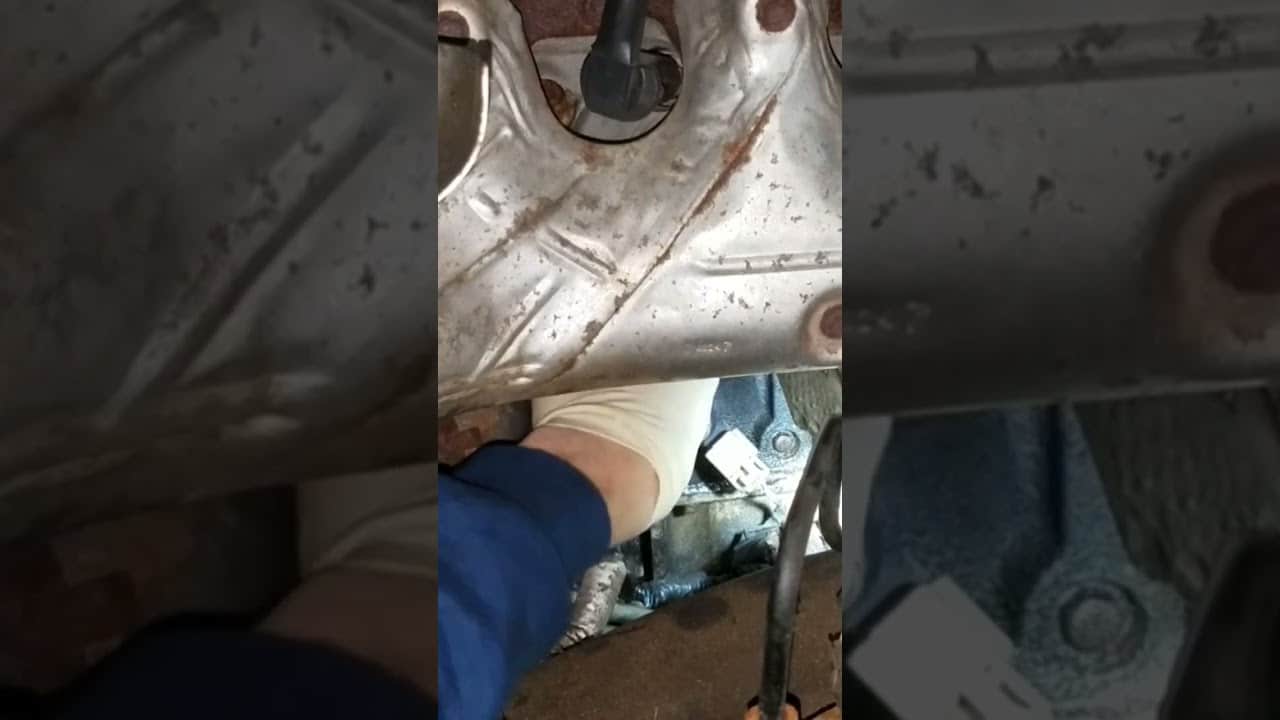
Check for Vacuum Leaks

Another thing to check for is vacuum leaks in the intake system, including the intake manifold, hoses, and vacuum lines. If you find a leak, repair or replace the affected parts. A vacuum leak can cause the engine to run lean, which can trigger a P0420 code.

A vacuum leak can be caused by a variety of things, such as a cracked intake manifold, a loose or damaged vacuum hose, or a leaking vacuum actuator. A vacuum leak can cause the engine to run lean, which can trigger a P0420 code.

Seek Professional Help

If you are unable to diagnose and fix the issue yourself, it is best to take your vehicle to a professional mechanic. They will have the tools and expertise to properly diagnose and repair the problem.

A professional mechanic will be able to diagnose the problem and repair it accordingly. They will be able to check the oxygen sensors, inspect the exhaust system, check the engine management system, and check for vacuum leaks. They will also be able to check the catalytic converter and replace it if necessary.

In conclusion, P0420 codes can be caused by a variety of issues, and while replacing the catalytic converter is a common solution, it’s not the only option. By checking the oxygen sensors, inspecting the exhaust system, checking for vacuum leaks, and in some cases using a spark plug Fowler (although it’s illegal and not recommended) you may be able to fix the issue without having to replace the entire converter. However, it’s important to note that bypassing the catalytic converter is illegal and can cause more emissions and damage to the engine and the environment. It’s always best to diagnose the problem and fix it accordingly to the manufacturer’s recommendations. If you are unsure of how to fix the problem, it’s best to take your vehicle to a professional mechanic.

Most Unsafe Car Ever in Shop “3 Worst”

[svp]http://www.youtube.com/watch?v=W0rkK7R2yI8[/svp]
In this video, I’m going to show you the most unsafe car that has ever been in the shop. Three worst problems I have ever seen

There were multiple serious issues with this car both the inner tie rods were completely blown.

Both wheel bearings were bad The wheels were about to fall off this vehicle.

The rear brakes were installed improperly and worst of all this vehicle had a massive fuel leak that could potentially cause a fire.

Subscribe to my youtube channel here: https://goo.gl/j1pCfn
For the most common automotive fixes to the most common car and truck problems. DIY auto repair to help you save money.

Connect with me:
Website: https://flatratemechanic.com
Facebook: https://www.facebook.com/groups/diyrepair
Twitter: https://goo.gl/mmpqts
Instagram: https://goo.gl/NCjRhM

Check out The Flat Rate Mechanics Tool Store on Amazon https://goo.gl/M8MpdC

For Promotional offers, consulting, training, sponsorships or other inquiries contact me at FlatRateMechanic1@gmail.com

The Flat Rate Mechanic. 26-year ASE Master Automotive Technician and Advanced level ASE certified here to help you save money on your automotive repairs

The Flat Rate Mechanic is a participant in the Amazon Influencer Program.

Disclaimer:
Due to factors beyond the control of The Flat Rate Mechanic, it cannot guarantee against unauthorized modifications of this information or improper use of this information. The Flat Rate Mechanic assumes no liability for property damage or injury incurred as a result of any of the information contained in this automotive repair video. The Flat Rate Mechanic recommends safe practices when working on cars or trucks with power tools, automotive lifts, lifting tools, jack stands, electrical equipment, blunt instruments, chemicals, lubricants, or any other tools or equipment seen or implied in this repair video. Due to factors beyond the control of The Flat Rate Mechanic, no information contained in this automotive repair video shall create any express or implied warranty or guarantee of any particular result. Any injury, damage, or loss that may result from improper use of these tools, equipment, or the information contained.

Chevy Cruze Stalling: Crank No Start

[svp]http://www.youtube.com/watch?v=13cXygw6PiI[/svp]
In this video, I show you how to diagnose a Chevy Cruze that is stalling or has a crank no-start condition. Many times this problem can be caused by a bad crank sensor, fuel pump, or in this case, it was a poor connection at the ignition coil. So I’ll show you how to test that too.

If your Chevy Cruze is having trouble starting, you’re not alone. In fact, this is a pretty common problem for Cruze owners. There are a few different things that can cause your Cruze to stall, and in this video, we’ll go over some of the most common causes and what you can do to fix them.

How To Program New GMC Key / Theft Pass Lock Key

[svp]http://www.youtube.com/watch?v=EFD1wHVoFrg[/svp]
GMC Key Program and Theft Pass Lock Key Programming.

The GMC key program is a great way to get a new key for your GMC vehicle. The process is simple and easy, and it only takes a few minutes. You can also use the GMC key program to get a replacement key if you lose your original key.

How the GMC Key Program Works
If you need a new key for your GMC vehicle, the first thing you need to do is find a participating GMC dealer. Once you find a dealer, you will need to provide them with your VIN number. The dealer will then generate a new key for you based on your VIN number.

Once you have your new key, you will need to activate it. To do this, you will need to go to the GMC website and create an account. Once you have created an account, you will be able to activate your new key.

If you lose your original key, you can use the GMC key program to get a replacement key. To do this, you will need to go to the GMC website and sign in to your account. Once you are signed in, you will be able to order a replacement key.

The GMC key program is a great way to get a new key for your GMC vehicle. If you lose your original key, you can use the program to get a replacement key. The process is simple and easy, and it only takes a few minutes.

The GMC Key Program is a great way to get a new or replacement key for your GMC vehicle. The process is simple and easy, and it only takes a few minutes. If you lose your original key, you can use the program to get a replacement key. You can also use the program to get a new key if you need one.

CVT Transmission Fluid Check: Toyota “No Dip Stick”

Toyota vehicles are known for their durability and longevity, but like any vehicle, they require regular maintenance to keep them running at their best. One important aspect of maintenance is checking and changing the transmission fluid. In many vehicles, this is a straightforward process that involves checking the fluid level with a dipstick, but in some Toyota models, the process is a bit different.

Why Toyota CVT Transmission Fluid Check is Different

CVT stands for continuously variable transmission, which is a type of transmission that uses a belt or chain to change gears. Unlike traditional automatic transmissions that have a fixed number of gears, a CVT can change gears seamlessly, resulting in a smooth driving experience. However, because of the way CVT transmissions work, they require a different type of fluid than traditional transmissions.

In addition, many Toyota models with CVT transmissions do not have a traditional dipstick for checking the fluid level. Instead, the fluid level is checked electronically through the vehicle’s onboard computer. This can make it a bit more challenging for the average vehicle owner to check and change the fluid, but it’s still a relatively simple process that can be done at home with the right tools and knowledge.

How to Check CVT Transmission Fluid in Toyota

The first step in checking the CVT transmission fluid in your Toyota is to locate the transmission fluid check valve. This is usually located on the side of the transmission, near the bottom. The location can vary depending on the model and year of your vehicle, so it’s best to consult your owner’s manual or a repair manual for specific instructions.

Once you’ve located the check valve, you’ll need a special tool called a fluid level gauge. This is a long, thin tool that is inserted into the check valve to measure the fluid level. The gauge will have a scale on it that will indicate the fluid level.

It’s important to note that the fluid level should be checked with the vehicle running and at operating temperature, as the fluid level can vary depending on the temperature. It’s also important to check the fluid level when the vehicle is parked on level ground, as the fluid level can vary depending on the vehicle’s position.

What to Do If the Fluid Level is Low

If the fluid level is low, it’s important to add more transmission fluid as soon as possible. The type of transmission fluid recommended for your specific vehicle will be listed in your owner’s manual or a repair manual. It’s important to use the correct type of fluid, as using the wrong type of fluid can cause damage to the transmission.

It’s also important to note that overfilling the transmission fluid can also cause damage. The fluid level should be checked regularly and should be maintained at the proper level, as indicated by the fluid level gauge.

Conclusion

Checking and maintaining the transmission fluid in your Toyota is an important aspect of vehicle maintenance. While the process is a bit different for vehicles with CVT transmissions, it’s still relatively simple and can be done at home with the right tools and knowledge. If you’re unsure about how to check the fluid level in your specific vehicle, consult your owner’s manual or a repair manual for specific instructions. Regularly checking and maintaining the fluid level will help ensure that your vehicle’s transmission runs smoothly and lasts for years to come.

[svp]http://www.youtube.com/watch?v=IYugdaOXQA4[/svp]
In this video I’m going to show you how to service and check your CVT transmission in a Toyota Corolla is also applies to some Toyota Camrys. On the CVT transmissions there is no dipstick so you have to pull the fill plug and the drain check plug to check your fluid level.

You can buy CVT transmission fluid and filter on Amazon here:  https://amzn.to/3woUbSp

Subaru Oil Change: How to avoid Screwing It Up

[svp]http://www.youtube.com/watch?v=2-4tArneMBU[/svp]
How to change your oil in a Subaru and avoid screwing it up. Once you are under the car there are a few different oil drain plugs. you going to want to watch this video to make sure when you’re changing your engine oil you are removing the right drain plug. People make this mistake more than one would think.

Subscribe to my youtube channel here: https://goo.gl/j1pCfn
For the most common automotive fixes to the most common car and truck problems. DIY auto repair to help you save money.

Connect with me:
Website: https://flatratemechanic.com
Facebook: https://www.facebook.com/groups/diyrepair
Twitter: https://goo.gl/mmpqts
Instagram: https://goo.gl/NCjRhM

Check out The Flat Rate Mechanics Tool Store on Amazon https://goo.gl/M8MpdC

For Promotional offers, consulting, training, sponsorships or other inquiries contact me at FlatRateMechanic1@gmail.com

The Flat Rate Mechanic. 26-year ASE Master Automotive Technician and Advanced level ASE certified here to help you save money on your automotive repairs

The Flat Rate Mechanic is a participant in the Amazon Influencer Program.

Disclaimer:
Due to factors beyond the control of The Flat Rate Mechanic, it cannot guarantee against unauthorized modifications of this information or improper use of this information. The Flat Rate Mechanic assumes no liability for property damage or injury incurred as a result of any of the information contained in this automotive repair video. The Flat Rate Mechanic recommends safe practices when working on cars or trucks with power tools, automotive lifts, lifting tools, jack stands, electrical equipment, blunt instruments, chemicals, lubricants, or any other tools or equipment seen or implied in this repair video. Due to factors beyond the control of The Flat Rate Mechanic, no information contained in this automotive repair video shall create any express or implied warranty or guarantee of any particular result. Any injury, damage, or loss that may result from improper use of these tools, equipment, or the information contained.