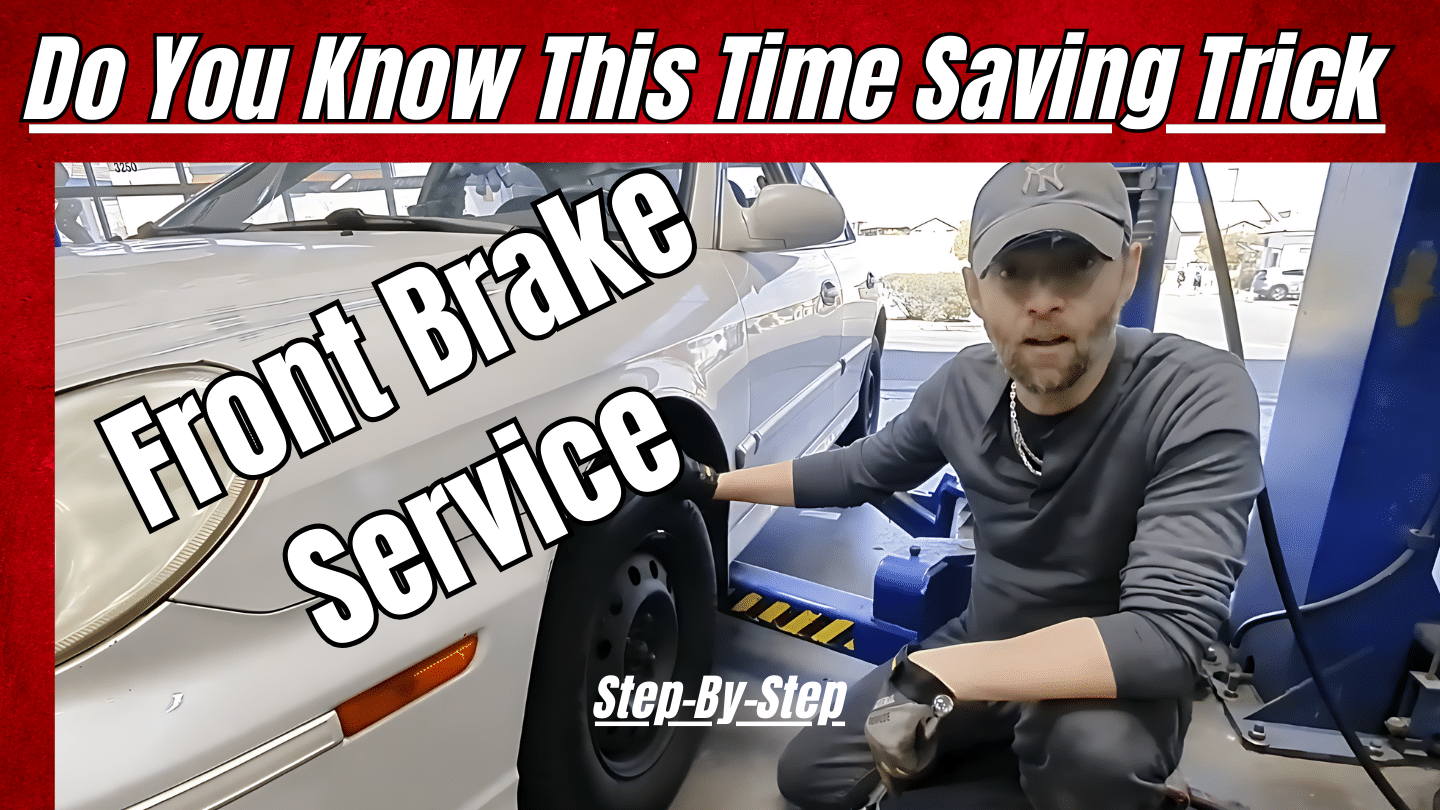
Ultimate Guide to DIY Replacement of Front Brake Pads, Rotors, and Calipers, Plus How to Bleed Your Brakes
Introduction
Proper maintenance of your car’s braking system is not only essential for safety but also for the longevity of your vehicle. Whether you’re a seasoned DIYer or a beginner, replacing the front brake pads, rotors, and calipers, and bleeding the brakes can greatly enhance your vehicle’s performance. This detailed guide will equip you with the knowledge to perform these replacements yourself, ensuring your brakes remain in top condition.
🛠️ Tools Needed:
Socket set: https://amzn.to/4d3lZQe
Torque wrench: https://amzn.to/3JocWMn
Brake caliper tool: https://amzn.to/3Q8ZTC1
Brake bleeder kit: https://amzn.to/3Q9gZQy
Brake fluid: https://amzn.to/49IU851
Jack and Jack Stands: https://amzn.to/44atwZx
Safety glasses and gloves: https://amzn.to/49LOCyF
Step 1: Vehicle Preparation
Secure your car on a level surface, engage the parking brake, and loosen the lug nuts with the lug wrench before lifting. Use the car jack to raise the vehicle and then set it on stands for safety. Remove the lug nuts completely and take off the wheels.
Step 2: Disassembly of Old Brake Components
- Removing the caliper and brake pads:
- Find the caliper bolts and remove them using the socket set.
- Carefully detach the caliper from the rotor and hang it with a wire, avoiding pressure on the brake line.
- Take out the brake pads from the caliper bracket.
- Removing the rotor:
- Unscrew any screws securing the rotor.
- Remove the rotor from the hub, using a rubber mallet if necessary to dislodge it.
Step 3: Installing the New Rotors
Thoroughly clean the wheel hub with brake cleaner to eliminate rust and dirt. Place the new rotor onto the hub, aligning it correctly, and secure it with its retaining screws.
Step 4: Caliper Replacement
- Use a brake caliper compression tool to push back the caliper piston, making room for new brake pads.
- Attach the new caliper to the bracket and tighten it with bolts.
Step 5: Inserting New Brake Pads
Fit the new brake pads into the bracket, making sure they are correctly aligned. Apply a thin layer of brake grease to the back of each pad to prevent noise.
Step 6: Bleeding the Brake System
Air in the brake lines can compromise brake performance, making bleeding an essential step.
- Connect a brake bleeding kit to the caliper’s bleeder valve.
- Press and release the brake pedal with the help of an assistant while opening and closing the valve. This expels old fluid and air.
- Continue this process until the fluid expelled is clean and free of air bubbles.
Conclusion
DIY replacement of your vehicle’s front brake components and bleeding the system can significantly enhance your driving experience and safety. Ensure all parts are correctly installed and thoroughly check your work before taking the vehicle out for a test drive.
Check out our comprehensive YouTube video for a step-by-step visual guide on replacing and maintaining your vehicle’s brake system, featuring expert tips and practical demonstrations.
👍 If you find this video helpful, please like, comment, and subscribe https://goo.gl/j1pCfn for more car maintenance tips! #BrakeReplacement #CarRepair #DIYCarMaintenance