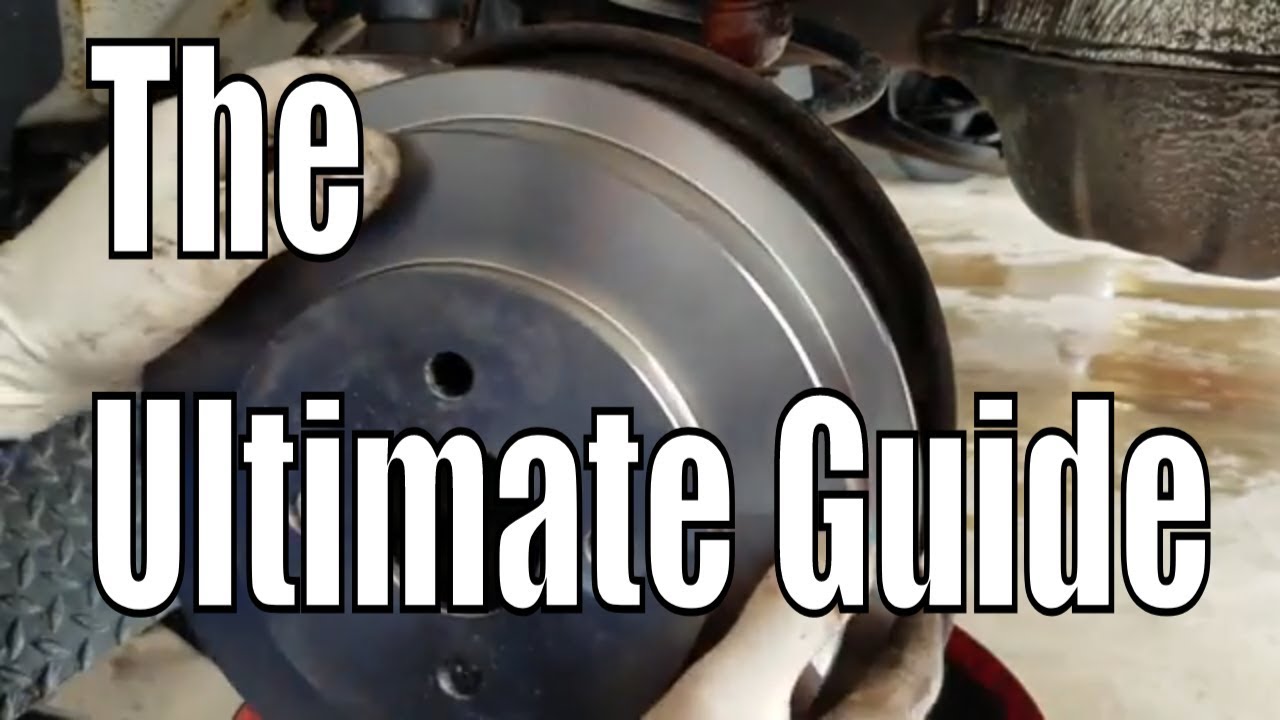
“DIY Car Maintenance: How to Replace Front Brake Pads, Rotors, & Calipers | Step-by-Step Guide”

Ultimate Guide to DIY Replacement of Front Brake Pads, Rotors, and Calipers, Plus How to Bleed Your Brakes

Introduction

Proper maintenance of your car’s braking system is not only essential for safety but also for the longevity of your vehicle. Whether you’re a seasoned DIYer or a beginner, replacing the front brake pads, rotors, and calipers, and bleeding the brakes can greatly enhance your vehicle’s performance. This detailed guide will equip you with the knowledge to perform these replacements yourself, ensuring your brakes remain in top condition.

🛠️ Tools Needed:

Socket set: https://amzn.to/4d3lZQe

Torque wrench: https://amzn.to/3JocWMn

Brake caliper tool: https://amzn.to/3Q8ZTC1

Brake bleeder kit: https://amzn.to/3Q9gZQy

Brake fluid: https://amzn.to/49IU851

Jack and Jack Stands: https://amzn.to/44atwZx

Safety glasses and gloves: https://amzn.to/49LOCyF

Step 1: Vehicle Preparation

Secure your car on a level surface, engage the parking brake, and loosen the lug nuts with the lug wrench before lifting. Use the car jack to raise the vehicle and then set it on stands for safety. Remove the lug nuts completely and take off the wheels.

Step 2: Disassembly of Old Brake Components

  1. Removing the caliper and brake pads:
    • Find the caliper bolts and remove them using the socket set.
    • Carefully detach the caliper from the rotor and hang it with a wire, avoiding pressure on the brake line.
    • Take out the brake pads from the caliper bracket.
  2. Removing the rotor:
    • Unscrew any screws securing the rotor.
    • Remove the rotor from the hub, using a rubber mallet if necessary to dislodge it.

Step 3: Installing the New Rotors

Thoroughly clean the wheel hub with brake cleaner to eliminate rust and dirt. Place the new rotor onto the hub, aligning it correctly, and secure it with its retaining screws.

Step 4: Caliper Replacement

  • Use a brake caliper compression tool to push back the caliper piston, making room for new brake pads.
  • Attach the new caliper to the bracket and tighten it with bolts.

Step 5: Inserting New Brake Pads

Fit the new brake pads into the bracket, making sure they are correctly aligned. Apply a thin layer of brake grease to the back of each pad to prevent noise.

Step 6: Bleeding the Brake System

Air in the brake lines can compromise brake performance, making bleeding an essential step.

  • Connect a brake bleeding kit to the caliper’s bleeder valve.
  • Press and release the brake pedal with the help of an assistant while opening and closing the valve. This expels old fluid and air.
  • Continue this process until the fluid expelled is clean and free of air bubbles.

Conclusion

DIY replacement of your vehicle’s front brake components and bleeding the system can significantly enhance your driving experience and safety. Ensure all parts are correctly installed and thoroughly check your work before taking the vehicle out for a test drive.

Check out our comprehensive YouTube video for a step-by-step visual guide on replacing and maintaining your vehicle’s brake system, featuring expert tips and practical demonstrations.

👍 If you find this video helpful, please like, comment, and subscribe https://goo.gl/j1pCfn for more car maintenance tips! #BrakeReplacement #CarRepair #DIYCarMaintenance

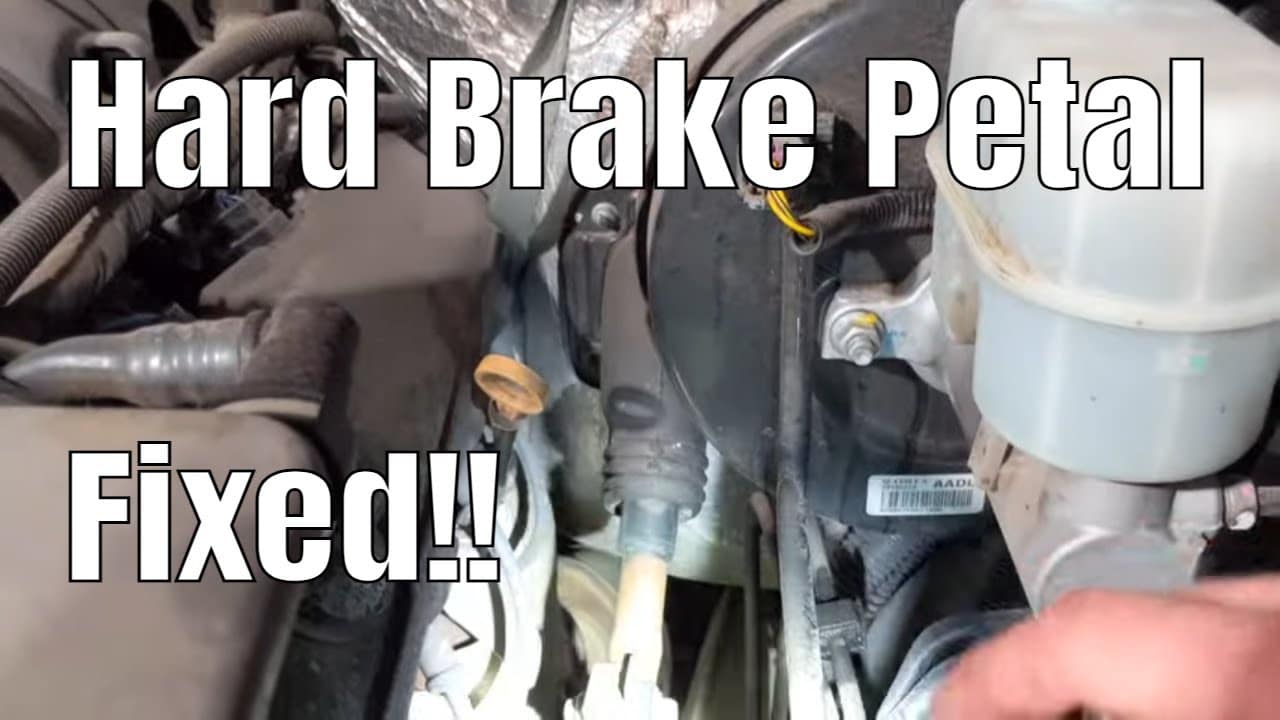
Hard Brake Pedal Ford Fusion “Hard to Believe”

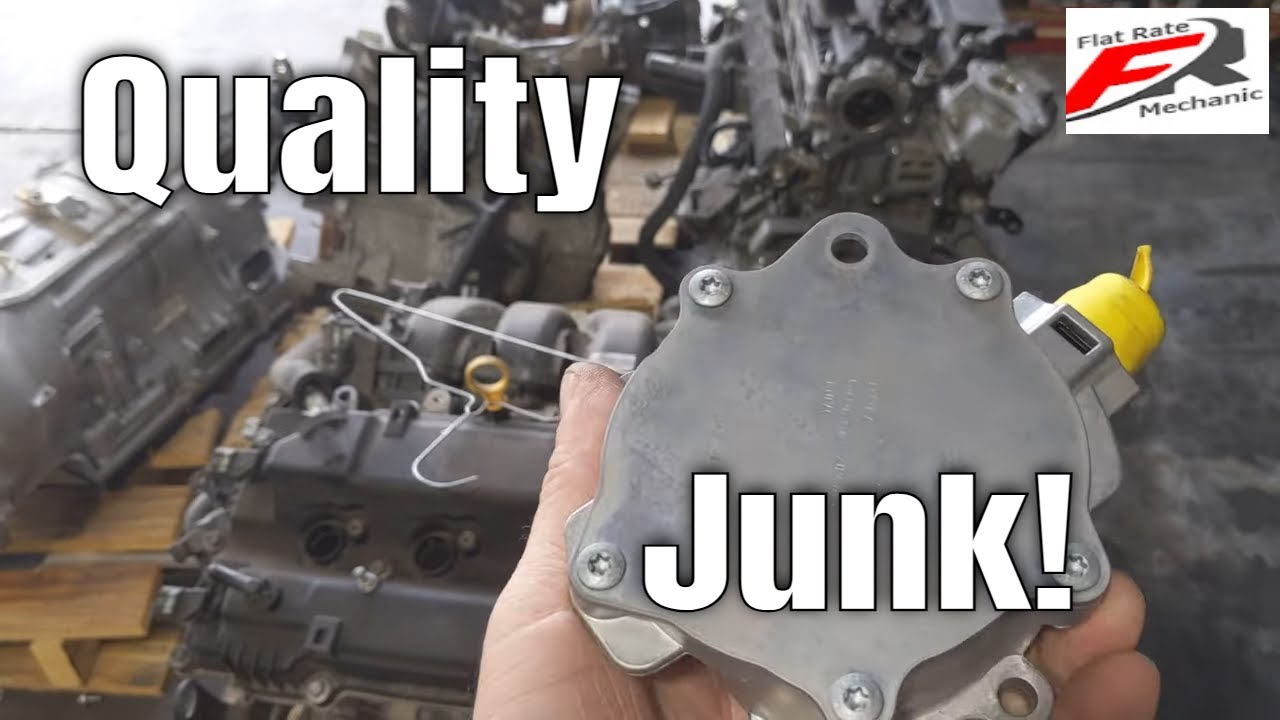
We had a hard brake pedal in this Ford Fusion because there was no vacuum being supplied to the brake booster. After inspection, I found that the vacuum pump for the brake booster was not working. After removing the vacuum pump, found it broke off inside the camshaft and got metal all through the engine. Had to replace the engine on the Ford Fusion to fix the hard brake pedal and a new vacuum pump. it most cases this can be repaired if the engine did not have metal in it. That was not the case with this Ford Fusion. But nothing an engine won’t fix for a hard brake pedal. Good old quality ford product.

Hard Brake Pedal at Slow Speeds ” 2 Minutes Fix ” GMC Chevy

This video will be diagnosing an intermittent hard brake pedal on this Chevy Silverado. The hard or stiff brake pedal also applies to most GMC trucks. What we found is the brake booster was not receiving enough vacuum and on this Chevy truck the hard brake pedal was being caused because of the vacuum pump failing.

This GMC truck has an external vacuum pump that is belt driven to supply vacuum to the brake booster. A lot of the older trucks use engine vacuum to supply vacuum to the brake booster but on this truck that is not the case.

When the engine RPMs are brought up on the Chevy truck the brake pedal actually feels much better and that’s because the vacuum pump is spinning faster so it works more efficiently but at idle the brake pedal was very hard. We found that the vacuum pump had failed and will need to be replaced to fix the hard brake pedal in this truck.

Subscribe to my youtube channel here: https://goo.gl/j1pCfn For the most common automotive fixes to the most common car and truck problems. DIY auto repair to help you save money.

How to Compress an Ebrake Style Rear Brake Caliper

How to Compress an Ebrake Style Rear Brake Caliper
How to Compress a Rear Brake Caliper “Follow Up Video”

This is the correct tool http://amzn.to/2ECIIWW for compressing an e-brake style rear brake caliper.

Here is a link to my first video on, How to Compress Rear Brake Caliper “No Special Tools”

Subscribe to my youtube channel here: https://goo.gl/j1pCfn
For the most common automotive fixes to the most common car and truck problems

Connect with me:
FaceBook: https://goo.gl/rKg2Bv
Twitter: https://goo.gl/mmpqts
Instagram: https://goo.gl/NCjRhM

Check out The Flat Rate Mechanics Tool Store on Amazon https://goo.gl/M8MpdC

How to Compress Rear Brake Caliper “No Special Tools”

How to Compress Rear Brake Caliper

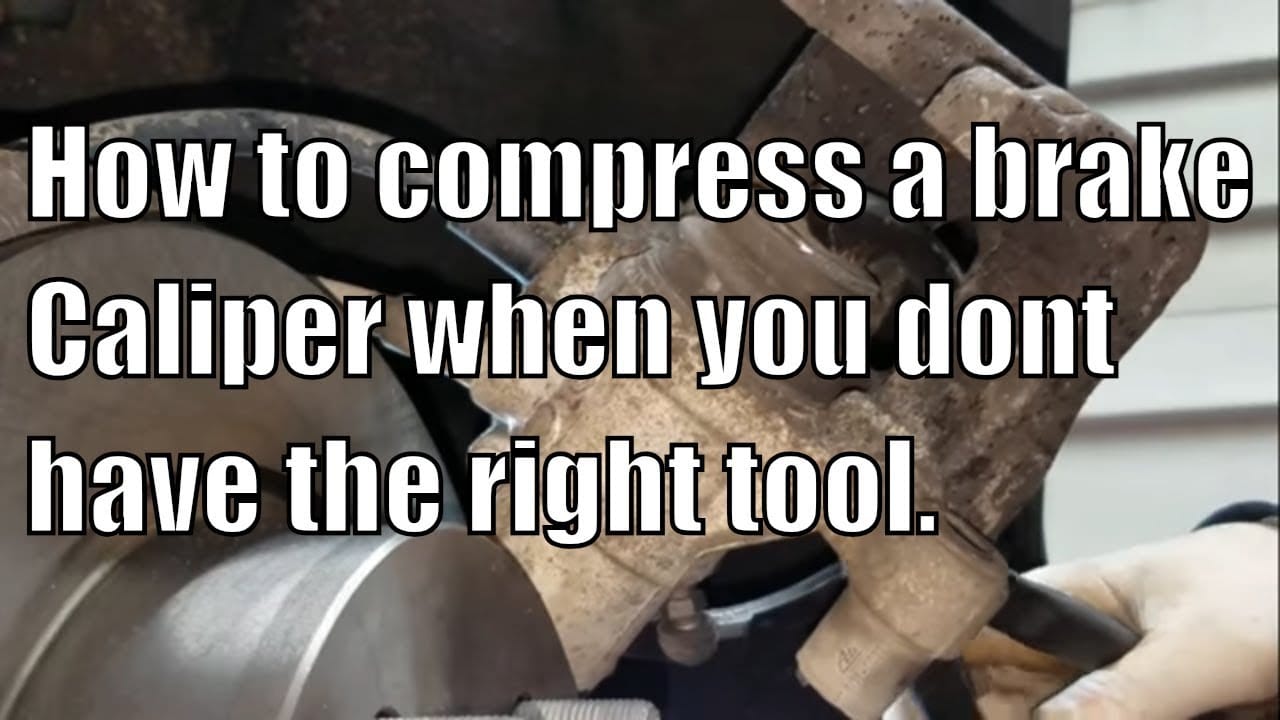
How to compress a rear caliper. Rear brake service tips.
In this video, you will learn how to Compress/wind back a Rear Ebrake Style Brake Caliper along with several tips on how to perform a rear brake pad service properly. Brake Caliper Piston Compressor Windback. This is what should be used: http://amzn.to/2ECIIWW

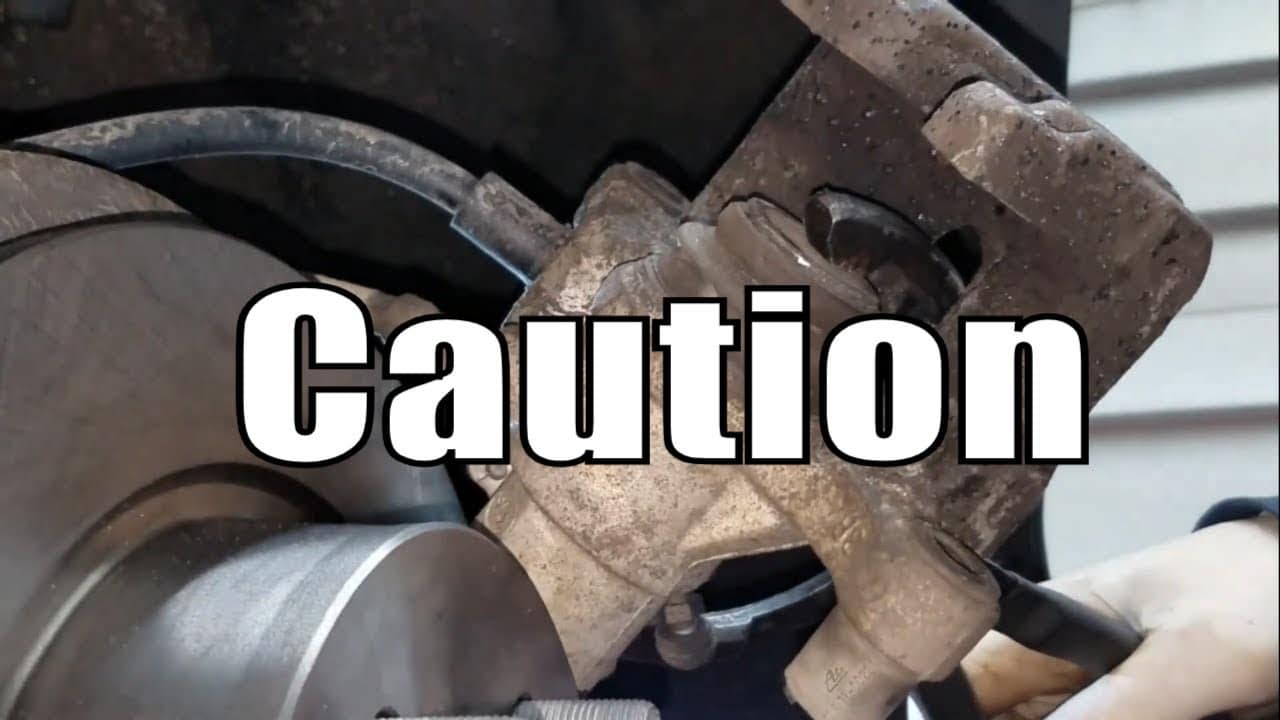
It is not recommended that you compress a wind back caliper in this fashion and you run the risk of damaging the rubber boot or damaging the brake caliper piston. I only recommend using this method if you are in a jam.

Here are the Amazon links to the products I used in this video
Oil filter pliers: http://amzn.to/2HtPT1e
Channel Locks: http://amzn.to/2HpmHsh
Brake grease: http://amzn.to/2EEgye4
Silicone Brake slide lube: http://amzn.to/2sEGHUC
Brake clean: http://amzn.to/2FdiIyi

My other video on replacing rear drum brakes: https://youtu.be/I7xXOHyST4A

The one tool every mechanic should have: http://amzn.to/2FN2r70

Subscribe here: https://goo.gl/j1pCfn

How To Replace Drum Brakes with No Special Tools

How To Replace Drum Brakes

Complete guild to replacing your rear drum brake shoes. In this video, I will show you from start to finish how to replace the rear brake shoes on your car or truck.

Rear drum brake can be tricky to service sometimes, from getting the old rusty brake drums off to hanging the new brake shoes and getting all the springs and brake shoe adjuster all in just the right place.

This video on drum brake repair will help you will all of that. Thanks for watching and hope this video was helpful. Here are a few links to tools that will help when doing a drum brake service.

Drum brake toolkit: https://amzn.to/2wYYZyO
Rear Brake Shoes: https://amzn.to/2wXOZ8S
Brake grease: https://amzn.to/2x1MlPI

Here is my other video on how to compress a rear e-brake caliper with no special tools: https://youtu.be/wSqDP-pwj2s

The one tool every mechanic should have: http://amzn.to/2FN2r70

Subscribe here: https://goo.gl/j1pCfn