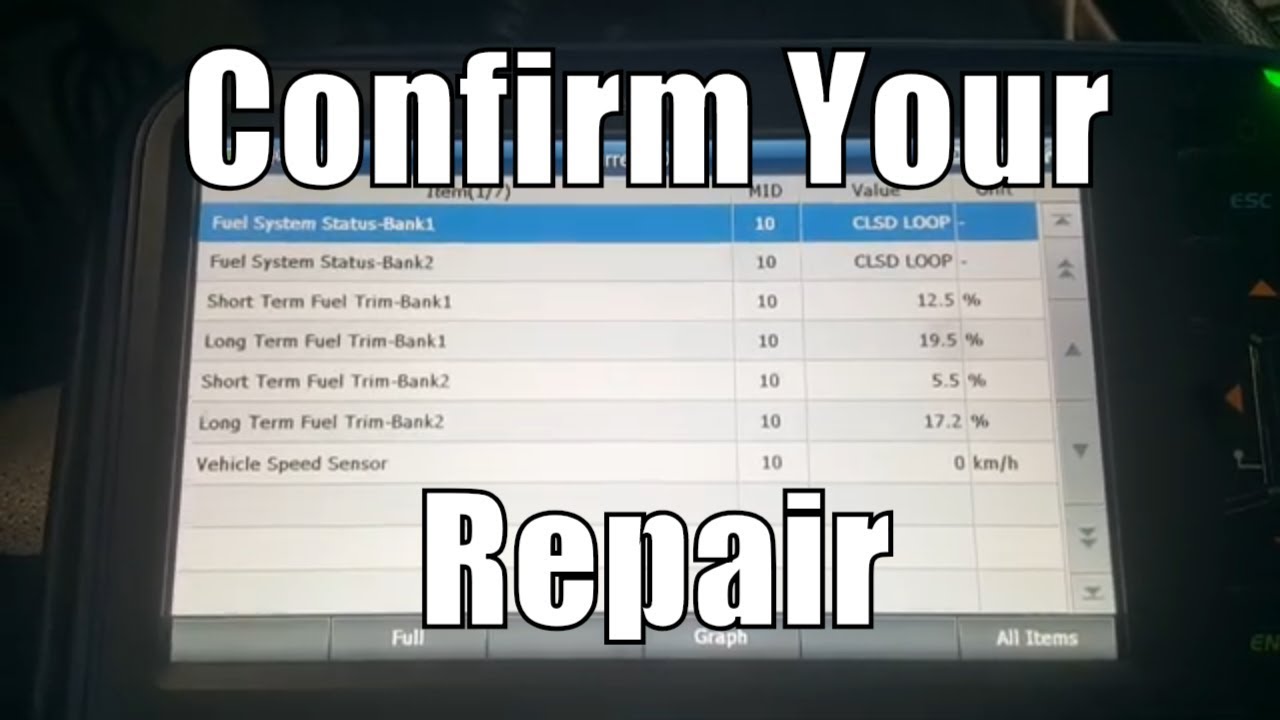
In this video, I will be going over how to confirm you’re repair after diagnosing a p0171 or a p0174 system lean bank 1 and system Lean Bank 2. And this video will be repairing a vacuum leak and monitoring fuel trim values to verify that the repair was successful using fuel trim values on a scan tool. Just a brief overview of fuel trim used to verify a repair.
How to use fuel trim to make sure you car is fixed after the repair!
You fuel trim numbers should always stay around 0% and if they are adding fuel that would mean your engine is running lean. If your fuel trim is taking away the fuel that means your engine is running rich. #systemlean#p0171 #p0174
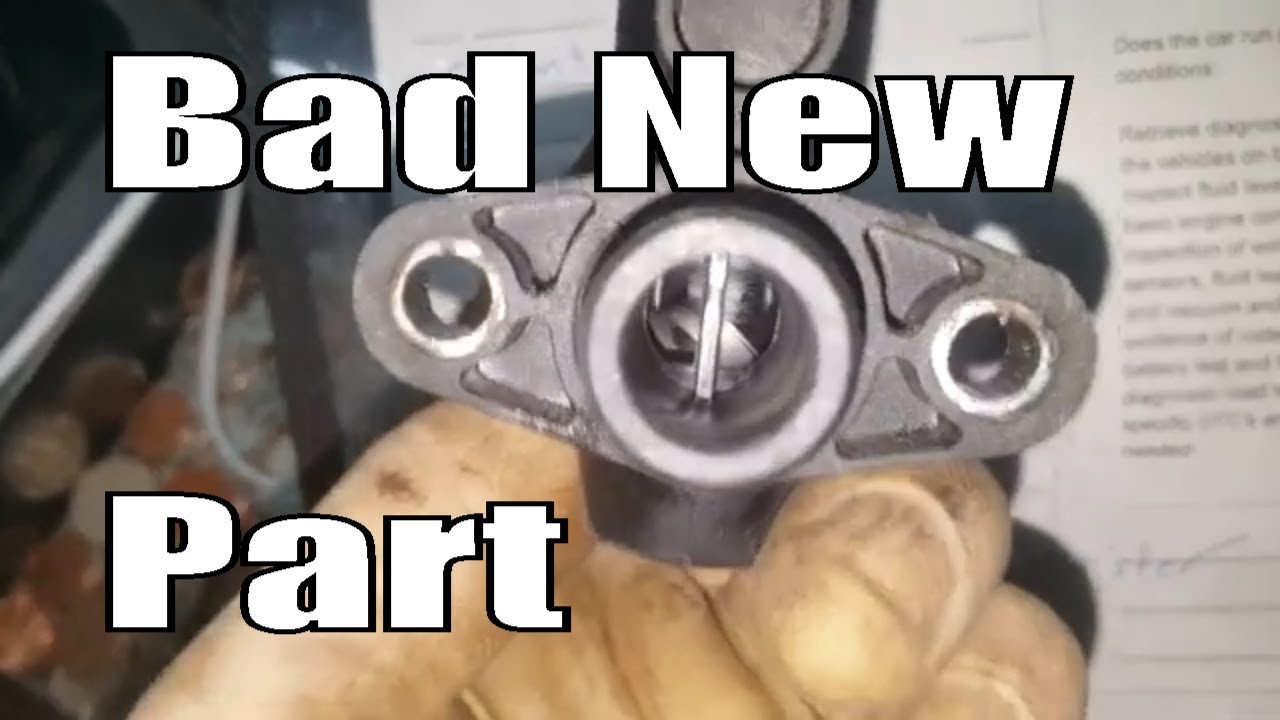
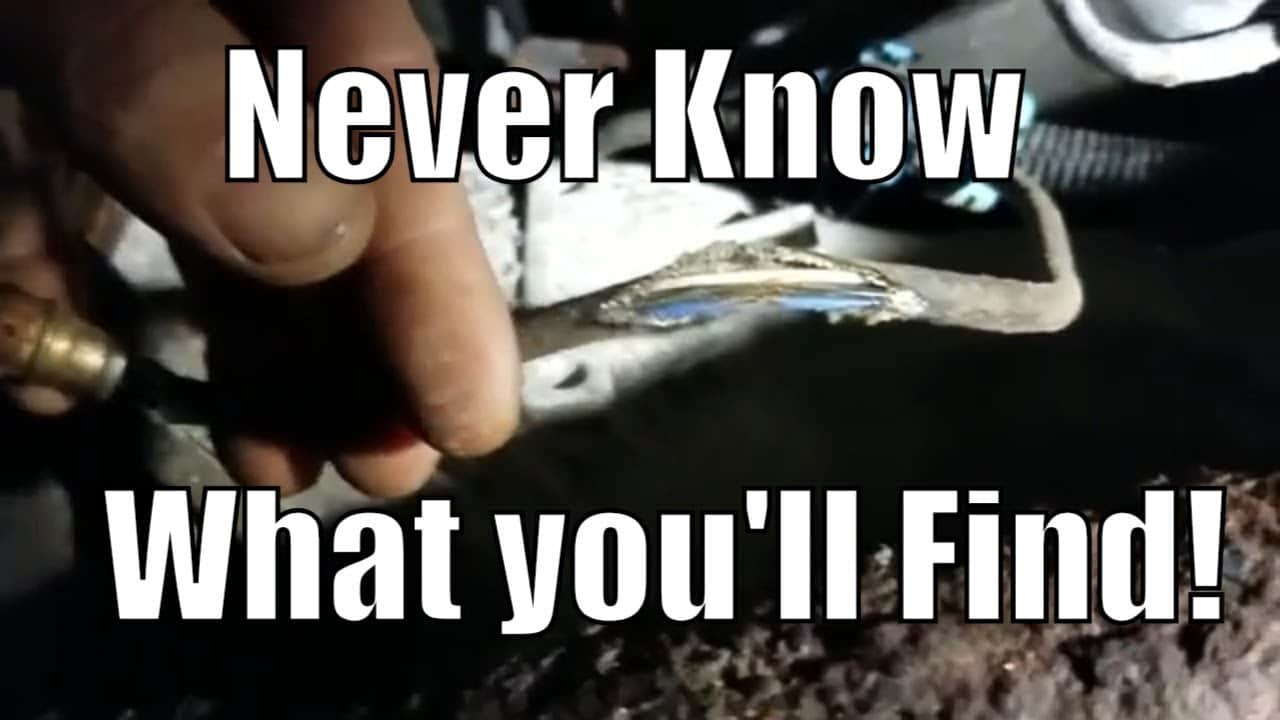
And this video I will be diagnosing a bad evap vent solenoid. We already smoked the EVAP system for leaks once and replaced the EVAP vent solenoid with an aftermarket vent solenoid.
Witch ended up failing two weeks after installation. And this video will show you how to diagnose a bad part and what we found once we remove the EVAP vent solenoid.
Diagnosing a check engine light on a Dodge Charger that has a stored code p000b and p0016 for the variable valve timing control solenoid. Was able to activate rail valve timing control solenoid what scan tool and could hear it click.
So in this case I’m suspecting I slide it up solenoid valve or possible low and dirty oil. Before replacing any parts I would suggest changing oil and clearing codes to see if p000b and the p0016 go away.
Vehicle Application:
2011 300 5.7
2012 300 5.7
2013 300 5.7
2013 Challenger 5.7
2011 Charger 5.7
2012 Charger 5.7
2013 Charger 5.7
2010 Ram 1500 5.7
2011 Grand Cherokee 5.7
2012 Grand Cherokee 5.7
2013 Grand Cherokee 5.7
2014 Grand Cherokee 5.7
2011 1500 5.7
2012 1500 5.7
Customer Concern: No power, runs rough and sets codes P0016 and P000B.
Average Reported Mileage: 129205
Tests/Procedures: 1. Check the Engine Oil quality and quantity.
Check the operation of the Variable Valve Timing (VVT) Oil Control Valve (OCV) with the actuator tests, then check the tip end for sludge build-up.
Check the engine for mechanical problems such as worn bearings, oil pump inlet, oil pump, etc.
Most common cause of a p0101 “Mass Air Flow (MAF) Circuit/Performance Malfunction”?
Code P0101 Definition
Mass Air Flow (MAF) Circuit/Performance Malfunction
Code P0101 Meaning
The mass air flow (MAF) sensor measures the amount of air entering the engine. Check engine light code P0101 is set when the measurement of air entering the engine by the mass air flow sensor is outside of the manufacturer’s specified range.
Symptoms
Engine stalling
Difficulty starting
Lack of power
Rough idle
Causes
Dirty, obstructed, or faulty mass air flow sensor
Damaged or disconnected air intake boot (snorkel)
Vacuum leak
Clogged or improperly installed the air filter
Clogged catalytic converter / restricted exhaust
In this video I will go over and what it means if you have a flashing check engine light. And typically with a flashing check engine light, it means you have a catalyst damaging misfire.
I was working on a Toyota 4Runner in this video and removed and inspected the ignition coil. The computer was setting a P0304 for a cylinder 4 misfire. But any cylinder misfire can cause a flashing check engine light.
If you have any tracking flashing check engine light you should definitely get it repaired immediately due to the damage it can cause to your catalytic converter. And that is because the unburnt fuel is going into your exhaust system. Which can cause your catalytic converter to overheat and be ruined or damaged. A flashing check engine light is typically usually relatively inexpensive repair though. Most commonly involving spark plugs and or a bad ignition coil.
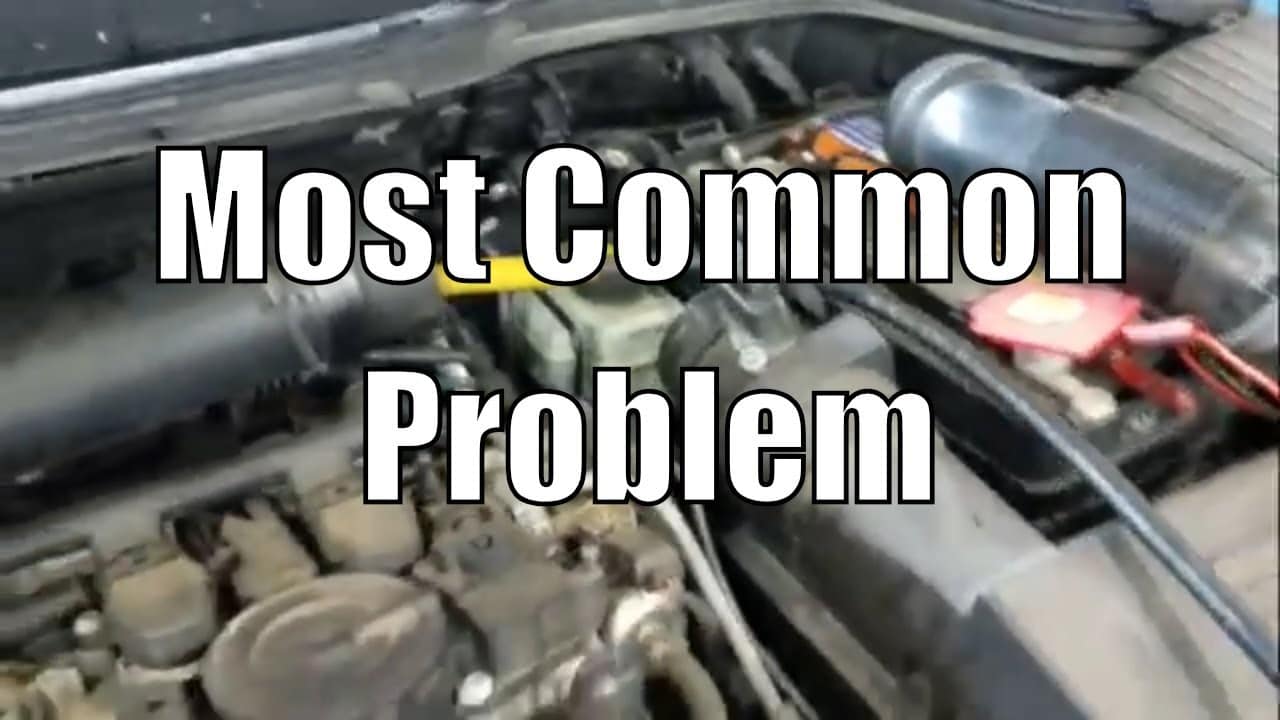
In this video, I’ll show you the most common cause of a small EVAP leak in a 2012 Dodge Grand Caravan. And will also show you where the EVAP system Integrity monitor is located and how to replace it.
I’m noticing a very high failure rate and these evaporative emission systems Integrity monitors. Providing your gas cap is good, and there are no other leaks in the system, that would definitely be the most likely cause of a P0456 in a Dodge Grand Caravan.
Diagnose check engine light sound storage code P0456 small EVAP system leak. Inspected the gas cap, and checked out good. Smoke EVAP system completely for leaks and none were found. also manually tested the purge valve to make sure it was not leaking, and that tested good as well. EVAP system Integrity monitor will need to be replaced.
Vehicle Application: 2012 200 3.6 2010 Town & Country 3.3 2011 Town & Country 3.6 2012 Town & Country 3.6 2010 Town & Country 3.8 2009 Town & Country 4.0 2010 Town & Country 4.0 2010 Grand Caravan 3.3 2011 Grand Caravan 3.6 2012 Grand Caravan 3.6 2010 Grand Caravan 3.8 2010 Grand Caravan 4.0 2010 Wrangler 3.8 2009 Routan 4.0 Customer Concern: Reoccurring check engine light with code P0456 Dodge small EVAP leak. Average Reported Mileage: 82065
Tests/Procedures: 1. Smoke-check the Evaporative Emission System. Remove the Evaporative System Integrity Monitor (ESIM) from the charcoal canister and run the smoke machine into the Evaporative Emission System. Tech Tips: Using a pen laser to shine around the lines and seals while smoke testing may help detect small leaks.
Understanding the P0456 Small EVAP Leak OBD-II Trouble Code: Evaporative Emissions System Small Leak Detected
When the engine control module (ECM) detects a small leak in the evaporative emissions system, it will trigger the P0456 OBD-II trouble code. This code typically indicates a problem with the fuel tank pressure sensor, the evaporative emissions (EVAP) canister, or a damaged or loose fuel cap.
Symptoms of a P0456 Trouble Code
Several symptoms can indicate a P0456 small EVAP leak trouble code, including:
A check engine light appears on the dashboard
Difficulty filling up the fuel tank
A strong fuel smell coming from the vehicle
Reduced fuel efficiency
Fuel leaking
Some Dodges also have a gas cap light
Causes of a P0456 Trouble Code
There are several potential causes of a P0456 trouble code, including:
A faulty fuel tank pressure sensor
A damaged or loose fuel cap
A clogged or damaged vapor canister
A leak in the EVAP system hoses or connections
A bad vapor purge valve
A bad vapor vent valve
The most common problem lies in the mechanical and electrical parts, like the EVAP vent valve and purge valve.
Diagnosing a P0456 Trouble Code
Diagnosing a P0456 trouble code typically involves connecting a diagnostic scanner to the vehicle’s OBD-II port to retrieve the trouble code and any related freeze frame data. This information can then be used to narrow down the potential causes and guide further testing. In most cases, you will need to hook a smoke machine up to the vapor system to check for leaks. It may also be necessary to remove and test the vapor vent valve and purge valve to ensure they are opening and closing and not leaking.
Checking the Fuel Tank Pressure Sensor
One of the first steps in diagnosing a P0456 trouble code is to check the fuel tank pressure sensor. This sensor is responsible for measuring the pressure inside the fuel tank and sending that information to the ECM. If the sensor is faulty or not sending accurate information, it can trigger a P0456 trouble code. An excellent way to check this is by adding pressure to the fuel tank and checking on the scan tool to ensure the pressure sensor changes value.
Inspecting the EVAP Canister and Hoses
Another common cause of a P0456 trouble code is a problem with the EVAP canister or hoses. The EVAP canister is responsible for storing fuel vapor, and if it is clogged or damaged, it can cause problems in the system. It is possible the charcoal inside the canister can come apart and cause debris to contaminate the EVAP system. Similarly, if the EVAP hoses or connections are damaged or loose, they can cause a leak.
Checking the Fuel Cap
A damaged or loose fuel cap can also trigger a P0456 trouble code. If the fuel cap is not sealed correctly, it can allow vapor to escape from the fuel tank, triggering a leak in the EVAP system. Always make sure your gas cap is in good condition and closed tightly.
Repairing a P0456 Trouble Code
Repairing a P0456 trouble code will depend on the specific cause of the code. Some typical repairs include:
Replacing a faulty fuel tank pressure sensor
Tightening or replacing a loose or damaged fuel cap
Replacing a clogged or damaged EVAP canister
Repairing or replacing damaged EVAP hoses or connections
Replaced a leaking or damaged EVAP canister
Replacing a failed EVAP purge or vent valve
Preventing Future P0456 Trouble Codes
To prevent future P0456 trouble codes, it’s important to properly maintain your vehicle and address any issues with the EVAP system as soon as they arise. This includes:
Regularly inspecting the fuel cap for damage or wear
Keeping the EVAP canister and hoses in good condition
Make sure the fuel cap is always securely tightened
Addressing any leaks in the EVAP system as soon as they are detected
By following these guidelines, you can help ensure that your vehicle’s EVAP system is functioning correctly and prevent the P0456 trouble code from appearing again. It’s also important to note that if you are experiencing any symptoms of a P0456 trouble code, you must have your vehicle inspected and diagnosed as soon as possible. Ignoring the problem can lead to further damage to the EVAP system and potentially more costly repairs in the future.
It’s also important to remember that this is only one of the many potential OBD-II trouble codes that can appear on your vehicle. It’s important to be familiar with the different codes and what they mean so that you can address the problem quickly and accurately.
In addition to the steps outlined above, it’s also important to keep an eye on the overall health of your vehicle. Regular maintenance, such as oil changes and tire rotations, can help prevent many problems and maintain your car running smoothly. By following these guidelines and staying vigilant about the health of your vehicle, you can help ensure that your vehicle is always running at its best and minimize the risk of OBD-II trouble codes like P0456.
Overall, the P0456 OBD-II trouble code is an indication that there is a small leak in the evaporative emissions system. By understanding the symptoms, causes, and potential repairs associated with this code, you can properly diagnose and repair the problem and prevent it from happening again. With proper care and attention, you can keep your vehicle running smoothly and minimize the risk of OBD-II trouble codes like P0456 Dodge.
It’s also important to note that while the information and steps outlined in this article can serve as a general guide, it’s always best to consult a mechanic or technician for an accurate diagnosis and repair of your vehicle. They will have the necessary tools and experience to diagnose and repair the problem correctly and can provide you with additional tips and recommendations to keep your vehicle running smoothly.
It’s essential to use quality parts and fluids when repairing your vehicle. Using cheap, low-quality parts can lead to further problems and costly repairs in the future. It’s always best to invest in quality parts to ensure that your vehicle is running at its best and to extend the life of your vehicle.
It’s also important to keep track of your vehicle’s service records and to have regular check-ups to detect and prevent issues from arising. Regular check-ups and service records can also help you identify patterns and trends that may indicate a potential problem, allowing you to address the issue before it becomes a more significant problem.
Understanding and addressing the P0456 OBD-II trouble code is an important step in maintaining your vehicle’s overall health and performance. By being aware of the symptoms, causes, and potential repairs associated with this code and taking steps to diagnose and repair the problem correctly, you can help ensure that your vehicle is always running at its best and minimize the risk of OBD-II trouble codes.
By following these guidelines and staying vigilant about the health of your vehicle, you can help ensure that your vehicle is always running at its best and minimize the risk of OBD-II trouble codes like code P0456 Dodge.
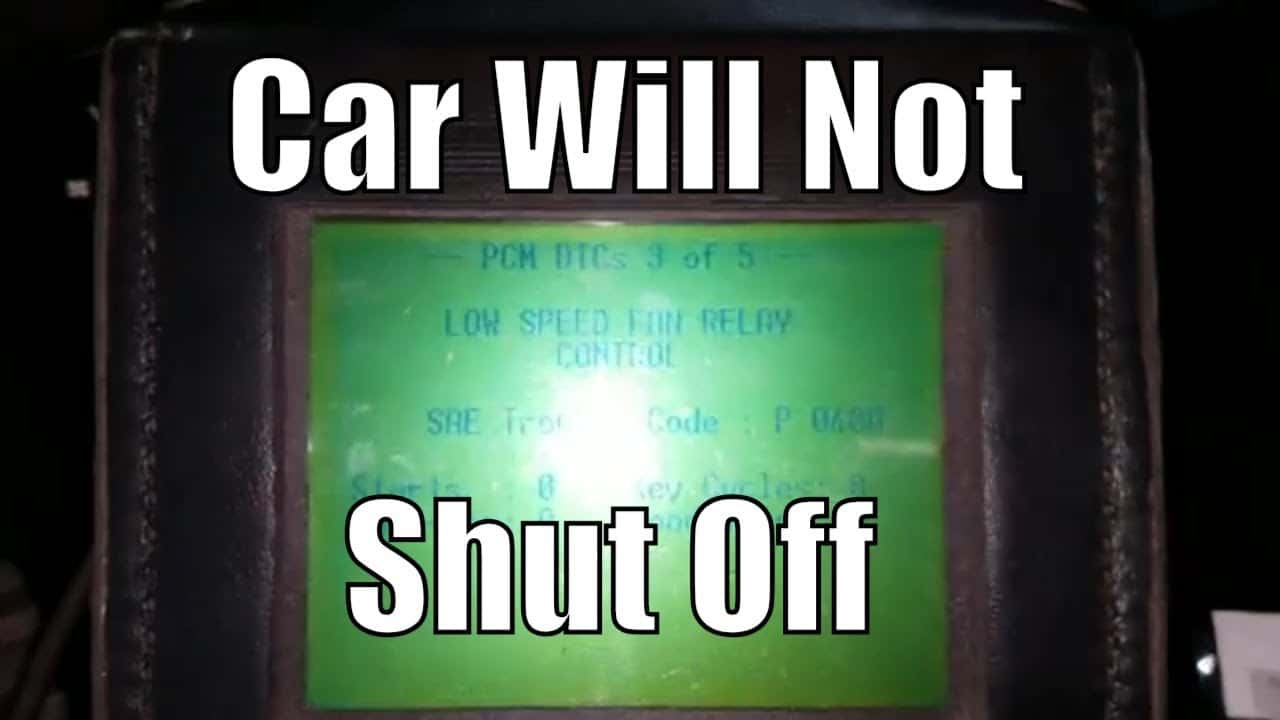
Diagnose check engine light found stored codes p0515 p0627 p0480 p0645 p0481 we’re setting in the PCM. Also, the customer was complaining that the vehicle was not shutting off when he was turned to the off position. I was able to duplicate the problem and found ignition feed to PCM was staying alive when it should have been off. This circuit also feeds all the other circuit for the codes that were setting codes. This vehicle will need the ignition switch replaced. That will fix the vehicle not shutting off and the check engine light.
2005 Liberty 3.7
Customer Concern: The vehicle does not shut off right away. Setting multiple trouble codes, P0480, P0481, P0627, P0645.
Average Reported Mileage: 84579
Tests/Procedures: 1. Repair the ignition switch feed to the Powertrain Control Module (PCM). This circuit should only have power when the key is in the “ON” or “CRANK” position.
Author:
Steve Anderson
Diagnostic Codes
P0480
P0481
P0627
P0645
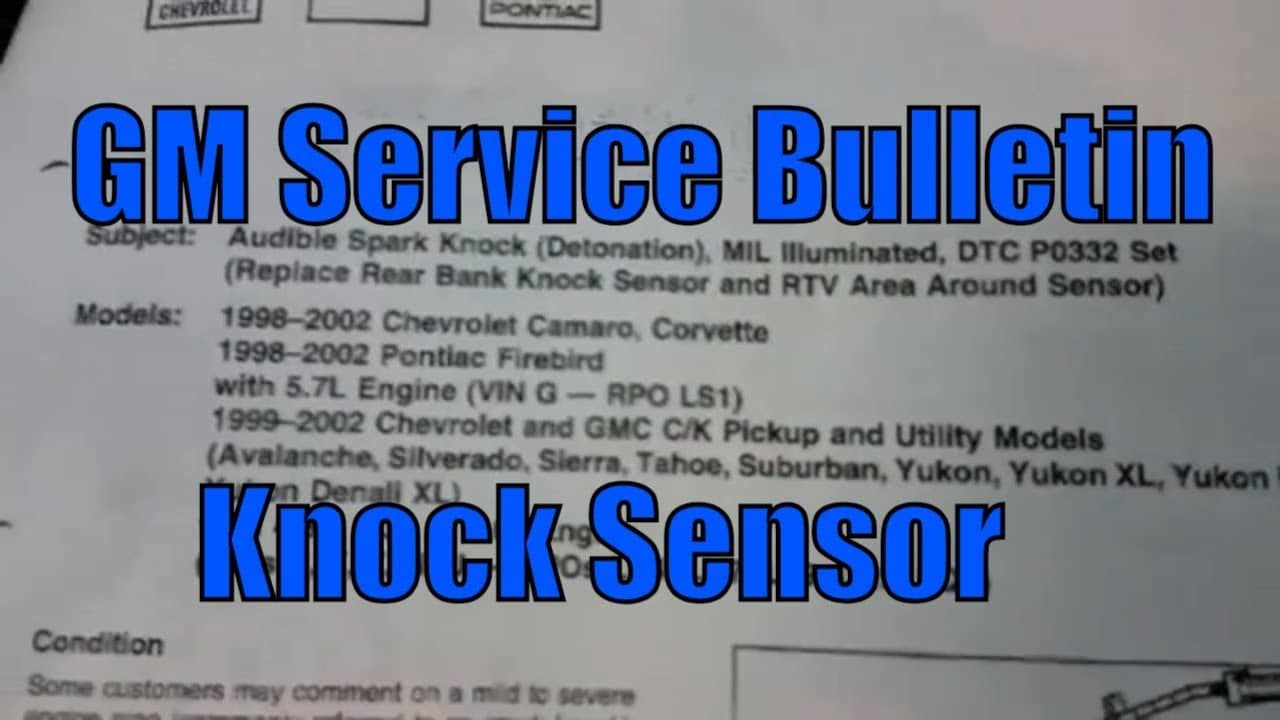
If you’re working on a Chevrolet truck and you’ve encountered diagnostic trouble codes P0332 and P0327, there’s a good chance you’re dealing with a problem related to the knock sensors. These sensors are responsible for detecting engine knock or detonation and sending signals to the engine control module (ECM) so that the ignition timing can be adjusted accordingly. In this article, we’ll explain what can cause these codes to set, what the repair entails, and what the service bulletin is recommending to prevent future failures of the knock sensors.
What Causes Knock Sensor Codes P0332 and P0327 to Set?
There are several reasons why the knock sensors on a Chevrolet truck may fail, but the most common cause is a problem with the wiring or connections. Over time, the wires that connect the knock sensors to the ECM can become corroded or damaged, which can cause the resistance in the circuit to change. This can cause the ECM to receive incorrect signals from the sensors, resulting in the engine running poorly or setting diagnostic trouble codes.
Another common cause of knock sensor failure is a problem with the sensors themselves. The sensors can become damaged or worn out over time, which can cause them to lose their ability to detect engine knock. This can also result in the ECM receiving incorrect signals and setting diagnostic trouble codes.
What Does the Repair Entail?
The repair for knock sensor codes P0332 and P0327 will vary depending on the specific problem you’re dealing with. However, in most cases, the first step will be to disconnect the blue powertrain control module (PCM) connector and check the resistance value on the light blue wire at pin 11 for sensor two and the dark blue wire at pin 51. Both should be on the blue PCM connector, and the value should be between 93K and 107K ohms.
If the resistance is low, the next step will be to check the circuit for a shorted wire or a shorted sensor. This typically involves checking the wires for damage or corrosion and testing the sensors for continuity.
If the resistance is high, the next step will be to check for a corroded wire or a poor connection at the knock sensor. This will typically involve checking the wires for damage or corrosion and inspecting the connections for signs of wear or damage.
The next step is to use an AC voltmeter and check the Hz on each wire listed above while tapping on the engine block. You should be careful not to tap on any plastic engine components. While tapping on the block, the frequency on the meter should go over 125 hz.
Finally, if the problem is a faulty sensor or damaged wiring, the repair will typically involve replacing the knock sensors and/or repairing the damaged wiring.
What Does the Service Bulletin Recommend to Prevent Future Failures?
The service bulletin for knock sensor codes P0332 and P0327 recommends that technicians use a specifically designed harness with the knock sensors. This harness is designed to provide a secure and reliable connection between the sensors and the ECM, which can help to prevent problems with resistance and continuity.
In addition to using the correct harness, the service bulletin recommends that technicians use dielectric grease on the connectors to help prevent corrosion and damage. This grease can help to protect the connectors from the elements and prevent damage from moisture, dust, and other contaminants.
Average Reported Mileage: 338036
Tests/Procedures: 1. Disconnect the Blue Powertrain Control Module (PCM) connector and check the resistance value on the Light Blue wire at pin 11 for sensor two and the Dark Blue wire at pin 51. Both of these should be on the Blue PCM connector. The value should be 93K to 107K ohms.
2. If resistance is low, check the circuit for shorted wire or shorted sensor.
3. If resistance is high, check for corroded wire or poor connection at the knock sensor.
4. Use an AC voltmeter and check the Hz on each wire listed above while tapping on the engine block.
5. While tapping on the block, the frequency on the meter should go over 125 hz.
Diagnose check engine. Found light stored code p0141 for O2 sensor heater circuit bank 1 sensor 2. Drivers side after the catalytic converter.
Checked both fuses and the under hood fuse compartment for the O2 sensor heaters and both checked good. Accessed bank 2 O2 sensor after the cat and found 02 sensor wiring had been rubbing on front drive shaft on the O2 sensor side. Checked the vehicle side for power to O2 sensor heater and tested good. O2 sensor will need to be replaced due to wiring damage on this Chevy Silverado.
2004 Express 1500 5.3
2004 Silverado 2500 HD 6.0
2004 Silverado 3500 6.0
2004 Sierra 1500 5.3
2004 Sierra 2500 HD 6.0
Customer Concern: Setting trouble codes P0141 and P0161.
Average Reported Mileage: 106957
Tests/Procedures: 1. With a cold engine, turn the key on engine off and monitor O2 voltage. Within 2 minutes, the voltage should drop to about 150 mV.
2. Verify there is 12 volts on the Pink wires to both O2’s. If no voltage check the O2B fuse for blown.
3. If the fuse is blown check wiring to the sensor for chafing on the transmission or transfer case.
Tech Tips: Heater Current Test
• The PCM detects that the affected HO2S Heater current parameter is more than 1.375 amps or less than 0.25 amps.
• The above condition is met for 10 seconds.
Heater Resistance Test
Diagnosed check engine light found storage code P0171 system lean bank 1 also found stored code p1193 a for fuel pressure sensor malfunction. I first verified system was actually running lean by checking fuel trim values on the scan tool and did find that vehicle is adding a substantial amount of fuel to compensate for the lean condition.
Continue diagnostic buy smoking intake system and crankcase for vacuum leaks. Found large amounts of smoke exiting between the transmission and the engine indicating rear main seal https://amzn.to/2QHnKIU has failed and will need to be replaced. Also, the crankcase pressure regulating valve https://amzn.to/2NkmUUm on top of the valve cover will need to be replaced at the same time. After doing some research also found out that P119A typically falsely sets when a lean condition is present.
Vehicle Application:
2009 CC 2.0
2009 Jetta 2.0
2009 Passat 2.0
2010 Passat CC 2.0
2009 Tiguan 2.0
Customer Concern: The engine runs rough and has fault codes P119A and a P0171.
Average Reported Mileage: 93849
Tests/Procedures: 1. This fuel pressure fault code may be caused by a lean condition. The fuel pressure is tested by utilizing a special tool and comparing that value to data block 230 in engine electronics with a compatible scan tool.
Clear all fault codes before testing the fuel pressure to ensure the vehicle is not in power limitation mode.
2. If the sensor is reading erroneously, verify that the sensor has proper reference voltage and ground. Pin 3 Black/Gray is 5 volts and pin 1 Brown is ground. The center wire is signal voltage output to the ECM.
3. There is no specification for voltage values, but lower voltage indicates low pressure and higher voltage indicates high pressure. If the ECM reads nothing or a fixed value, check for a broken signal wire.
4. Once the correct fuel pressure is being displayed, let the car idle for ten minutes. Then test drive the car and evaluate block 032 in the ECM with a scan tool. The first value is idle fuel trim, the second value is part throttle fuel trim. The maximum value before fault detection is +or- 10%. If the values are +5% or more, a lean condition exists. Inspect the intake system for leaks, smoke testing the system with pressure is the preferred method.
5. If no external leaks are found, try blocking off the vacuum supply to the crankcase ventilation system. If the idle cleans up or block 032 idle fuel trim starts to drop, either a false air leak into the system is present or the regulating valve has failed.
6. There have been many cases of leaking rear main seals that create a false air leak. Remove the dipstick and smoke test the crankcase, if smoke comes out of the transmission bell housing the seal is leaking.
Tech Tips: A failed crankcase pressure regulating valve can allow boost pressure to enter the crankcase and force the rear main seal to dislodge.