Discovering a P0008 code on your Chevy Traverse can be unsettling, but understanding the root cause and potential solutions is key to regaining confidence in your vehicle’s performance. In this comprehensive guide, we’ll delve into the intricacies of the P0008 code, covering everything from repair costs to common causes and the parts needed for a fix. Armed with this knowledge, you’ll be well-equipped to tackle the issue head-on and get your Chevy Traverse back on the road in no time.
Understanding the P0008 Code:
The P0008 code indicates a potential issue with the engine’s timing, specifically relating to the camshaft position and the correlation with the crankshaft. This can lead to issues with the engine’s performance and fuel efficiency, making it essential to address the problem promptly.
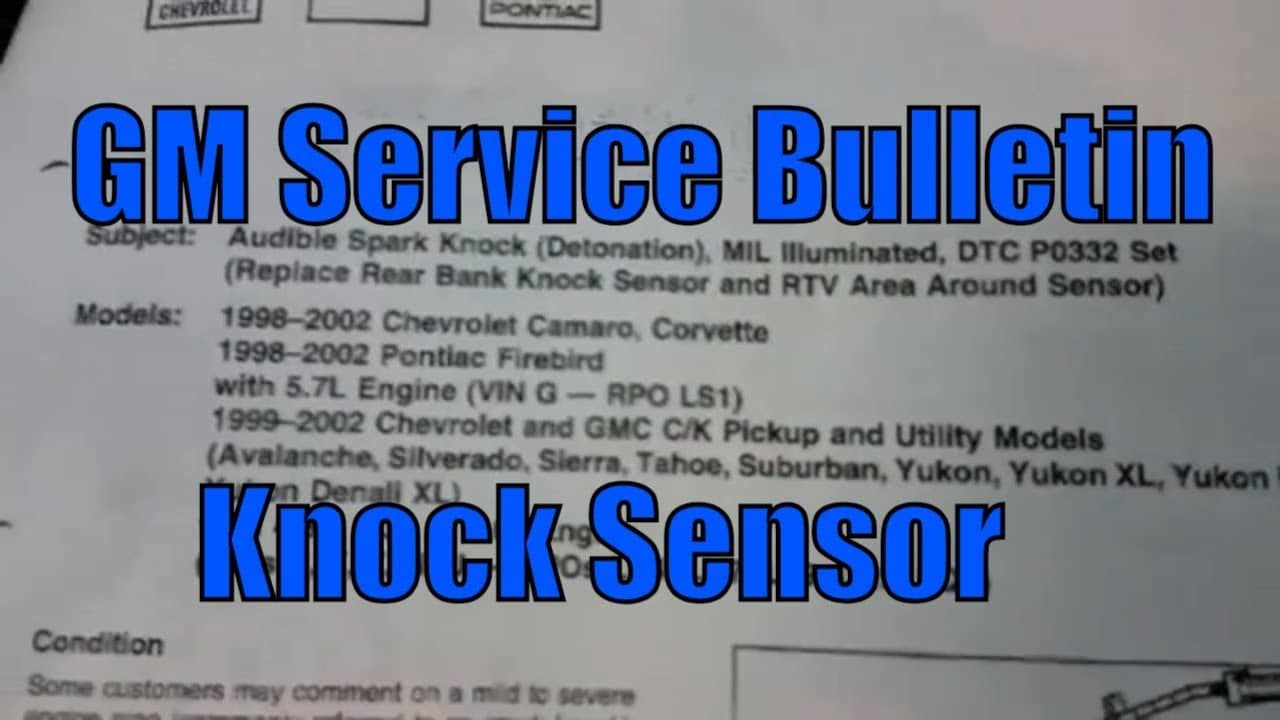
Repair Costs and Service Bulletins:
When faced with a P0008 code, it’s natural to be concerned about repair costs. The expenses associated with fixing this issue can vary depending on the severity of the problem and the parts needed for the repair. Additionally, consulting service bulletins from Chevrolet can provide valuable insights into common issues and recommended repair procedures.
Most Common Causes of P0008:
Several factors can contribute to the appearance of a P0008 code, including issues with camshaft timing, problems with the engine’s variable valve timing (VVT) system, or issues with the timing chain. By understanding these common causes, you can more effectively diagnose and address the problem.
Cost of Repairs and Parts Needed:
Repairing a P0008 code may involve replacing components such as the camshaft position sensor, crankshaft position sensor, or the variable valve timing (VVT) solenoid. The cost of these parts can vary depending on factors such as brand, quality, and where they are purchased. Additionally, labor costs associated with the repair should be taken into account when budgeting for the repair.
Ten Reasons you vehicle could set code P0008:
- Camshaft Timing Issues: One of the primary reasons for a P0008 code is a problem with camshaft timing. This could be due to a malfunctioning camshaft position sensor, timing chain, or other related components.
- Variable Valve Timing (VVT) System Malfunction: Problems with the VVT system can also trigger a P0008 code. This might include issues with the VVT solenoid, which controls the timing of the engine’s valves.
- Crankshaft Position Sensor Failure: A faulty crankshaft position sensor can disrupt the synchronization between the camshaft and crankshaft, leading to a P0008 code.
- Timing Chain Wear or Stretch: Over time, the timing chain can wear out or stretch, causing the camshaft and crankshaft to fall out of sync and triggering a P0008 code.
- Engine Overheating: Excessive engine heat can cause components like the timing chain to expand or warp, affecting their performance and potentially leading to a P0008 code.
- Oil Contamination: Contaminants in the engine oil can interfere with the operation of components like the VVT solenoid, leading to timing issues and a P0008 code.
- Incorrect Oil Viscosity: Using the wrong type or viscosity of engine oil can affect the performance of the VVT system and trigger a P0008 code.
- Faulty Engine Control Module (ECM): A malfunctioning ECM can misinterpret sensor data and cause timing issues that result in a P0008 code.
- Electrical Issues: Problems with the wiring or connectors associated with the camshaft and crankshaft sensors can lead to erratic readings and trigger a P0008 code.
- Incorrect Installation of Timing Components: Improper installation of timing components during engine repair or maintenance can cause the camshaft and crankshaft to fall out of alignment, resulting in a P0008 code.
The Cost to Repair p0008:
The cost to repair a P0008 code can vary depending on several factors, including the issue’s underlying cause, the damage’s extent, and the repair shop’s labor rates. Here are some potential costs associated with repairing a P0008 code:
- Diagnostic Fee: Before any repairs can be made, the vehicle will need to undergo diagnostic testing to identify the root cause of the P0008 code. Diagnostic fees typically range from $50 to $150, depending on the shop and location.
- Parts Replacement: The cost of parts needed to repair a P0008 code can vary widely depending on the specific components needing replacement. This may include items such as the camshaft position sensor, crankshaft position sensor, timing chain, timing belt, VVT solenoid, or other related parts. Parts costs can range from $100 to $500 or more, depending on the vehicle make and model and the quality of the parts used.
- Labor Costs: Labor rates for automotive repairs can vary significantly depending on the shop’s location, reputation, and expertise. Labor costs for repairing a P0008 code may range from $100 to $300 per hour, and the amount of time required for the repair will depend on the complexity of the issue and the accessibility of the affected components.
- Additional Costs: In some cases, additional costs may be incurred for related services such as fluid changes, engine cleaning, or other maintenance tasks that may be necessary as part of the repair process.
Overall, the total cost to repair a P0008 code can range from a few hundred dollars to over a thousand dollars, depending on the specific circumstances. It’s essential to consult with a qualified mechanic or repair shop to get an accurate estimate based on your vehicle’s make, model, and condition.
Conclusion:
Facing a P0008 code on your Chevy Traverse can be intimidating, but with the right knowledge and resources, you can confidently address the issue. By understanding repair costs, consulting service bulletins, identifying common causes, and determining the cost of repairs and parts needed, you can effectively troubleshoot and fix the problem. Don’t let the P0008 code hold you back – tackle it head-on and get back to enjoying the performance and reliability of your Chevy Traverse.