Vehicle Application:
2001 Accord 2.3
Customer Concern: The check engine light is on with a code P0128 for cooling system performance problem.
Average Reported Mileage: 106000
Tests/Procedures: 1. Verify the thermostat is operating correctly, the Engine Control Module (ECM) determines actual engine coolant temperature by the run time of the engine and is watching the Engine Coolant Temperature (ECT) sensor to determine if the engine is warming up fast enough.
2. If the ECT sensor and thermostat is functioning correctly, then follow Honda TSB # 01-064 for a updated ECM for this code.
Tech Tips: If someone starts the vehicle and has the heat on high on a cold day the engine will take longer to warm up and the code may set. I believe the ECM software was revised so it does not expect the engine to warm up as fast.
Tests/Procedures: 1. Let the vehicle get cold and use a scan tool and verify the initial engine coolant temperature is between 20 and 95 degrees F and the initial intake air temperature is also between 20 and 95 degrees F. The difference between initial engine coolant temperature and initial intake air temperature should be a maximum of 3 degrees. Intake air temperature 2 seconds after starting the engine must be nearly equal to initial intake air temperature. Then start the engine and let it idle. Drive the vehicle at a speed between 25 – 55 mph (40 – 88 km/h) for at least 10 minutes.
. If you have difficulty duplicating the DTC, retest after turning off electrical components such as the audio system and A/C,
and try a different gear position.
. Drive the vehicle in this manner only if the traffic regulations and ambient conditions allow.
2. Verify the engine is getting warmed up (above 158 degrees F) in a reasonable amount of time. Given the drive cycle to see if the code resets, look for the engine temperature to reach the estimated engine coolant temperature of about 172 degrees in about 10 minutes of driving.
3. Feel if the lower radiator hose is getting hot indicating the thermostat opened and that there is circulation in the cooling system.
Tech Tips: If the actual engine coolant temperature is below the estimated engine coolant temperature (as estimated by the ECM), a malfunction in the thermostat valve is detected and a DTC P0128 is stored. Malfunction Threshold
. The ECT sensor output is 158ºF (70ºC) or less, and an estimated engine coolant temperature is 172ºF (78ºC) or more.
. The difference between the estimated engine coolant temperature and the ECT sensor output is 27ºF (15ºC) or more.
The TSB for an updated ECM is for 2000-2001 models only.
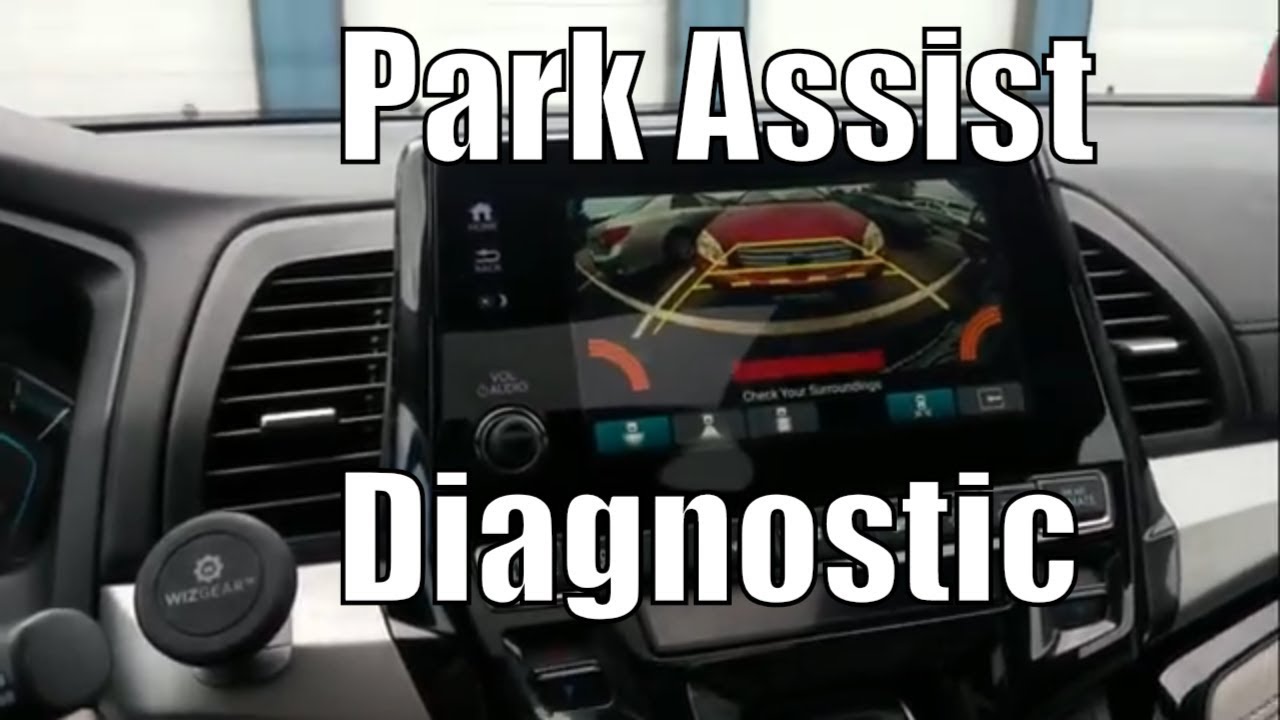
Honda Diagnostic System factory scan tool overview. In this video, I will give you a quick overview of the factor Honda Diagnostic System scan tool. We will run a scan in all module for codes and try resetting the park sensors and resetting the park sensor system.
The Honda factory scan tool is pretty robust but you can also use other automotive scan tools for resetting the parking sensors and many other things.
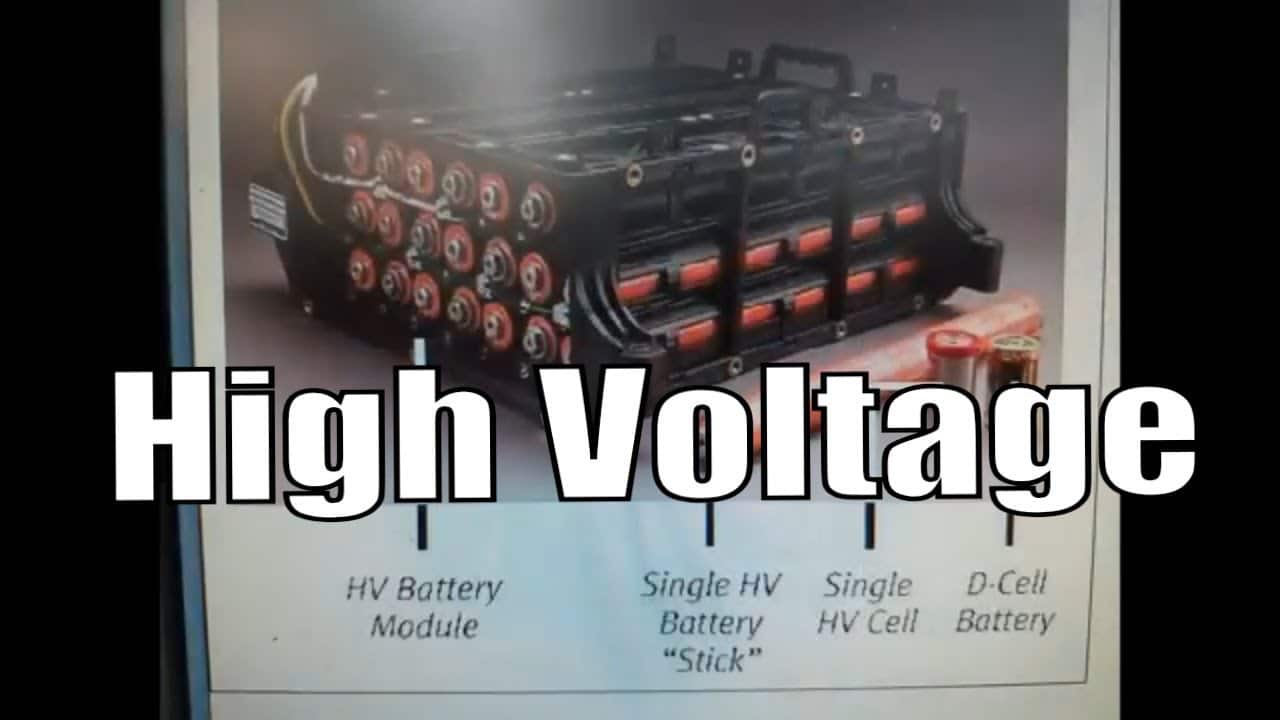
OK, we are working on a honda civic hybrid with some high voltage battery codes along with some charging system problems with the accessory battery. This video is packed with some great diagnostic info on these honda civic hybrid system with trouble codes P1570 or P0A7F
Vehicle Application:
2006 Civic 1.3
2007 Civic 1.3
2008 Civic 1.3
2009 Civic 1.3
Customer Concern: The check engine light and IMA light are on with code P0A7F, indicating the High Voltage (HV) battery module has deteriorated.
Average Reported Mileage: 140294
Tests/Procedures: 1. Refer to Honda Technical Service Bulletin (TSB) 09-025. This code indicates the High Voltage (HV) battery is failing and will need to be replaced. Then the vehicle will need to be reflashed. Also, Honda has extended the warranty on the battery, refer to TSB 12-077.
2. Perform AR&D Battery Test to locate the weak battery cell.
Vehicle Application:
2003 Civic 1.3
2004 Civic 1.3
2005 Civic 1.3
2006 Civic 1.3
2007 Civic 1.3
2008 Civic 1.3
Customer Concern: The check engine light is on and there is a code P1570 indicating a code for the HV battery individual voltage problem.
Average Reported Mileage: 110373
Tests/Procedures: 1. To properly test this code you will need the correct scan tool to look at the HV battery blocks and look for a voltage difference. Honda has a High failure rate on the HV battery and has extended the warranty.
Okay, Flat Rate Mechanic here today we’re going to be diagnosing our check engine light and a battery light on this 2006 Honda Civic Hybrid.
We’ve got a couple of stored codes. We have a p1570and a p0a7f which are both pertaining to the high voltage battery pack for this hybrid. So basically we’re gonna go in, I have the factory Honda scan tool hooked up to this right now.
We’re going to go ahead and connect to this vehicle. We’re going to pull codes and take a look at the high voltage battery cells to see If we have a bad cell. If we do we’re going to have to replace it. I’m gonna show you where the high voltage battery pack is, how to turn it on and off.
I also did a little research on this. I’ll give you some diagnostic tips that I found on Identifix. There’s also an updated warranty information I will give you towards the end of this video. They have extended the warranty on high voltage batteries. They’re having a lot of problems with them.
So I’m all into the scan tool here, we’re gonna go ahead and access the electronic powertrain. From here we will go ahead and go to the data list. We’re gonna see if we can look at the voltages in this battery pack and make sure all the cells are functioning properly. This is a pretty easy check to do if you have a scan tool that can read engine data.
Go down to IMA battery module one two three all the way up to 11 and we’re just looking at these voltages. They’re all about 15 volts so that’s actually not looking that bad and that’s all normal at the moment in my opinion. Probably what I’m gonna do next is do a starting and charging system test.
On the test drive, I also had a battery light on on the dash, so I’m gonna go ahead do it starting and charging test make sure to the DC to DC converter is charging the 12-volt accessory battery.
If all that tests well I’m probably gonna come back and revisit this high voltage battery and take a little deeper dive into this and see if I can see any problems with that.
All right um let’s take a look at some of this information that I pulled. Like I said extending the warranty on this. Honda has a high failure rate on HP battery and has extended its warranty. Here is the extended warranty information. It looks like they’ve extended it 11 years 170,000 miles years 162,000 miles.
So pretty good coverage as far as this high voltage battery goes but I’m suspecting this vehicle is not gonna need that. I think we have a charging problem. Well, I guess where this is a hybrid, this car does not have an alternator it just has a DC to DC converter that charges a battery with the high voltage battery.
Where we have a battery light on in the dash I’m definitely suspecting we got a charging problem. I’m going to go underneath the hood here in a minute and test that but I want to show a few pictures of where the battery is located and also where the DC to DC converter is located.
Where is the high voltage battery and the DC to DC converter?
It’s going to be behind the rear seat. You’re going to have your switch and access panel to the right you have to remove the bolt and you can shut it off all power to the rest of the system from the high voltage battery. Witch you will always want to do before any testing or servicing.
To service this module as you can see there’s an access panel behind the rear seat that is gonna be removed to get to the high voltage battery and the DC converter. It’s fairly easy to access.
We’re gonna go under the hood here and see if we’re getting voltage to this accessory battery. As you can see on our battery tester we’re only on 11.6 volts which just means this battery is discharging right now, it’s not charging. So I’m suspecting we have a DC to DC converter issue.
I’m going to access the DC to DC converter and make sure all of the connections are tight and clean. If all that checks out pretty good this car is going to need a DC to DC converter.
Also when I was looking at the service information I was also able to find that they’re having issues too. The is a service bulletin on the wires getting pinched in the rear trunk and there’s is a hundred amp fuse that blows when this happens so we’re gonna check that as well, once we get the rear seat taken out.
I’m suspecting, in this case, but probably not every case this high voltage battery pack is gonna be OK. We’re gonna go after the DC to DC converter.
Okay so I want to take a second look at this voltage and it’s continuing to drop so I’ve determined that this thing definitely needs a DC to DC converter in order to get this axillary battery charging again. We’re also gonna put a new battery in this as it was also testing bad.
I’ll also leave some other diagnostic information and some tips and tricks on how to diagnose these HV or high voltage batteries on this hybrid Honda Civics. Seems like they’re starting to be pretty big issues as these vehicles get of age. Typically 180 to 200 thousand miles.
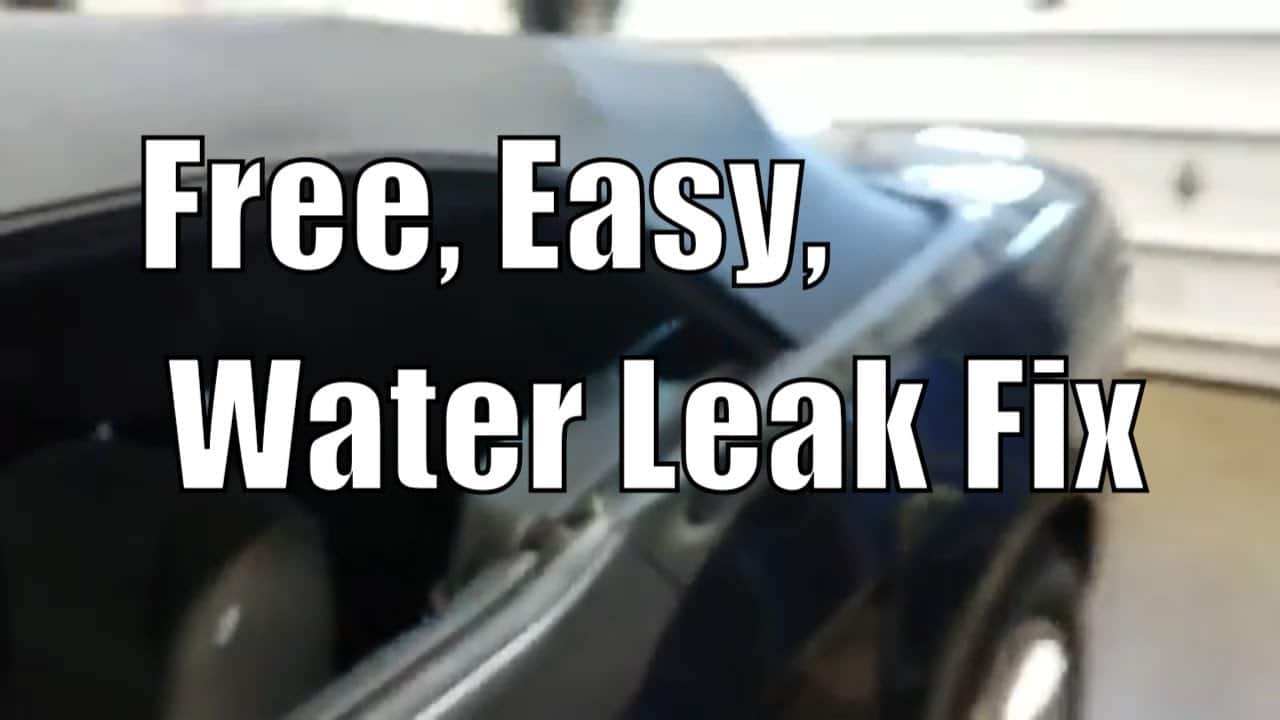
All right 2014 Ford Mustang and the customer was complaining of water sloshing around. Also, his floor mat was wet and all on the floor as well. I took it for a test drive and I could hear water in the right rear quarter-panel sloshing around and this was also convertible top so what we’re gonna do here is we’re gonna put our top down.
With the convertible top, almost way down and I came out here and looked at inside the quarter-panel. Now look way down in there inside the quarter-panel itself and I found about a foot water.
I actually got it all drained out now but you can see way down in quarter-panel there’s actually a foam piece. You need to find something to stick down in there all the way to the bottom and just poke that foam strip.
You’ll see that water will start coming out the bottom.
So basically that’s all you’re gonna to need to do. All I used was a pry bar and I was able to stick it all the way to the bottom of the panel it’s gonna feel soft. Then just pock it through a few times and the water should start draining out. Yeah, so if you have water sloshing around in your Ford Mustang with a convertible top or your floorboards are getting wet, that’s gonna be what you’re gonna want to check and what you’ll need to do to fix it.
Vehicle Application:
2008 EX35 3.5
2009 EX35 3.5
2010 EX35 3.5
2004 G35 3.5
2005 G35 3.5
2006 G35 3.5
2007 G35 3.5
2008 G35 3.5
2003 I35 3.5
2004 Altima 3.5
2003 Maxima 3.5
2004 Maxima 3.5
2004 Quest 3.5
Customer Concern: Setting codes P0011 and P0021 for Intake Valve Timing (IVT) control.
Average Reported Mileage: 102846
Tests/Procedures: 1. Check the engine oil level and condition. If the engine oil is low, it could set these codes.
2. If the oil is good, check for power on the Red/Yellow wire bank 1 and an on/off signal at 2000 RPM on the Red wire. On bank 2, check the Red wire for power and the Green wire for the on/off signal when the engine is a revved to 2000 RPM.
3. If the signal is good, then the Engine Control Module (ECM) is trying to control the camshaft timing. Manually ground the signal wires to see if a change in the way the engine idles can be heard. If so, the solenoids are working. If not, the solenoids could be stuck.
4. The resistance of the IVT solenoids is 7.5 ohms at 70°F.
Tech Tips: The Engine Control Module (ECM) sends on/off pulse signals to the camshaft timing control valve, depending on driving status.
In this video, I show you how to repair a long windshield crack. I attempted to do it on an older windshield crack and due to dust build up over time it makes it much harder to fully make the windshield crack go away. But we were able to make it a little better and hopefully stop the crack from spreading.
If you have a no crank no start in your Honda or Acura you are definitely going to want to see this video. A few very easy checks you can make to see it is your immobilizer and if the green key light is flashing in your dash this video is for you.
In this video, I will show you the fastest and easiest way to repair your flat tire on or off the car. Learn how to Fix a Flat Tire yourself so you can get back on the road fast! Be sure to keep a repair kit in your trunk so you don’t get stranded.