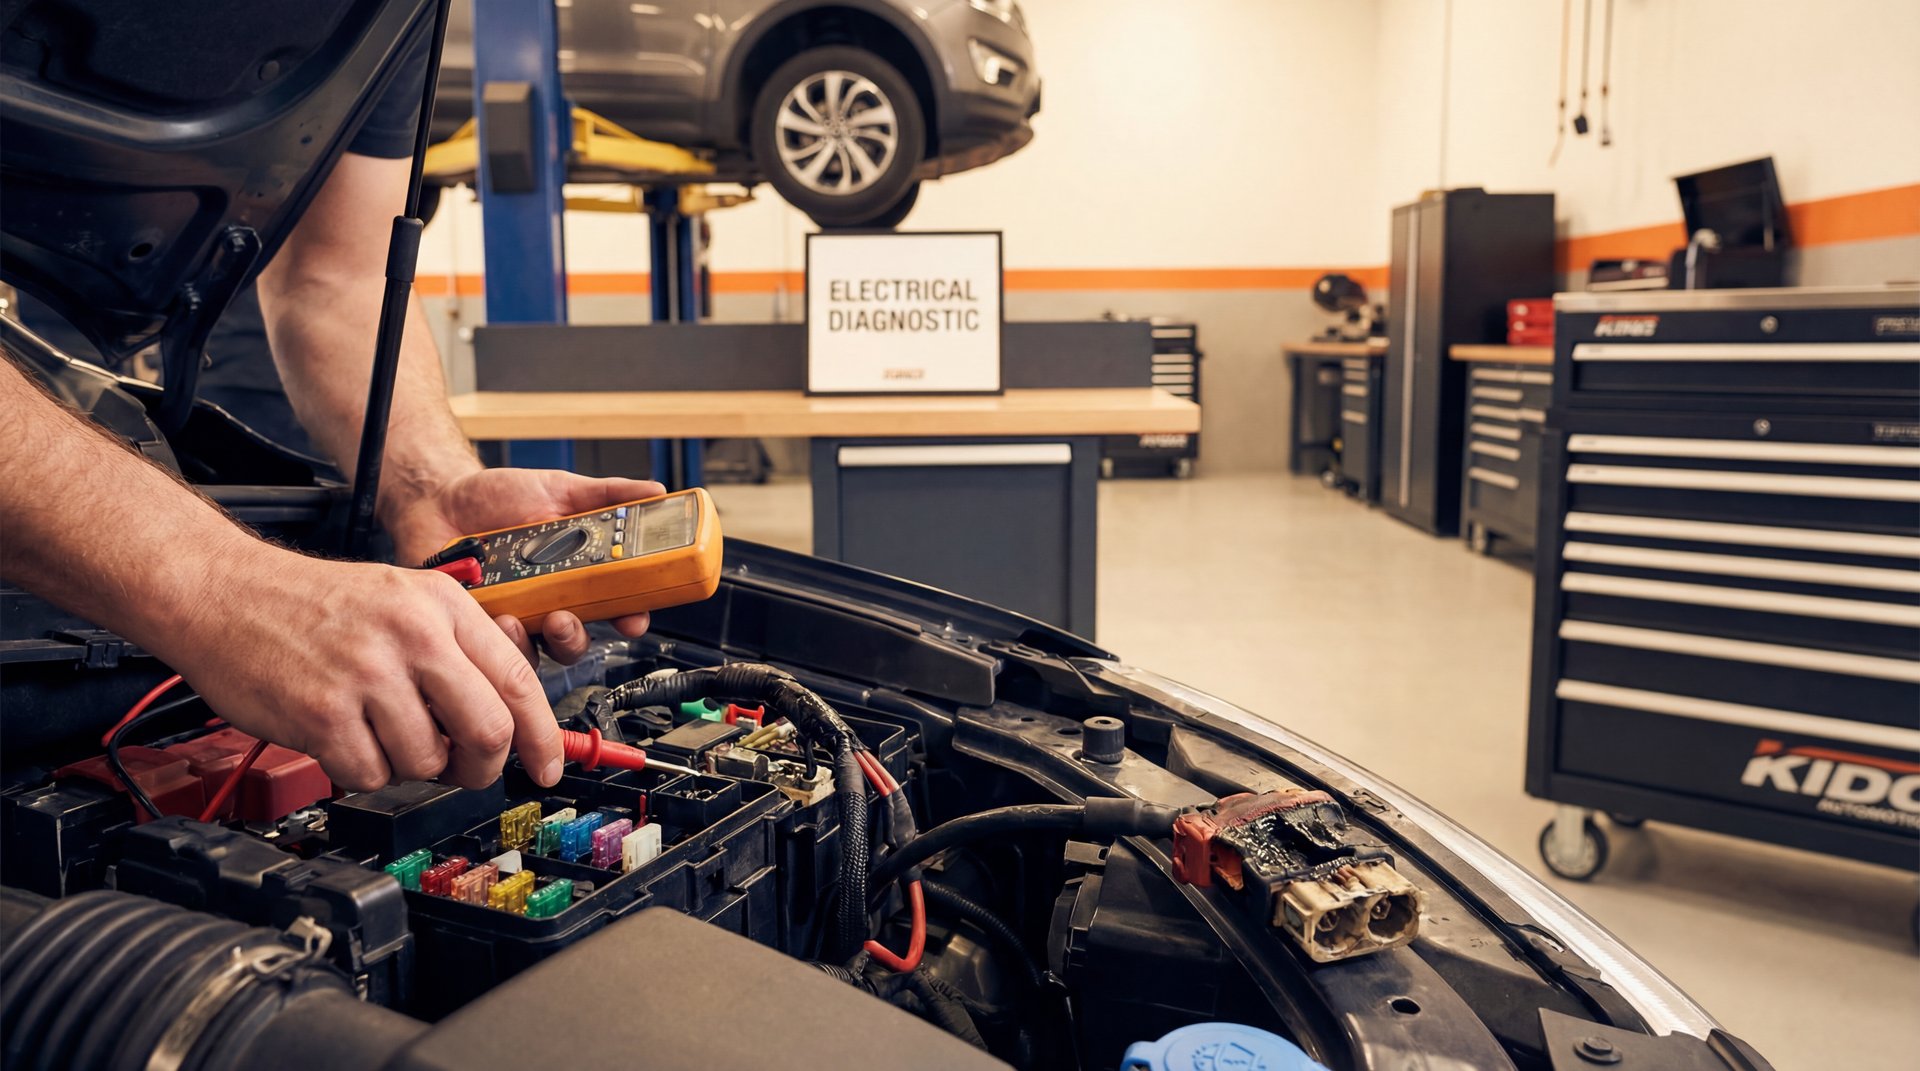
Alright guys, so today we’re gonna talk about something that can turn into a real nightmare real quick – hooking up your car battery backwards. The thing is, a lot of people don’t realize just how much damage this can do until it’s too late. In this post, I’m gonna show you exactly what happens when those cables get reversed, and trust me, you’re gonna want to pay attention because this stuff can get expensive fast.
What Happens When You Reverse a Battery Connection
So here’s the deal – when you hook up your battery backwards, basically what you’re doing is sending electricity through all your car’s systems in the opposite direction than they were designed for. Red should always go to positive, black goes to negative. Simple, right? But when you flip that around, you’re asking for trouble.
Your car has a lot of protective measures built in, like fuses and fusible links, that are supposed to protect against this kind of thing. But here’s what a lot of people don’t realize – those protections aren’t foolproof, and if you’re unlucky or if the connection stays reversed long enough, you can blow right through those safeguards.
⚠️ Warning
Never lean over the battery while connecting or disconnecting cables. A reversed connection can cause immediate sparking, battery venting, and in extreme cases, battery explosion. Always wear safety goggles and acid-resistant gloves when working with batteries.
The thing is, reversing battery polarity can cause immediate electrical shorts throughout your entire system. We’re talking about sending 12 volts backwards through sensitive electronics that were never meant to handle it. Modern cars especially – anything from the 1990s onward – have computers and modules everywhere, and those things do NOT like reverse polarity.
Immediate Signs That Something Went Wrong
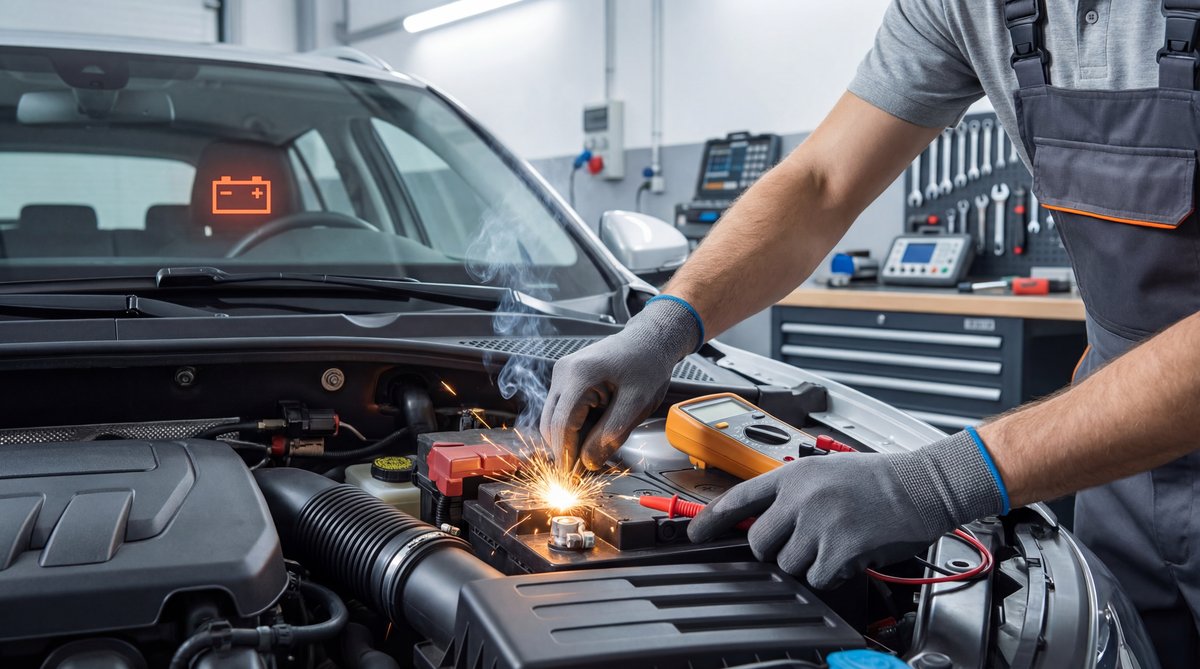
Alright, so what are you gonna see right away if you hook things up wrong? First thing – sparks. Big ones. The second those cables touch the wrong terminals, you’re gonna see an arc that’ll make you jump back real quick. That’s your first clue that something’s not right.
Next, you might smell something burning. That’s the smell of electrical insulation melting, wiring getting hot, or components frying. If you smell that, disconnect everything immediately and don’t try to start the car. You might also hear a popping sound – that’s fuses blowing, which is actually a good thing because it means they’re doing their job.
Some other immediate signs to watch for:
- Hot or melted wire insulation near the battery terminals
- Battery case starting to swell or get warm to the touch
- Complete loss of all electrical systems – no lights, no dash, nothing
- Smoke coming from under the hood (this is bad, real bad)
- A hissing sound from the battery (hydrogen gas venting – explosion risk)
❌ Common Mistake
Don’t assume everything’s fine just because the car still starts after you correct the polarity. Damage to your alternator diodes or ECU might not show up right away but can cause failures down the road. Always check your main fuses and have the charging system tested after a reversed connection.
How Your Car Tries to Protect Itself

Now let’s talk about what’s supposed to keep your car safe when this happens. Basically, your vehicle has several layers of protection, but they’re not perfect.
The first line of defense is your main fusible link or main fuse. Most modern cars have main fuses rated anywhere from 100 to 300 amps depending on the vehicle. These are big fuses, usually located in the main fuse box or near the battery itself. When you reverse the polarity, these should blow first, cutting power before it can damage other components.
The thing is, fuses take time to blow – even if it’s just milliseconds. In that tiny window, current is flowing backwards through your system. On older vehicles with mostly mechanical systems, you might get lucky and the fuse blows before any real damage happens. But on modern cars with sensitive electronics? That millisecond might be all it takes to fry something expensive.
You have a lot of protective measures like fuses and stuff that will protect it. But if it didn’t, here’s what would happen – and trust me, you don’t want to find out the hard way.
Your alternator also has some built-in protection through its diode rectifier bridge. The alternator converts AC to DC using diodes that only allow current to flow one direction. When you reverse the battery, you’re pushing current backwards through these diodes, which can short them out instantly. The diodes are rated for 50 to 150 amps continuous, but they’re not designed to handle reverse current at all.
What Gets Damaged and What It’ll Cost You
Alright, let’s talk about the expensive part – what actually breaks and what you’re looking at cost-wise. This is where things can get ugly real quick.
💰 Potential Damage and Costs
- Main Fusible Link/High-Amp Fuse: $10-$80 (usually easy fix)
- Alternator Replacement: $150-$600 parts only (remanufactured to OEM new)
- ECU Replacement/Reflash: $400-$2,000+ depending on vehicle
- Battery Replacement: $80-$220 for most compact/mid-size cars
- Wiring Harness Repair: $200-$1,500+ depending on extent of damage
The alternator is usually the first casualty. Reversed polarity destroys the diode rectifier bridge pretty much instantly. You’re looking at $150 to $350 for a remanufactured alternator, or $300 to $800 for a new OEM unit depending on your vehicle. Labor adds another couple hundred if you’re not doing it yourself.
Next up is your ECU and other control modules. This is where modern cars really get you. The engine computer, transmission control module, ABS module, body control module – basically any electronic brain in your car can get fried. ECU replacement can run anywhere from $400 to over $2,000 depending on your vehicle, and that’s before programming costs. Some vehicles need dealer-level programming that can add another few hundred bucks.
| Component | DIY Cost | Shop Cost |
|---|---|---|
| Alternator | $150-$600 | $400-$1,200 |
| Main Fuses | $10-$80 | $100-$200 |
| ECU | $400-$2,000+ | $800-$3,500+ |
| Battery | $80-$220 | $150-$350 |
Don’t forget about the battery itself. When you reverse the connection, you’re essentially short-circuiting the battery. This generates massive heat inside the battery case. The battery can swell up, start venting hydrogen gas, or even explode if you’re really unlucky. At minimum, you’ve probably damaged it enough that it won’t hold a charge properly anymore. You’re looking at $80 to $220 for a replacement battery for most vehicles, depending on whether you go with a standard flooded battery or an AGM.
🔧 Pro Tip
If you reverse your battery connection, don’t just fix the fuse and assume everything’s fine. Take your car to a shop or use a scan tool to check for stored codes in all modules. Sometimes damage doesn’t show up for days or weeks, and you want to catch it while you can still return the battery or alternator under warranty.
Wiring harnesses can also get damaged. Melted insulation, burnt connectors, even melted wire strands themselves. Depending on what got damaged, you might be looking at individual connector repairs (couple hundred bucks) or entire harness sections that can run $500 to $1,500 or more in parts and labor.
The severity really depends on how long the connection stayed reversed and what protective devices your specific vehicle has. Some vehicles have better protection than others. Older vehicles with simpler electrical systems sometimes tolerate a brief reversed connection better than modern ones, but that’s not something you want to test.
How to Make Sure This Never Happens to You
Alright guys, so now that you know what can happen, let’s talk about how to make sure you never have to deal with this mess. Prevention is way cheaper than repair, trust me.
First thing – always double-check before you connect anything. Red cable to the positive terminal (usually marked with a + and red cover), black cable to negative (marked with a – and black cover). Seems obvious, but when you’re in a hurry or it’s dark outside, it’s easy to mix them up.
💰 Money Saver
Get yourself a set of color-coded jump cables with built-in polarity indicators or reverse-polarity protection. Some newer cables have LEDs that light up to confirm correct connection, or they simply won’t complete the circuit if you hook them up backwards. Spending an extra $20-$30 on smart cables can save you thousands in repairs.
Here’s what I recommend to stay safe:
- Always connect positive first, then negative – and always disconnect negative first when removing cables
- Use a flashlight or work light so you can clearly see the terminal markings
- Clean your battery terminals regularly so the markings are visible (corroded terminals can hide the + and – symbols)
- Take a photo of the correct connection before you disconnect anything if you’re not sure
- Consider using jump cables with reverse polarity protection built in
- Never rush the job – take an extra 30 seconds to verify everything
The battery terminals themselves are actually designed to help prevent mistakes. The positive post is usually slightly larger in diameter (about 0.756 inches) than the negative post (about 0.690 inches). The cable clamps are sized to match, so technically the positive clamp shouldn’t fit on the negative terminal. But corroded terminals, aftermarket cables, or forcing things can overcome this safety feature.
🔧 Pro Tip
If you’re working on hybrid or electric vehicles, this becomes even more critical. Those systems have high-voltage batteries that can cause serious injury or death if connected incorrectly. If you’re dealing with anything related to hybrid battery systems, leave it to professionals unless you’re properly trained and equipped.
When jump-starting, always follow the proper procedure: Connect positive to positive on both batteries first, then connect negative to a good ground point on the dead vehicle (not directly to the battery if possible). This reduces spark risk and gives you one more check to make sure everything’s correct before power flows.
Keep a basic multimeter in your vehicle. Before you hook up cables, you can quickly verify which terminal is positive and which is negative by touching the meter probes to the terminals. Red probe should read +12V when touched to positive terminal with black probe on negative. Takes 5 seconds and can save you thousands.
Frequently Asked Questions
What are the immediate signs of a reversed battery connection?
The immediate signs are pretty hard to miss. You’ll see sparks or arcing the moment the cables touch the terminals, and you might hear a popping sound from fuses blowing. Within seconds, you’ll probably smell burning electrical components – kind of a sharp, acrid smell from melting insulation. Your dash lights will either go completely dead or act really weird, flickering or staying dim. If the connection stays reversed for more than a few seconds, you might see smoke, feel the battery getting hot, or hear a hissing sound from the battery venting gas. The thing is, if you see any of these signs, disconnect everything immediately and don’t try to start the vehicle until you’ve checked the main fuses and had the system tested.
How can I prevent damage if I accidentally connect the battery incorrectly?
Speed is everything here. The second you realize the connection is backwards – usually when you see sparks – disconnect the cables immediately. Don’t try to start the car or turn on any accessories. Once disconnected, your first step is to check all the main fuses and fusible links, which are usually in the main fuse box under the hood or near the battery. Look for any that are blown and replace them. After that, reconnect the battery correctly and see if the car shows signs of life. Even if everything seems fine, I’d recommend having a shop scan all the computer modules for stored fault codes and test the alternator output. Sometimes damage doesn’t show up right away, and catching it early can prevent bigger problems down the road. The main thing is to disconnect fast and not attempt to start the vehicle until you’ve verified the electrical system is OK.
What safety equipment should I use when working with car batteries?
At minimum, you need safety goggles or a face shield – batteries contain sulfuric acid and can vent explosive hydrogen gas, so eye protection is non-negotiable. Get yourself some acid-resistant gloves, either nitrile or neoprene work gloves that can handle battery acid. Long sleeves are a good idea too, to protect your arms from acid splashes or hot metal if something arcs. If possible, keep an eye wash station or at least a bottle of water nearby in case you get acid in your eyes. When you’re actually connecting or disconnecting cables, make sure you’re using insulated tools – don’t use regular wrenches that could short across terminals. A lot of guys also keep a fire extinguisher nearby when working with batteries, which is smart because electrical fires can happen. The thing is, batteries are no joke – they contain enough energy to weld metal and enough acid to cause serious chemical burns, so don’t skip the safety gear even if you’re just doing a quick jump start.
Are there any specific tools that can help avoid connecting the battery incorrectly?
Yeah, actually there are some pretty slick tools nowadays that can save you from making expensive mistakes. First off, you can get jump cables or battery chargers with built-in reverse polarity protection – these have electronics that detect if you’ve hooked them up backwards and they simply won’t complete the circuit until you fix it. Some of them even have LED indicators that light up green when everything’s correct and red when it’s wrong. A basic multimeter is also super useful – before you connect anything, you can verify which terminal is positive by touching the probes to the terminals and checking that you get +12V, not -12V. Some battery terminal connectors also come with physical keys or guides that make it impossible to attach them to the wrong terminal. And honestly, something as simple as a good flashlight or headlamp makes a huge difference – a lot of reversed connections happen because people can’t see the terminal markings clearly. The best tool though is just taking your time and double-checking before you make the connection – rushing is what gets most people in trouble.
How does reversed polarity affect the electrical system of a car?
Basically, reversed polarity sends electricity through all your car’s components in the wrong direction, and modern electronics really don’t like that. Your alternator’s diodes are designed to only allow current flow in one direction – when you reverse that, they short out and fail almost instantly. Your ECU and other control modules have voltage regulators and circuits that expect positive voltage on certain pins and ground on others – flip that around and you can fry integrated circuits and burn out components. The main fuses and fusible links are supposed to blow and cut power before too much damage happens, but they’re not always fast enough, especially on vehicles with lots of computer modules. Older vehicles with mechanical fuel pumps, points ignition, and minimal electronics might survive a brief reversed connection with just a blown fuse, but anything from the ’90s onward with fuel injection, computer controls, and network communication between modules is at serious risk for expensive damage. The longer the reversed connection stays connected, the more components get damaged – we’re talking alternators, ECUs, instrument clusters, radio, power accessories, basically anything electrical is at risk.
