Alright guys, so you’ve got your Honda battery light on and you’re probably thinking it’s the alternator, right? That’s what everybody assumes. But the thing is, on a lot of modern Hondas, that battery light coming on isn’t what you’d expect. I ran into this exact situation recently and when I started wiggling wires and tapping on the battery sensor, that charging light flickered back on. Turns out, it’s actually the battery current sensor causing the issue, not the charging system at all. Let me walk you through what’s actually going on here and how to fix it.
Understanding Honda’s Battery Current Sensor
So here’s what’s going on with these Honda battery sensors. Basically, Honda started installing these battery current sensors on the negative battery cable back in the late 2000s, and they’re on pretty much all the newer Hondas now—Civics, Accords, CR-Vs, Odysseys, you name it.
This sensor is doing a couple of really important jobs. It’s monitoring the battery temperature and the current draw going in and out of that battery. The computer uses this information to control the alternator and manage what Honda calls “smart charging.” But here’s the safety part that’s really interesting: if something goes wrong inside that battery or the battery is shorted, it’ll actually tell the computer to stop charging. That way you don’t run into some kind of fire danger or some kind of issue with that nature.
🔧 Pro Tip
If your Honda has a small plastic ring or block with a 2-3 wire connector on the negative battery cable, you’ve got a battery sensor and this is probably what’s causing your battery light issue, not your alternator.
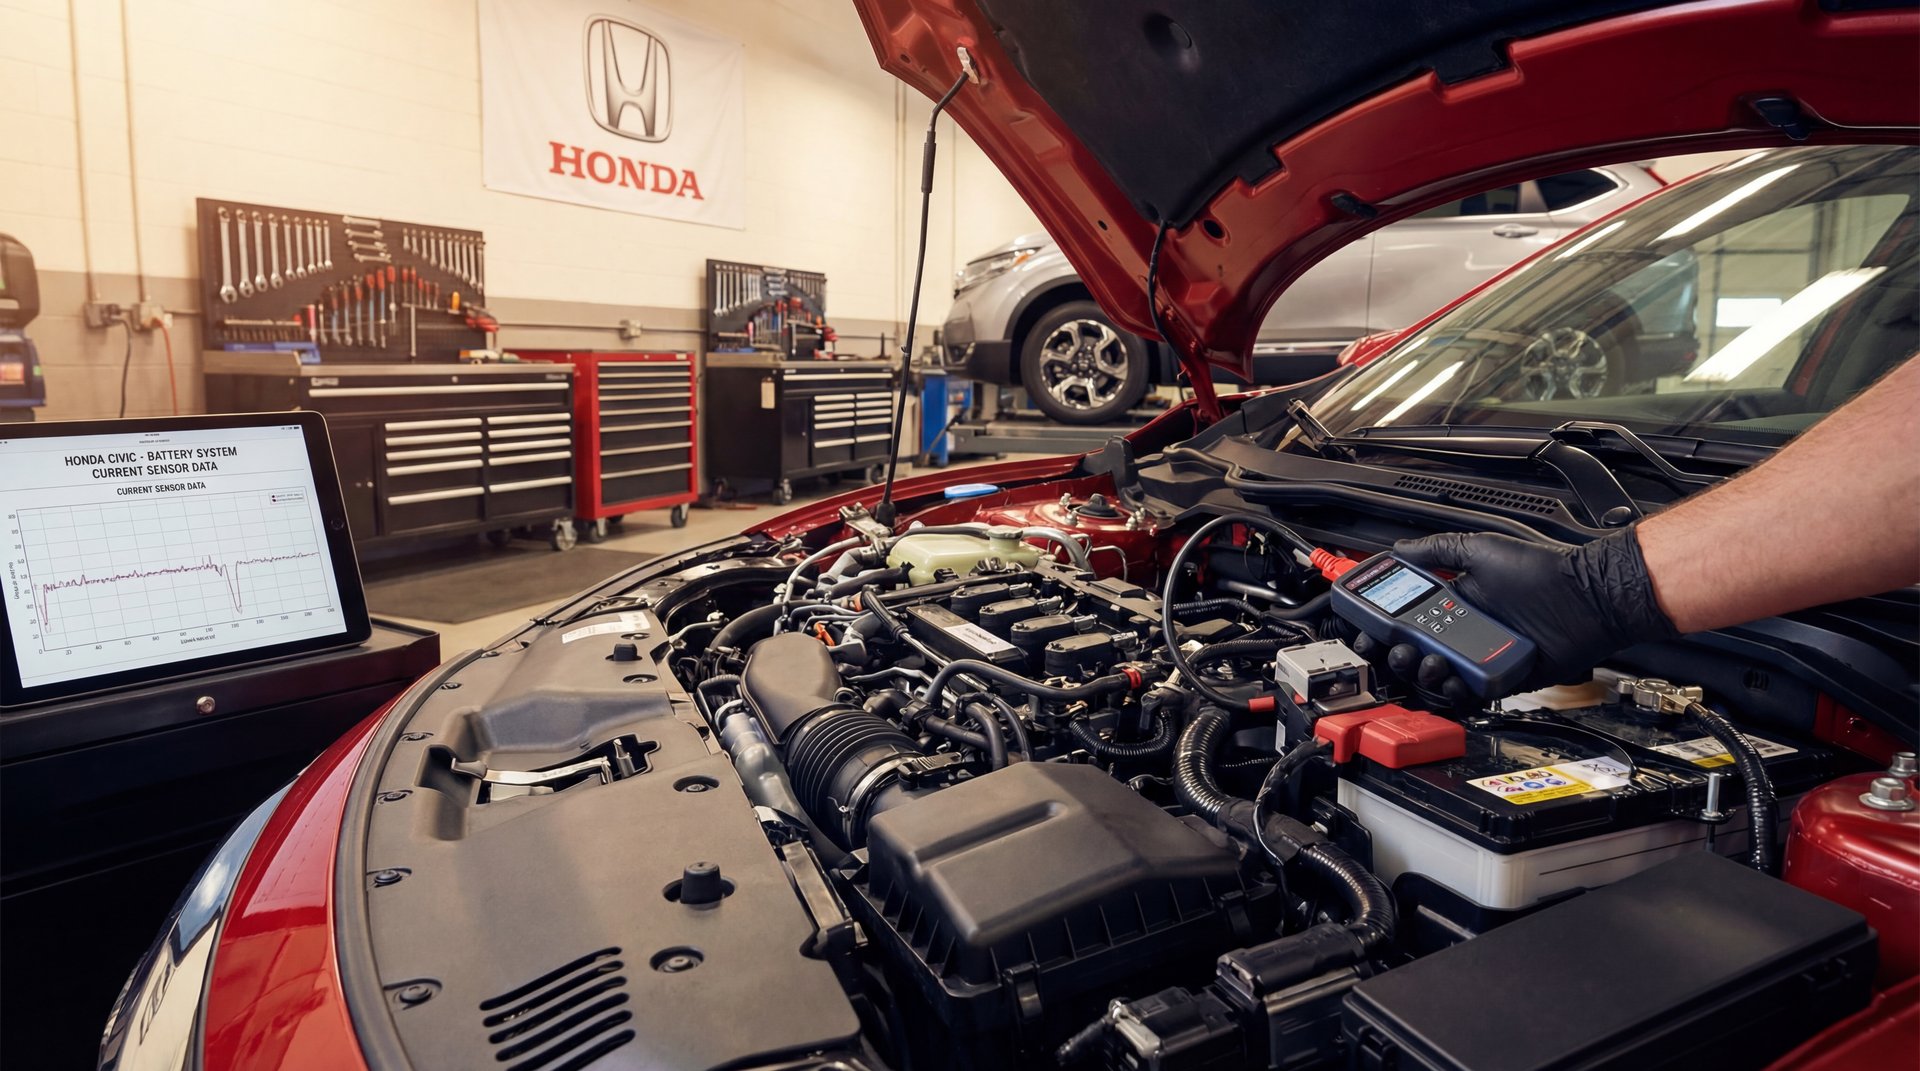
The sensor feeds battery current and temperature data directly to the PCM (that’s your powertrain control module). According to automotive electrical system diagnostics, this kind of smart charging system helps protect both the battery and the vehicle’s electrical components from potential damage.
Diagnosing the Problem When Your Battery Light Comes On
Now, what we’re gonna do is figure out if it’s actually the sensor and not your alternator. Most common causes when that battery light comes on? Everybody thinks alternator, battery going bad, maybe a loose belt. But on these Hondas, the sensor is actually the culprit way more often than you’d think.
In my case, I ended up kind of tapping on the battery sensor and wiggling the wires and the charging light did come back on. That right there told me everything I needed to know. If you’ve got an intermittent battery light that flickers or changes when you wiggle that sensor connector, you’ve found your problem.
❌ Common Mistake
A lot of people will replace the alternator first, spending $400-500, when all they needed was a $110 sensor on the negative cable. Always check the sensor connection first by wiggling it while the engine is running and watching the battery light.
Real quick, here’s what you want to test before throwing parts at it:
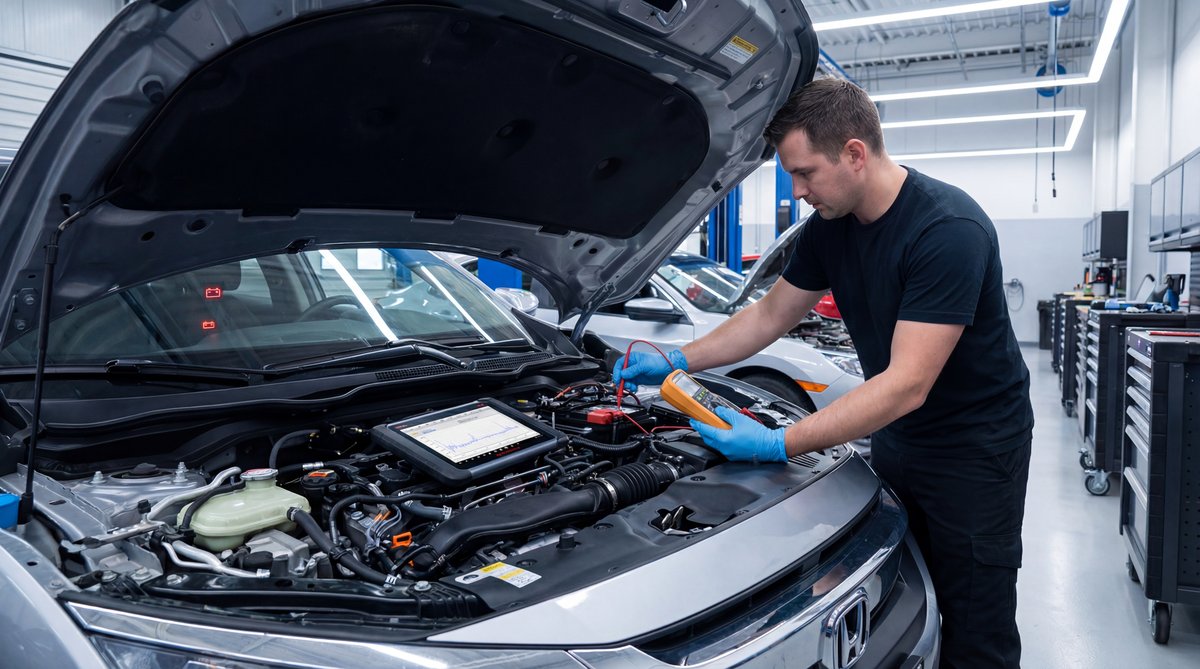
- With the engine running, battery voltage should be around 13.5-14.8 volts at idle with no loads on
- Turn on your lights, blower motor, and rear defrost—voltage should stay above 13.2 volts
- If voltage drops to 12.3 volts or lower with the engine running, that’s actually a charging problem
- But if voltage is good and the light is still on? That’s your sensor
Many of these Hondas will throw codes like P154A, P065A, or P0A94—those are all battery sensor related codes. If you’ve got a scan tool, check for those. If you want more details on testing the whole charging system, check out our guide on how to test a Honda charging system for a complete walkthrough.
If something goes wrong inside that battery or the battery is shorted, the sensor will actually tell the computer to stop charging. That way you don’t run into some kind of fire danger.
Locating the Battery Current Sensor
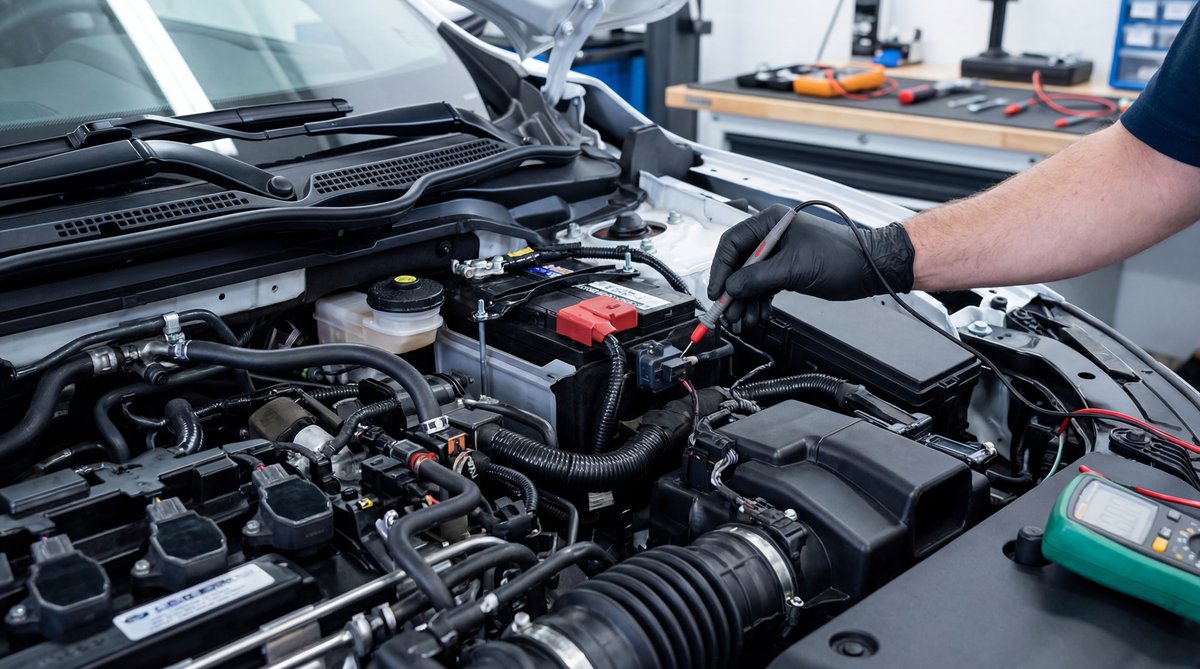
Alright, so the battery sensor is right there on the negative battery cable. You’ll see it—it’s a plastic housing with a connector that has 2 or 3 wires going into it, and it clamps right around the negative cable close to the battery terminal.
On most Hondas, it’s pretty easy to spot once you pop the hood. The thing is, Honda doesn’t sell just the sensor by itself on most of these. You’re buying the whole negative cable assembly with the sensor already attached to it.
🔧 Tools Needed
- 10mm wrench or socket (for battery terminal)
- 12mm wrench (for cable ground bolt, varies by model)
- Small flat-head screwdriver (for prying connector tab)
- Safety glasses
- Gloves (protect from corrosion and acid)
- Wire brush or battery terminal cleaner
⚠️ Warning
Before you touch anything, make sure the key is off and out of the ignition. Do NOT let any metal tools touch both the positive terminal and any ground at the same time—you’ll create a dead short that can weld your wrench and damage electronics. Always disconnect the negative cable first and reconnect it last.
Replacing the Battery Sensor Assembly
So that’s what we’re going to go ahead and replace in this vehicle. The install is actually super simple, basically anybody can do this.
First thing, disconnect that negative cable. Loosen the 10mm bolt on the terminal clamp and wiggle the cable off. Don’t pry against the battery post or you can crack the case.
Next, you need to follow that negative cable down to where it bolts to the chassis or engine block. Usually there’s one or two 12mm bolts holding the cable end to the body ground. Remove those.
Unplug the electrical connector from the sensor. There’s usually a little tab you press to release it—be gentle with that tab because the plastic gets brittle.
Now just reverse the process with your new sensor cable. Bolt the ground end to the body first—torque spec on most Hondas is around 16 lb-ft for that body ground bolt, but you don’t need to go crazy. Snug it down good so it won’t vibrate loose.
🔧 Pro Tip
Before you install the new cable, hit both battery terminals with a wire brush. Clean off any corrosion so you get a good connection. This is also a great time to check your battery’s manufacture date—if it’s more than 4-5 years old, you might want to think about replacing it soon anyway.
Connect the sensor plug—you should hear or feel it click into place. Then connect the negative terminal to the battery. The terminal clamp bolt only needs about 44 inch-pounds (that’s less than 4 lb-ft), so don’t crank on it. Just snug with a 1/4″ drive ratchet is plenty.
Real quick safety note here: if you’re worried about hooking things up wrong, we’ve got an article about what happens if you hook your car’s battery up backwards. Trust me, you don’t want to do that—it’ll fry electronics instantly.
Start the car up and that battery light should be off. If it flickers for a second when you first start it, that’s normal—the system is doing a check. But it should go out within a couple seconds.
Costs and Part Numbers You Need to Know
As you can see, I have the battery sensor here and the part number. I believe this part from the dealership was about I want to say $110. That’s pretty typical for these Honda sensor cable assemblies.
Now, part numbers are gonna be different depending on your exact Honda model and year. Here’s some common ones so you have an idea what to look for:
- 2016-2021 Honda Civic (1.5T/2.0L): Part numbers like 38920-TBA-A01 or 38920-TBA-A02
- 2013-2017 Honda Accord (2.4L/3.5L): Usually 38920-T2A-A01
- 2012-2016 Honda CR-V: Often 38920-T0A-A01
- 2011-2017 Honda Odyssey: Typically 38920-TK8-A01
The thing is, Honda supersedes these part numbers all the time, so you definitely want to verify by VIN with your dealer or a good parts catalog before you order. I always recommend having them look it up by VIN just to be 100% sure you’re getting the right one.
| DIY Cost | Shop Cost | You Save |
|---|---|---|
| $110-130 | $300-450 | $200+ |
💰 Money Saver
If you take this to a shop, they’re gonna charge you an hour of diagnostic time plus an hour of labor, easily $300-450 total. This is a 15-minute job you can do yourself in your driveway and save over $200.
So very simple to install, and for that price difference, it’s definitely worth doing yourself. According to automotive repair cost analysis, DIY electrical repairs like this sensor replacement are some of the best ways to save money on Honda maintenance.
Frequently Asked Questions
What are the most common causes of the Honda battery light coming on?
How can I reset the battery warning light on my Honda?
What tools are essential for diagnosing a faulty Honda battery?
Are there any specific safety precautions to take when working with a Honda battery?
How much does it typically cost to replace a Honda battery sensor?
