Alright guys, let me show you this quick hack that’s going to make checking your engine oil so much easier. We’ve all been there – you’re about to check your oil, you pull out the dipstick, and now you’re looking around for a rag or paper towel to wipe it off. Well, I’m going to show you a simple trick using a piece of pool noodle foam that solves this problem for good. The thing is, once you set this up, you’ll never have to hunt for a towel again.
What You Need for This Hack
What we’re gonna do here is use one of those foam pool floaties – you know, the arm floaty pieces you see at the pool. Basically, you just need a small section of this EVA foam and something to punch a hole with.
🔧 Tools Needed
- Foam pool noodle or arm floaty
- Utility knife or scissors
- Ballpoint pen (for punching the hole)
- Nitrile gloves (for safety)
You can grab one of these pool noodles at pretty much any hardware store or Walmart for a couple bucks. The thing is, you only need about a 1-inch piece, so one pool noodle is going to last you basically forever if you want to do this on multiple vehicles.
This hack works on pretty much any vehicle with an accessible dipstick. I’m talking about everything from small engine equipment like lawnmowers all the way up to trucks with big V8s. Whether you’ve got a Honda, Ford, Mazda, or whatever – if you can reach the dipstick, you can use this trick.
Preparing the Foam Piece

Alright, so real quick, we’re just going to cut a piece off this foam floaty. You want about a 1 to 2-inch section – doesn’t have to be perfect. Just cut it straight across with your utility knife or scissors.
Now here’s the important part: we need to punch a hole in it. I’m using a ballpoint pen for this, but you could use anything similar. You want to make the hole just slightly bigger than your dipstick handle so it slides on but stays snug.
🔧 Pro Tip
Measure your dipstick handle diameter first. Most are between 0.25 and 0.375 inches. You want the hole to be about 0.375 inches so the foam slides on easily but doesn’t fall off. If you make it too small, the foam will tear when you try to put it on.
Just push the pen through the center of the foam piece. Twist it around a bit to open up the hole. Got a little hole there – perfect. That’s all the prep work you need.
Installing It on Your Dipstick
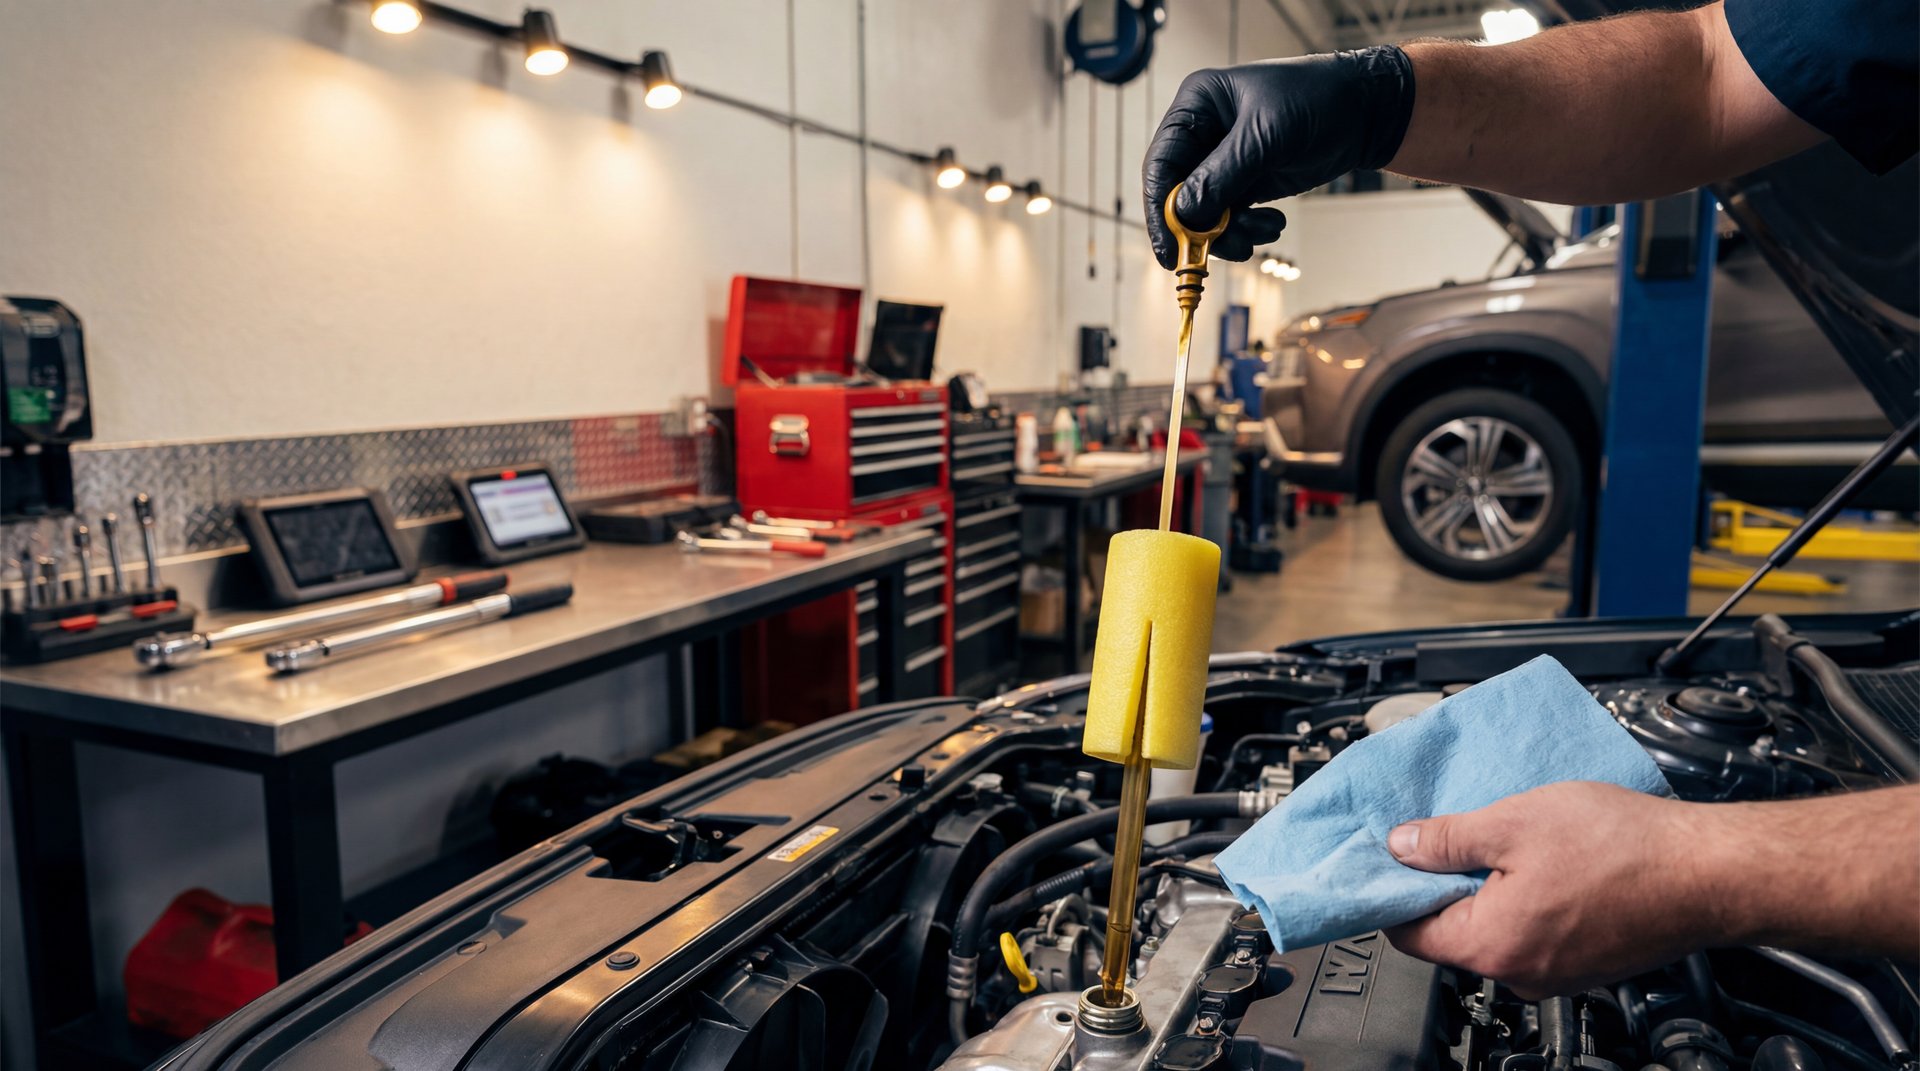
Now we’re going to get under the hood of the car and I’ll show you this neat little trick. Locate your engine oil dipstick – it’s usually got a bright colored handle, often yellow or orange, so it’s easy to spot.
We’re just going to take this piece of foam and slide it over your engine oil dipstick handle. That’s it. Just push it down over the handle so it sits right there waiting for you. You want it positioned so it’s accessible but not in the way of anything else under the hood.
⚠️ Warning
Make sure the foam piece isn’t touching any hot surfaces like the exhaust manifold or sitting near moving belts. The foam can handle normal engine bay temperatures, but you don’t want it right up against something that gets to 800°F. Keep it on the dipstick handle where it belongs.
The foam should sit snugly on the handle. If it keeps sliding off, your hole might be too big. You can either cut a fresh piece with a smaller hole, or add a small zip tie above it as a stopper.
How to Use It When Checking Oil
Alright guys, here’s where this hack really shines. Now anytime you need to check your oil, you just pull the dipstick out. As you’re pulling it, you slide it through that foam piece and it wipes all the oil off the dipstick for you.
So the process is simple: pull the dipstick out through the foam to wipe it clean on the first pull. Then you put the dipstick back in all the way, wait a second, and pull it out again to get your actual reading. That second pull is when you check where your oil level is sitting between the low and full marks.
🔧 Pro Tip
Always check your oil when the engine is cold – like first thing in the morning before you start the car. This gives you the most accurate reading because all the oil has settled back into the pan. If you check it right after driving, you might get a false low reading since oil is still circulating through the engine.
Then you put the dipstick back in, and the foam piece just stays there on the handle. Next time you need to check your oil, it’ll be there when you need it. No more looking around for paper towels or rags. No more getting oil on your hands trying to wipe the dipstick on some random piece of cardboard you found in the garage.
The foam will eventually get saturated with oil after maybe 10 or 20 checks. When you notice it’s getting really dark and oil-soaked, just pull it off and slide on a fresh piece. Since you’re only using an inch or two of foam each time, that $3 pool noodle will last you years.
💰 Money Saver
This 2-minute setup saves you from buying shop rags or paper towels every time you check your oil. If you’re checking your oil regularly like you should (which is weekly if you’re being thorough), that’s 50+ times a year you’re not wasting towels. Over time, that adds up to real savings.
While you’re checking your oil regularly, you might also want to keep an eye on other maintenance items. If you’re working on a Subaru, check out our guide on how to do a proper oil change without screwing it up.
Important Safety Tips
Real quick, let me cover some safety stuff so you don’t run into problems. The thing is, engine oil can get seriously hot – we’re talking 200-250°F when the engine’s been running. So always let your engine cool down before checking the oil.
⚠️ Warning
Never check your oil while the engine is running. Some engines have oil pressure up to 150 PSI, and you don’t want to risk any spray or splash. Always turn the engine off and wait at least 5-10 minutes for things to cool down and settle.
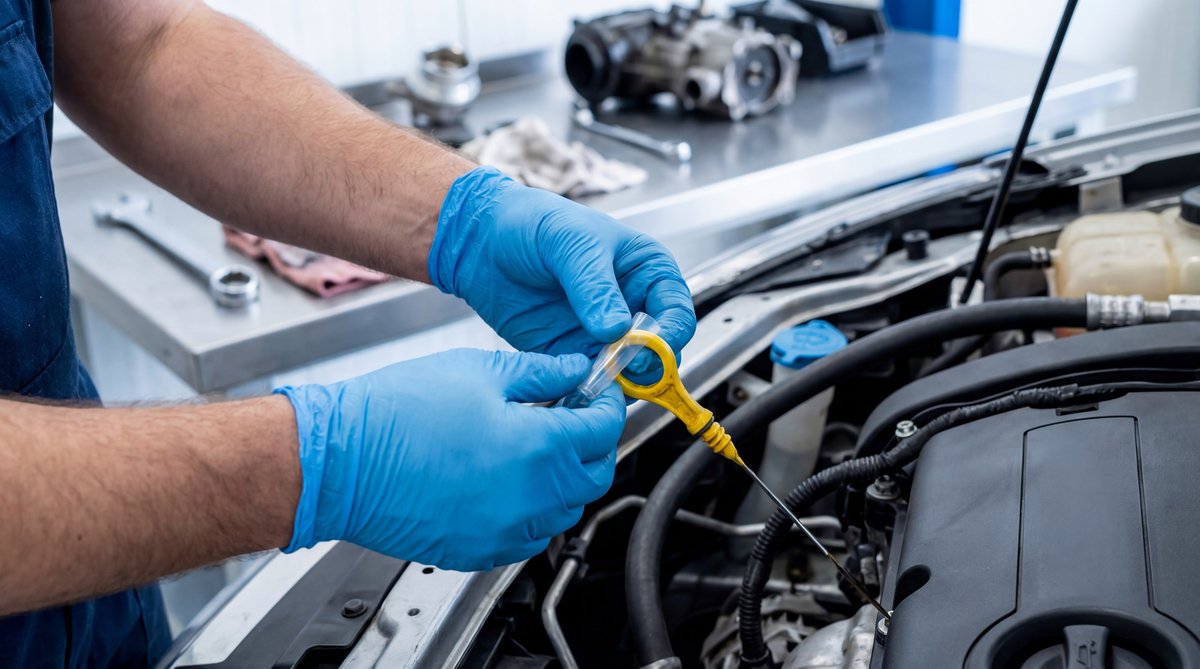
Wear nitrile gloves when you’re handling the dipstick, especially if you’re checking right after the engine was running. This protects your hands from hot oil and keeps you from getting that burnt oil smell on your skin that takes forever to wash off.
Another thing – make sure you’re not pushing the foam piece down into the dipstick tube itself. It should only go on the handle part that sticks out. If you accidentally push foam into the tube, it could give you a false reading or leave residue in there.
❌ Common Mistake
Don’t use regular sponge material or open-cell foam for this. Those materials will absorb oil and give you false readings. You need closed-cell foam like a pool noodle that wipes the oil off rather than soaking it up. Also, don’t cut the foam piece too thick – if it’s more than 2 inches, it can actually trap the dipstick and make it hard to slide in and out.
If you notice your oil looks milky or foamy when you check it, that’s not normal. That could mean you’ve got coolant mixing with your oil, which is a serious problem. Same thing if your oil level is way too high or smells like gasoline. In those cases, don’t just top it off – you need to figure out what’s going on. And if you’re seeing a check engine light at the same time, definitely get that diagnosed.
One more thing about dipstick compatibility: this works great on standard dipsticks like you’d find on most cars and trucks. Whether you’ve got a Honda with a 0.312-inch handle, a Ford with a 289 or 302 V8, or pretty much anything in between, this trick will work. Just make sure you can access the dipstick handle easily without burning yourself on nearby components.
Frequently Asked Questions
Can using a foam floaty piece damage my car’s engine?
What are the common signs that my oil dipstick needs replacement?
Are there any DIY tools needed to install a new oil dipstick?
How often should I replace my car’s oil dipstick?
What are the best brands for oil dipsticks?
