
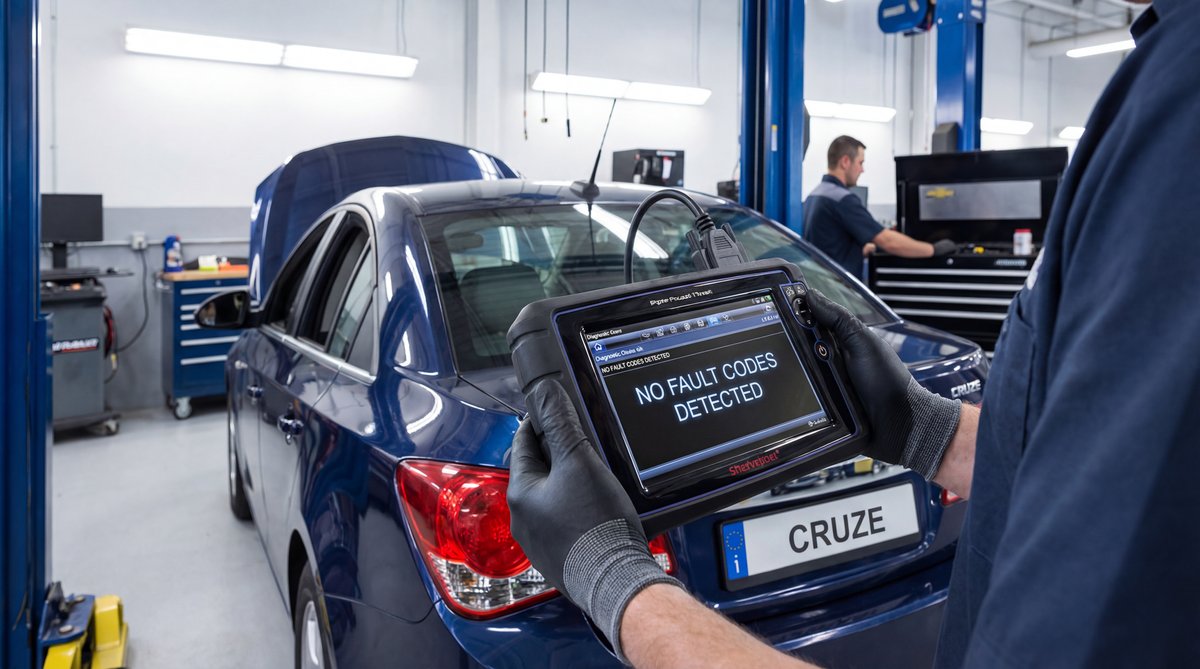
Alright guys, so I’ve got a 2012 Chevy Cruze LT with a 1.4L turbo in the bay today, and we’re dealing with one of those really frustrating intermittent problems. The customer is complaining that the vehicle will stall out randomly and sometimes it just won’t restart. I let this thing sit here running for about 30 minutes, and yeah, it stalled on me a few times. Now it’s actually not starting at all. The thing is, when we hooked up the scan tool and did a full scan on all the modules, we got absolutely no codes stored whatsoever. So basically, we’re gonna walk through how to diagnose this kind of crank no-start condition when you’ve got nothing to go on code-wise.
Understanding the Intermittent Stalling Problem
So here’s what’s happening with this Cruze. The vehicle is just sitting there running, and then all of a sudden it’ll just die. When it shuts off, it feels like someone is just shutting the key off—it’s not like a low idle issue where it’s sputtering and struggling. It just cuts out completely. And then when you try to restart it, you can see it just cranks and cranks, trying to start. Sometimes it’ll fire right back up, no problem. Other times it just sits there and won’t do anything.
The customer stated that if she lets it sit for a while and comes back out, it will actually start. That’s a huge clue right there. This seems like something that probably happens when the vehicle gets hot. I’ve been running this thing for about 30 minutes now, and yeah, it’s stalled on me multiple times.
⚠️ Warning
If you’re dealing with a hot engine during diagnosis, be really careful around hot components. Wear gloves and safety glasses, and let things cool down if you need to get your hands near the exhaust manifold or turbo. These 1.4L turbos get seriously hot.
What’s really frustrating about this kind of problem is that it’s completely intermittent. You can have the car running perfectly fine for hours, and then bam—it just dies. And when you pull codes, there’s nothing. Zero. That makes this a real pain to diagnose because you’re basically flying blind without any direction from the computer.
Using a Scan Tool When There Are No Codes
Alright, so even though we don’t have any codes stored, the scan tool is still gonna be your best friend here. What I’m going to do is go into the engine control module and look at live data. I’m probably going to look at the crank sensor first because when it shuts off, it really does feel like the ignition is just being cut.
So on the scan tool, I went to Read Data Stream, then Engine Cam Data, then Cam Position Data. What we’re trying to do here is pull up the crank signal and see if we can actually catch it dropping out when the vehicle stalls. I was sitting there watching the data stream, and yep, there it goes—just died on me again while I was monitoring it.
🔧 Tools Needed for Diagnosis
- OBD-II scan tool with live data capability (graphing feature is a huge plus)
- Digital multimeter for voltage and continuity checks
- Basic hand tools: ratchet set, 8mm and 10mm sockets
- Oscilloscope (optional but really helpful for checking sensor waveforms)
- Safety glasses and mechanic gloves
The trick here is to graph out the engine speed signal. So on my scan tool, I went ahead and found the RPM signal under Engine Speed, and I graphed it out on the computer. The goal is to watch that graph and see if the RPM signal just drops to zero when the vehicle stalls. If it does, that tells you you’re losing the crank sensor signal.
Now here’s the thing—this process takes patience. I had this vehicle sitting here with the scan tool hooked up for about three hours, and it didn’t stall once during that time. That’s just how intermittent problems work. They never want to act up when you’re actually watching for them.
🔧 Pro Tip
When you’re dealing with an intermittent stalling issue like this, pull up both the cam sensor and crank sensor data on your scan tool at the same time. Watch for any correlation or difference between the two if the vehicle does die. This can help you pinpoint which sensor might be the culprit.
Most Common Causes of This Issue
Based on what we’re seeing here, I am suspecting it’s going to be a crank sensor just from the way it stalls out so abruptly. But the thing is, there are actually a few different things that can cause a Chevy Cruze to have this kind of intermittent stalling and no-start condition. Let me break down what you should be checking.
First up is the crankshaft position sensor. This is probably the most common culprit on these Cruzes, especially the 2010-2015 models with the 1.4L turbo and 1.8L engines. When the crank sensor starts to fail, it usually gets worse when the engine is hot. The sensor basically tells the computer where the crankshaft is positioned so the ECM knows when to fire the injectors and ignition coils. If that signal drops out, the engine just shuts off immediately—exactly what we’re seeing here.
The OEM part number you want for the crank sensor on these is ACDelco 12655649. You can get these for anywhere from $40 to $90 depending on whether you go with an aftermarket sensor or stick with OEM. Personally, I usually recommend going OEM on sensors like this because the cheap aftermarket ones can be hit or miss.
Another thing that can cause this is a failing fuel pump. If the pump is cutting out intermittently, you’ll get the exact same symptoms—vehicle stalls and won’t restart until it sits for a while. The difference is you might hear the fuel pump struggling or not priming when you turn the key to the ON position. If you want to learn more about diagnosing fuel pump issues, check out our guide on how to tell if your car has a bad fuel pump.
But here’s what ended up being the problem on this particular Cruze—it was actually a poor connection at the ignition coil. The connector had some corrosion in it, and when things got hot, the connection would break and the coil would lose power. Once it cooled down, the connection would come back and the car would start again. This is why checking all your electrical connections is so important on these kinds of intermittent issues.
❌ Common Mistake
A lot of DIYers will just throw parts at the problem—they’ll replace the crank sensor, then the cam sensor, then the coil packs—without actually testing anything first. Always use your scan tool to verify what’s actually happening before you start replacing parts. You’ll save yourself a ton of money and frustration.
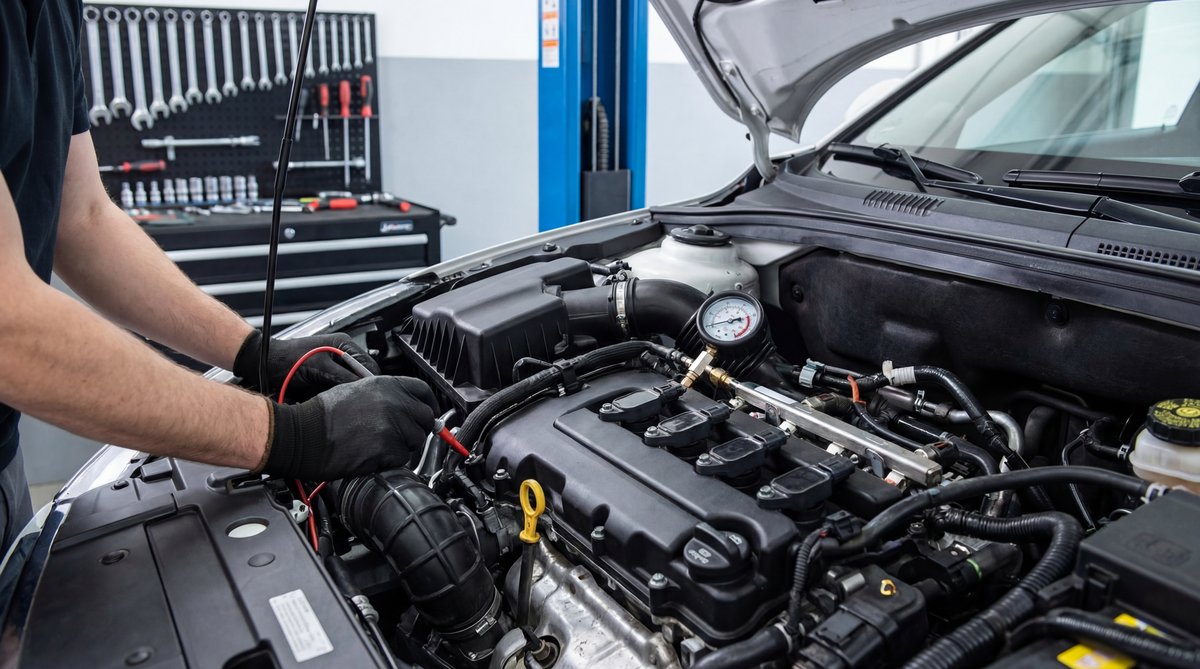
How to Test the Crank Sensor and Ignition System
Alright, so let’s talk about how you actually test these components to figure out what’s going on. We already covered using the scan tool to monitor the crank sensor signal in live data, but there are a few other tests you can do.
For the crankshaft position sensor, you can use a multimeter to check the resistance. On most of these sensors, you’re looking for a resistance reading between about 500 and 1500 ohms, but check your specific service manual for the exact spec. If the sensor is open or showing infinite resistance, it’s bad. But the thing is, a sensor can test fine when it’s cold and then fail when it gets hot, which is why the scan tool live data is so important.
If you really want to get detailed with it, you can use an oscilloscope to look at the actual waveform coming from the crank sensor. You should see a nice clean AC voltage signal that goes up and down consistently as the engine cranks. If you see dropouts or erratic signals, that tells you the sensor is failing.
🔧 Pro Tip
When you’re checking the crank sensor, don’t forget to inspect the wiring harness and connector really carefully. Look for any signs of corrosion, damaged wires, or loose pins. Sometimes the sensor itself is fine, but the wiring is the problem. Give the connector a good wiggle while the engine is running and see if you can make it stall—that’ll tell you right away if it’s a connection issue.
For the ignition coil contacts, what you want to do is pull the connector off the coil and inspect it really carefully. Look for any green corrosion, bent pins, or burnt contacts. Sometimes you can clean these up with some electrical contact cleaner and a small wire brush, but if they’re really corroded, you might need to replace the connector itself. Replacement coil pack connectors run about $15 to $40.
You also want to check the voltage going to the coil. With the key on and the connector plugged in, backprobe the connector and check that you’re getting battery voltage on the power wire. If you’re not seeing 12 volts, you’ve got a wiring issue or a blown fuse somewhere upstream.
Speaking of fuses, don’t forget to check your fuse box. There are specific fuses related to the ignition system and fuel pump circuit. Pull each one out and check it with your multimeter for continuity. A fuse can look perfectly fine but actually be blown internally, so always test them rather than just doing a visual inspection.
| Repair | DIY Cost | Shop Cost | You Save |
|---|---|---|---|
| Crank Sensor | $40-$90 | $150-$250 | $100-$200 |
| Coil Connector | $15-$40 | $100-$150 | $60-$110 |
| Fuse Replacement | $2-$10 | $50-$80 | $40-$70 |
The Fix and What We Found
So after letting this thing run for three hours with the scan tool monitoring everything, it finally decided to cooperate and show us what was going on. What we ended up finding was that corroded connection at the ignition coil connector. When the engine got hot, that poor connection would expand just enough to break contact, cutting power to the coil. The engine would die immediately, just like someone shut the key off.
The fix was pretty straightforward. We cleaned up the connector contacts with some electrical contact cleaner and a small wire brush. We also applied some dielectric grease to help prevent future corrosion. After that, we let the vehicle run for another couple hours and took it for a good test drive to get it nice and hot. No more stalling issues.
💰 Money Saver
Before you go replacing expensive sensors and parts, spend 15 minutes inspecting all your electrical connections. A $5 can of electrical contact cleaner and 10 minutes of your time can save you hundreds of dollars in unnecessary parts. This is especially true on Chevy Cruzes—these cars are known for having connector issues.
Now, if cleaning the connector hadn’t fixed it, the next steps would have been to replace the crank sensor and then potentially look at the cam sensor. But the key here is that we used the scan tool data and a thorough visual inspection to narrow down the problem before just throwing parts at it.
When it shuts off, it feels like someone is just shutting the key off. It’s not like a low idle issue—it just cuts out completely.
If you’re working on other Chevy models with similar electrical issues, you might also want to check out our article on hybrid battery inverter removal on Chevy GMC trucks for more insight into GM electrical systems.
The installation torque specs you need to know: if you are replacing the crank sensor, torque that mounting bolt to 6-8 Nm (that’s about 53-71 inch-pounds). For the coil pack mounting bolts, you want 10-12 Nm (89-106 inch-pounds). Don’t overtighten these—you can crack the sensor housing or strip the threads in the engine block.
Frequently Asked Questions
What are the most common causes of the Chevy Cruze stalling and not restarting?
The most common causes are a failing crankshaft position sensor, a bad fuel pump, or corroded electrical connections at the ignition coil. The crank sensor is probably the most frequent culprit on 2010-2015 Cruzes with the 1.4L turbo and 1.8L engines. These sensors tend to fail when the engine gets hot, which is why the car will often restart after sitting for a while. But don’t overlook the simple stuff—sometimes it’s just a corroded connector causing all the trouble.
How can I check if the crankshaft position sensor is malfunctioning?
The best way is to use an OBD-II scan tool with live data capability. Go into the engine data and pull up the RPM signal or crank sensor data. Graph it out if your scan tool has that feature. Watch the graph while the engine is running—if the signal drops to zero when the vehicle stalls, you know you’re losing the crank sensor signal. You can also test the sensor’s resistance with a multimeter (should be around 500-1500 ohms), but the sensor can test fine when cold and still fail when hot, so live data is really your best bet.
What steps should I take if the OBD scanner shows no codes?
Don’t panic—no codes is actually pretty common with intermittent stalling issues. Just because there are no codes doesn’t mean your scan tool is useless. Go into live data mode and monitor the crank sensor signal, cam sensor signal, and RPM data while the vehicle is running. Try to catch it when it stalls so you can see what’s dropping out. Also, do a really thorough visual inspection of all your electrical connectors, especially at the ignition coils and sensors. Look for corrosion, loose pins, or damaged wiring. Sometimes you can wiggle connectors while the engine is running and make it stall—that tells you right away where the problem is.
Are there any specific fuses that could be causing this issue?
Yeah, you definitely want to check the fuses related to the fuel pump circuit and the ignition system. Pull each fuse out and test it with a multimeter for continuity—don’t just look at it because a fuse can appear fine but actually be blown internally. The fuel pump fuse is usually a higher amp fuse (15-20 amps typically), and the ignition coil circuit will have its own fuse as well. Check your owner’s manual or the fuse box diagram to locate the exact fuses for your year and model.
How can I test the ignition coil contacts for corrosion?
Pull the connector off the coil pack and inspect it really carefully. Look for any green corrosion, burnt contacts, or bent pins. Sometimes the corrosion is inside the connector where you can’t see it easily, so use a flashlight and really get in there. If you see corrosion, you can try cleaning it with electrical contact cleaner and a small wire brush. After cleaning, apply some dielectric grease to help prevent future corrosion. If the contacts are really burnt or damaged, you’ll need to replace the connector—they run about $15-$40. While you have it apart, also check that you’re getting battery voltage at the connector with the key on using a multimeter.
