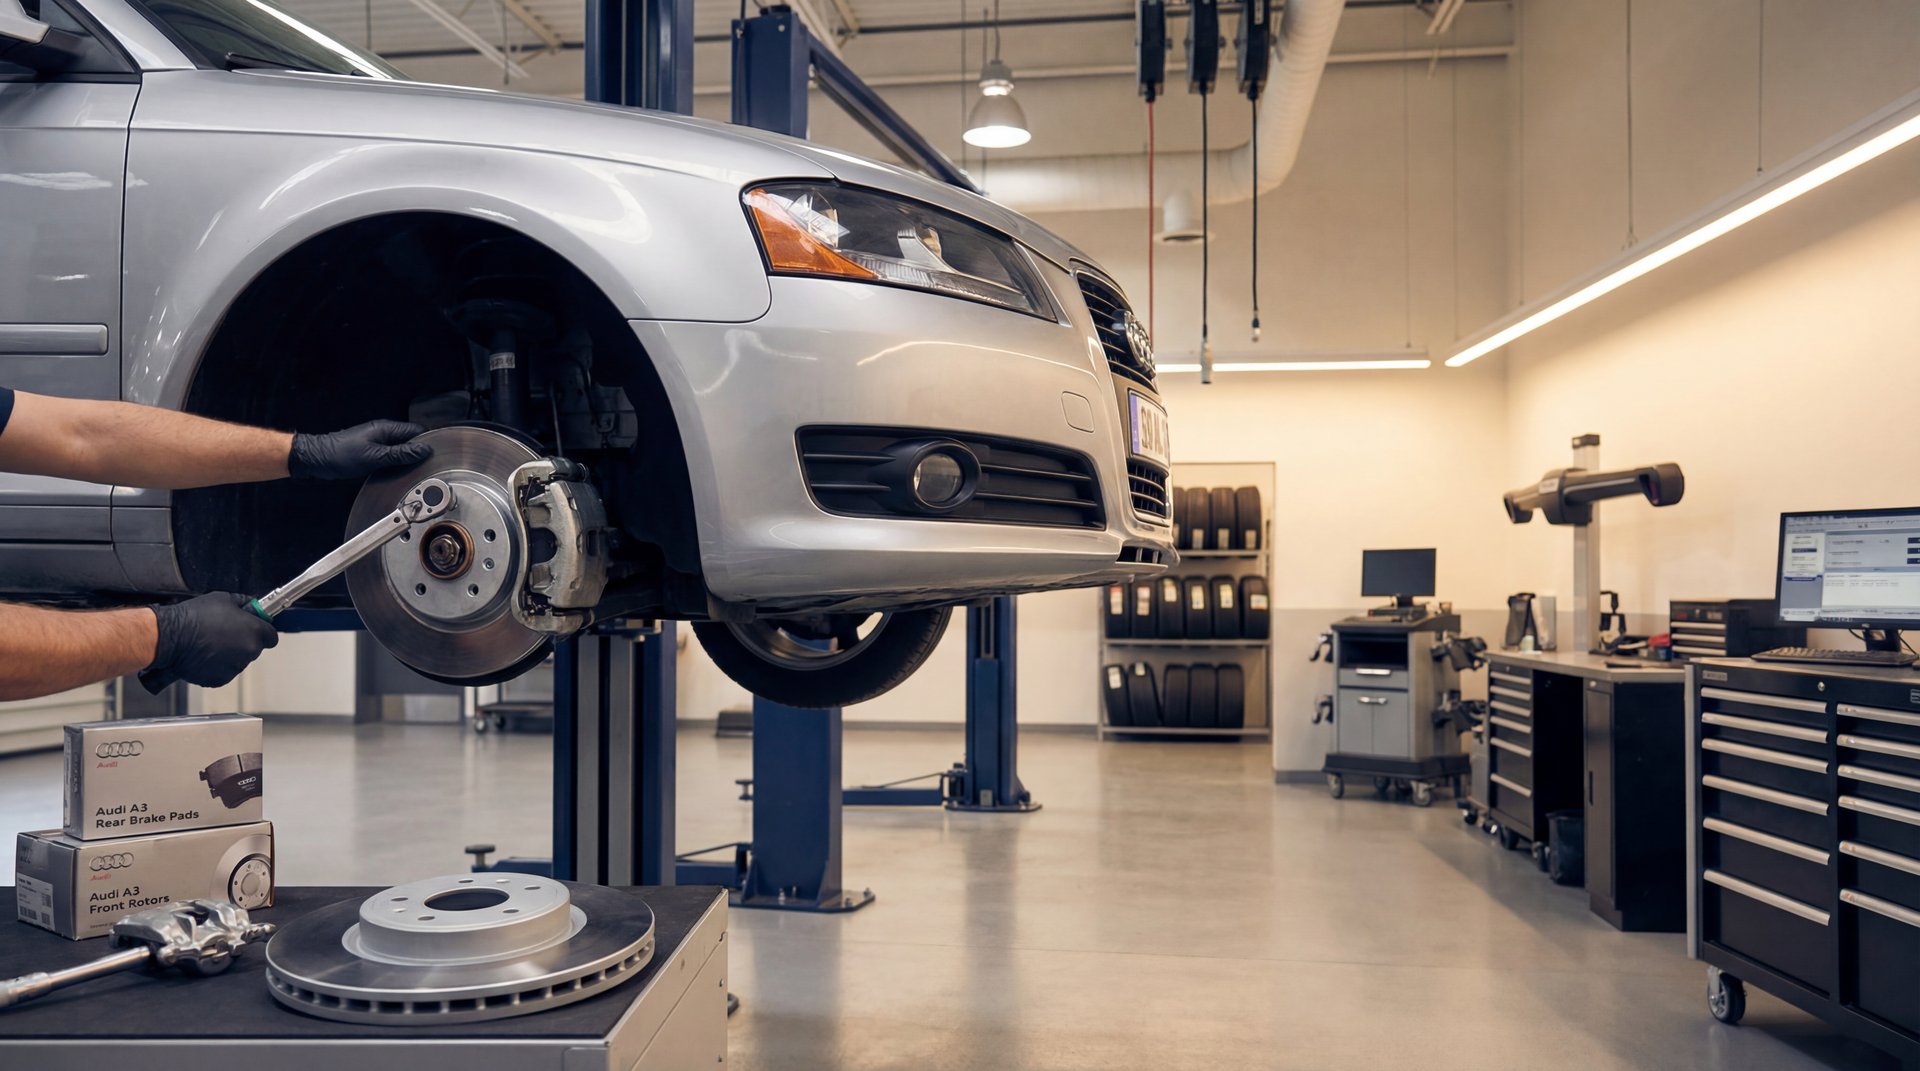
Alright guys, just when you thought you saw it all in this business, something like this comes along. Had a customer roll in complaining their brakes didn’t feel right, and get this – their uncle did the work. Turns out they got the rear brake rotors and pads installed on the front of the vehicle. Yeah, you heard that right. Front and rear brake components are completely different, and mixing them up can lead to some serious safety issues. Let me break down why this is such a big deal and what you need to know about doing brake jobs the right way.
Why Front and Rear Brake Parts Are Different
The thing is, front and rear brake systems are engineered completely differently because they handle different loads. Your front brakes do about 60-70% of the stopping work on your vehicle. When you hit the brakes, weight transfers forward, which means the front brakes need to be beefier to handle that load.
Front rotors are typically way larger – we’re talking 288-320mm in diameter on most vehicles like a 2011 Audi A3. Rear rotors? Usually 255-282mm. That’s a significant size difference right there. But it’s not just about diameter. Front brake pads are also thicker and made from different friction materials to handle the increased heat and stopping force.
🔧 Pro Tip
Always measure your rotors before buying replacements. Front rotors on a typical sedan will be around 300mm diameter, while rears sit around 255mm. If the numbers don’t match what’s supposed to be on that axle, you’ve got the wrong parts.
The vanes inside the rotors are different too. Front rotors usually have thicker, more aggressive cooling vanes because they generate way more heat. Rear rotors don’t need as much cooling capacity, so they’re designed lighter and with less aggressive venting.
The Dangers of Mixing Up Brake Parts
Now let me tell you why installing rear parts on the front is super dangerous. When you put smaller rear rotors on the front, you’re basically cutting down your stopping power right where you need it most. Those smaller rotors can’t dissipate heat properly, and you’ll get brake fade way faster than you should.
⚠️ Warning
Installing rear brake components on the front of your vehicle can cause catastrophic brake failure. The smaller rotors will overheat, the pads will glaze over, and you could experience brake lockup or complete loss of braking power. This isn’t just about poor performance – it’s a legitimate safety hazard that could cause an accident.
What we’re gonna see with mismatched parts is:
- Severe overheating – Those rear rotors aren’t designed for front brake temps
- Uneven braking – The vehicle will pull to one side because the brake force isn’t balanced
- Premature wear – The wrong pads will wear out crazy fast, sometimes in just a few thousand miles
- Pedal pulsation – You’ll feel vibration through the brake pedal because the rotors are warping
- Increased stopping distance – Real quick, your car just won’t stop as fast as it should
According to brake maintenance guidelines, using incorrect parts can also trigger your ABS warning light because the wheel speed sensors detect irregular braking patterns.
How to Identify the Correct Brake Parts
Alright guys, so how do you make sure you’re getting the right parts? First thing – always buy parts specific to your vehicle’s VIN. Don’t just go by year, make, and model because there can be variations even within the same model year.
When you get your parts, here’s what you’re gonna do:
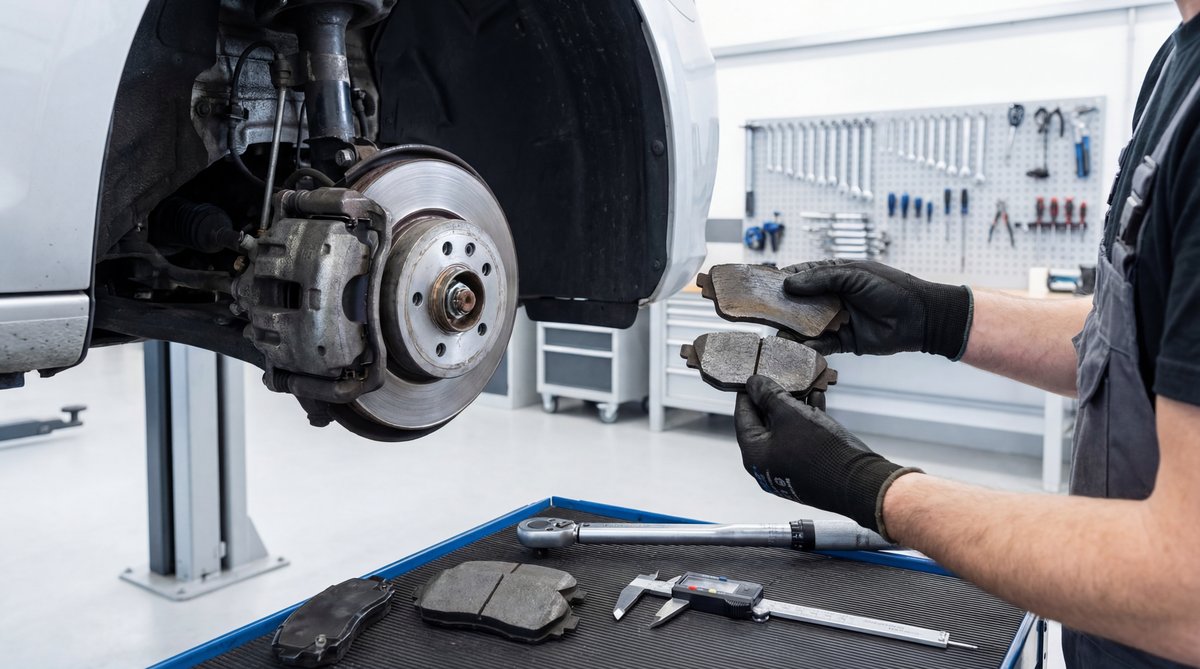
- Compare the new rotor directly to the old one – diameter should match exactly
- Check the thickness – front rotors are typically thicker (measure with calipers)
- Look at the vane pattern – hold both rotors up and compare the internal cooling vanes
- Verify the mounting bolt pattern matches
- Check that the center hub diameter is identical
🔧 Tools Needed for Brake Jobs
- Jack and jack stands (rated for your vehicle’s weight)
- Lug wrench and torque wrench (10-150 Nm range)
- 13mm socket for most caliper bolts
- C-clamp or brake piston tool
- Wire brush and brake cleaner
- Digital calipers for measuring rotors and pads
- Caliper wind-back tool (for vehicles with integrated parking brake)
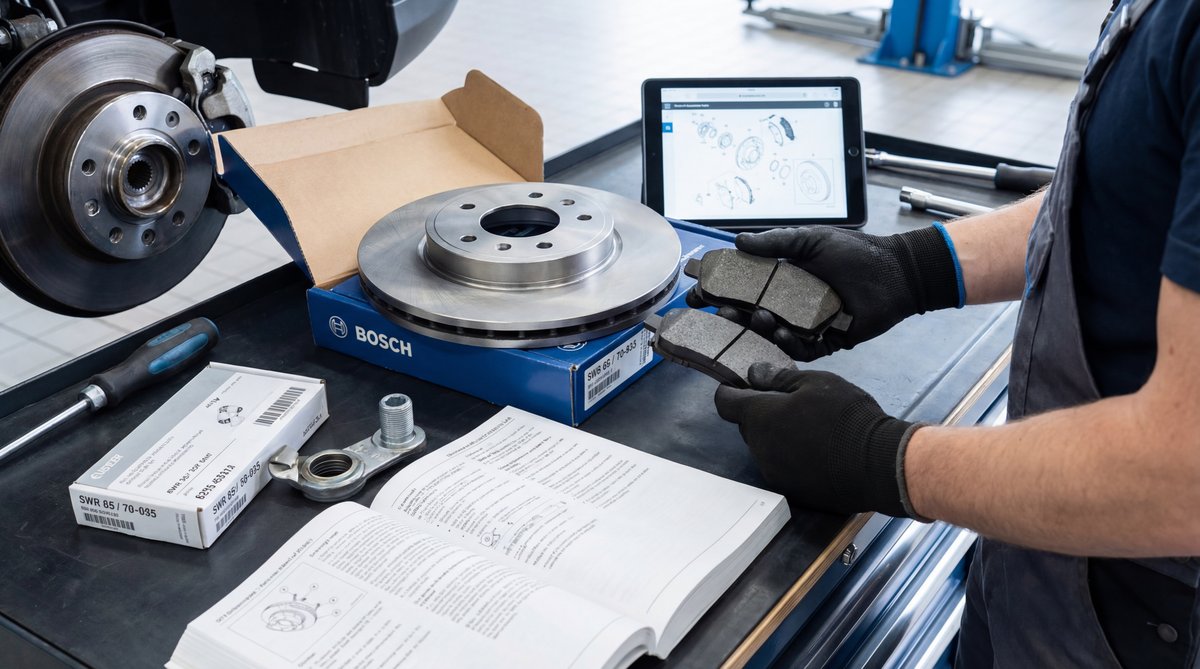
For parts, you want to stick with quality brands. I’m talking Bosch, ATE, Zimmermann, or Brembo for performance applications. Yeah, you can find cheaper stuff, but brake components aren’t where you want to cut corners. Budget pads might run $25-50, but quality pads are $60-120, and there’s a reason for that price difference.
| Component | Budget Option | Quality Option |
|---|---|---|
| Front Brake Pads | $25-50 | $60-120 |
| Front Rotors (pair) | $40-80 | $100-200 |
| Complete Front Kit | $150-250 | $300-400 |
The Proper Brake Replacement Process
Let me walk you through how to do this job right. First thing, you need to work on a level surface with the parking brake on and wheel chocks behind the opposite wheels. Safety first, guys.
Basically, here’s the process:
Preparation: Loosen your lug nuts before jacking up the vehicle, then raise it and secure it on jack stands. Never work under a car supported only by a jack.
Remove the old parts: Take off the wheel, then remove the caliper bolts (usually 13mm). Hang the caliper with a wire hanger – don’t let it dangle by the brake line. Slide off the old rotor. If it’s stuck, a few taps with a rubber mallet usually does the trick.
Clean everything: Use a wire brush to clean all the rust and crud off the hub surface. This is super important because if you’ve got rust buildup, your new rotor won’t sit flat and you’ll get runout issues.
🔧 Pro Tip
Before installing new rotors, measure the runout on the hub itself with a dial indicator. You want less than 0.05mm of runout. If it’s more than that, you need to address the hub before putting on new parts or your rotors will warp prematurely.
Install new rotors: Slide on the new rotor and make sure it sits completely flush. Some guys like to use a rotor screw to hold it in place while working on the caliper.
Compress the piston: Use your C-clamp or piston tool to push the caliper piston back into the bore. Watch your brake fluid reservoir – it’s gonna rise as you push the piston back. If it’s too full, siphon some out first.
Install new pads: Apply anti-squeal compound to the back of the pads (not the friction surface!). Slide them into the caliper bracket with the wear indicators positioned correctly.
Reinstall caliper: Slide the caliper over the new pads and rotor, then torque those caliper bolts to spec – usually 20-30 Nm depending on the vehicle. Always check your service manual.
Final steps: Put the wheel back on and torque the lug nuts to spec (90-120 Nm for most vehicles). Before you lower the car, pump the brake pedal a few times to seat the pads against the rotors.
⚠️ Warning
After installing new brakes, you MUST bed them in properly. This means 10-15 gentle stops from 30 mph with cool-down periods between. Don’t do any hard braking for the first 500 miles or you’ll glaze the pads and ruin your stopping power.
Common Brake Job Mistakes to Avoid
Now let’s talk about what not to do, because I see these mistakes all the time in the shop when people bring in their DIY disasters.
❌ Common Mistake
Not replacing brake components in axle sets. You always, ALWAYS replace both front pads or both rear pads at the same time. Never do just one side. The same goes for rotors – replace them in pairs or you’ll have uneven braking and the vehicle will pull to one side.
Skipping the cleaning step: If you don’t clean that hub surface properly, your new rotors won’t sit flat. That means runout, which means vibration, which means warped rotors. Take the extra 10 minutes to clean it right.
Over-torquing bolts: Real quick, use a torque wrench. Over-tightening caliper bolts can warp the caliper or strip threads. Same with lug nuts – those need to be torqued to spec too.
Not checking brake fluid: When you compress those pistons, brake fluid goes back up into the reservoir. If it overflows, you’ve got a mess and possibly contaminated fluid. Check it before and after the job.
Ignoring wear indicators: According to brake service specifications, you should replace pads when they hit 3mm thickness. The legal minimum is 1.5mm, but waiting that long is asking for trouble. For rotors, check the minimum thickness stamped on the rotor – if you’re at or below that number, they need replacement.
💰 Money Saver
Inspect your brakes every 10,000 miles. Catching worn pads early means you won’t damage the rotors, which saves you money on not having to replace both. A $150 pad job is way better than a $400 pads and rotors job.
Not bleeding the system: If you compressed the pistons all the way back, you should bleed the brakes. Open the reservoir, pump the pedal 10-15 times, and top off the fluid. This gets rid of any air that might have gotten into the system.
Skipping the test drive: After the job, test your brakes in a safe area before hitting traffic. Make sure the pedal feels firm and the car stops straight. If something feels off, fix it now, not later.
Front and rear brake systems are completely different animals. They’re not interchangeable, and trying to mix them up is a recipe for disaster. Always verify you have the correct parts before starting the job.
The thing is, brake work isn’t complicated, but it is critical. This is the system that stops your vehicle and keeps you safe. Taking shortcuts or installing the wrong parts isn’t just about poor performance – it’s legitimately dangerous. That customer with the rear brakes on the front? They were lucky they came in before something bad happened.
If you’re not confident in your abilities, there’s no shame in taking it to a pro. But if you do tackle it yourself, take your time, use the right parts, follow the proper procedures, and always double-check your work. Your safety and everyone else’s on the road depends on it.
Frequently Asked Questions
What are the common mistakes people make when replacing brake pads and rotors?
How do you properly measure brake pad thickness?
What tools are essential for a successful brake pad replacement?
How often should brake pads and rotors be replaced?
What are the safety precautions to take when working with brake systems?
