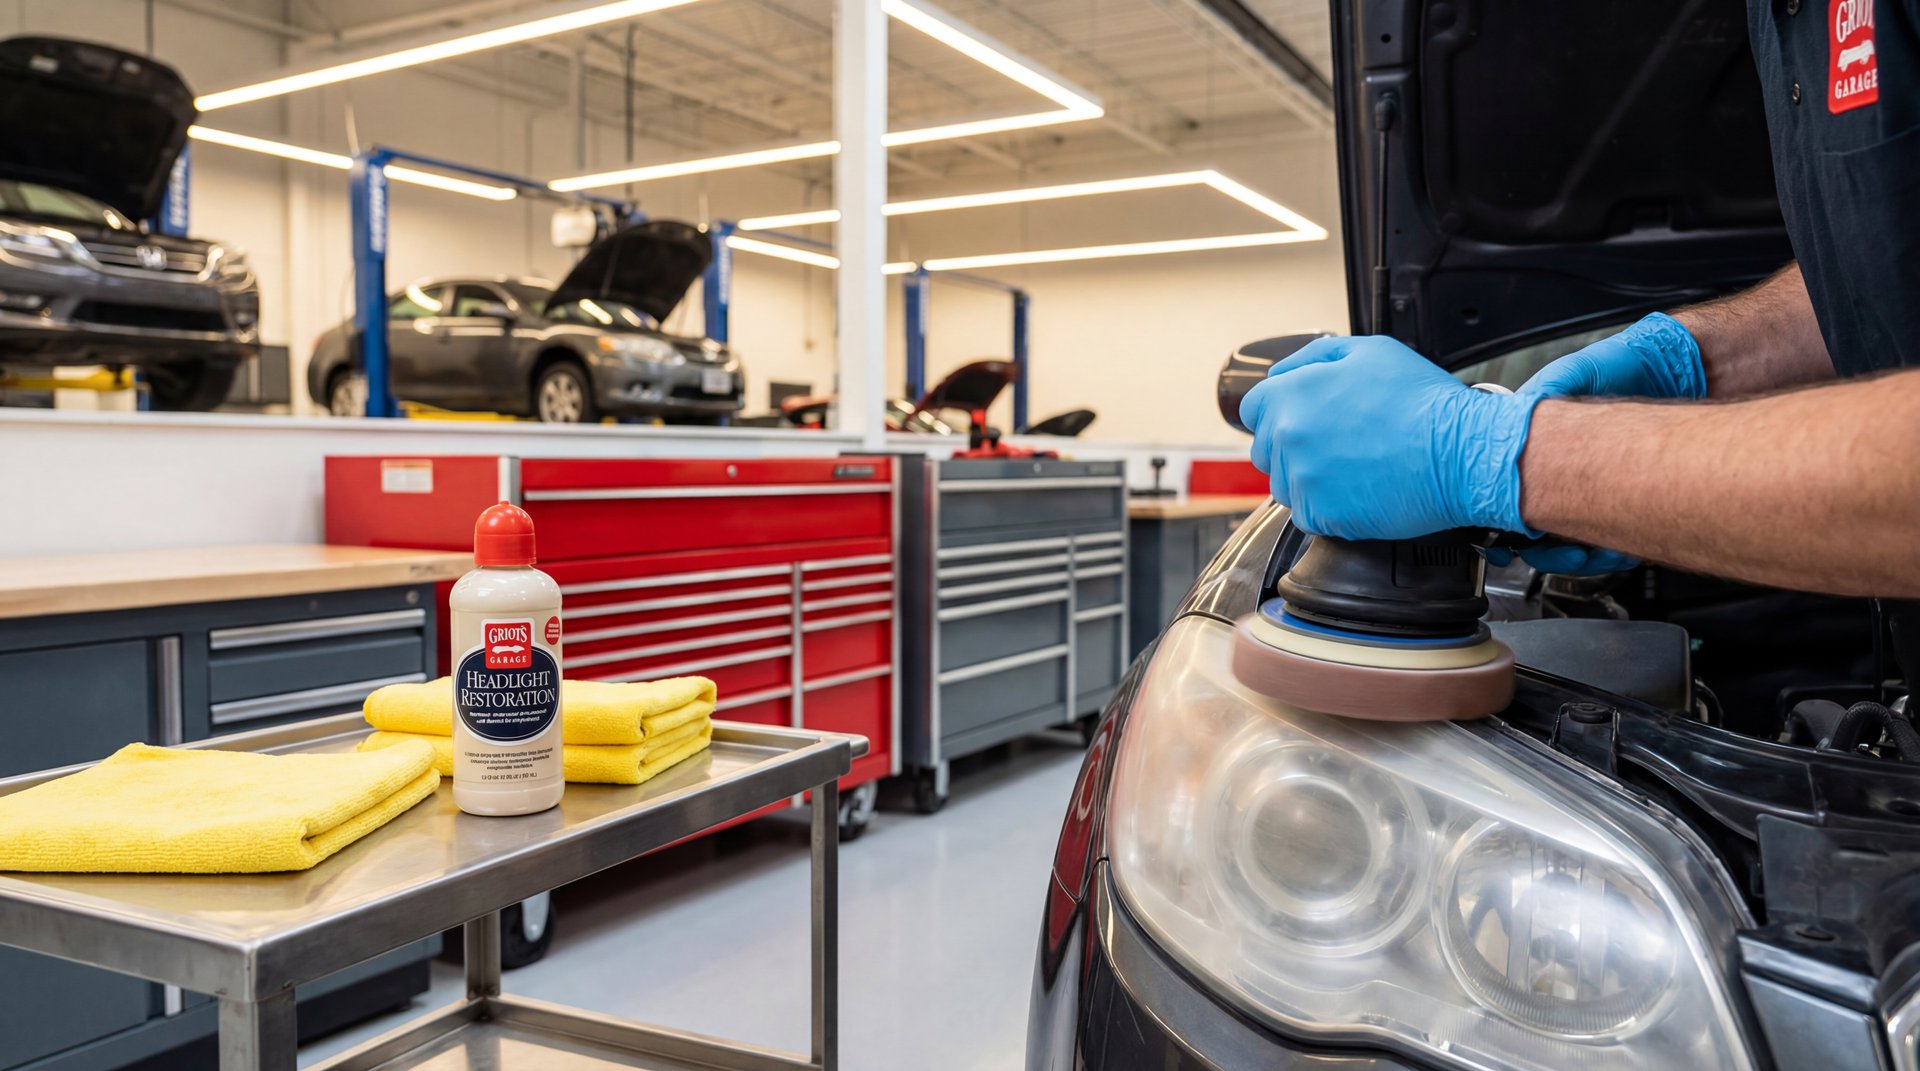
Alright guys, so today I’m gonna show you how to restore headlights, and honestly, the results are pretty amazing. The thing is, even if your headlights don’t look that bad, you’re gonna be surprised at the difference this makes. I’m using a buffing compound and some polishing protector, and basically, this is where these headlights really come to life. Let me walk you through exactly what I did to get these results.
Choosing the Right Buffing Compound
So here’s the deal with buffing compounds – I have some that’s specifically meant for headlights, but real quick, I gotta tell you that really anything works. Even a car wax or a car buffing agent would work to restore these headlights. The key is just getting something that’s gonna polish out that oxidation and haze that builds up on the plastic lens over time.
Now, if you wanna go with something specifically designed for this job, Griot’s Garage makes a pretty solid ceramic kit that runs about $29.99. What I like about that one is it comes with everything – the sanding discs you need, oxidation remover wipes, and a ceramic sealant that they claim lasts basically forever. But honestly, if you’ve got some decent car wax or buffing compound sitting in your garage already, that’ll get you most of the way there.
🔧 Pro Tip
If you’ve got a Mercedes, there’s actually an OEM kit (part number 2048201114) that’s made specifically for your headlights. It includes UV protection that matches what the factory intended, so that’s worth checking out if you wanna keep things all original.
The Restoration Process That Actually Works

Alright, so I’m just gonna buff this polishing and protector into the headlights, and as you can see, this is where they really come to life. And even with these headlights not being that bad, you can still see there’s a huge difference once you work the compound in.
The thing is, if your headlights are more beat up than these, you’re gonna want to do a proper wet sanding first before you even get to the buffing stage. What that means is starting with a coarser grit – usually around 400 grit if you’ve got heavy oxidation – and then progressively working your way up. You’d go from 400 to 1500 grit, then finish with 3000 grit before you even touch the polishing compound.
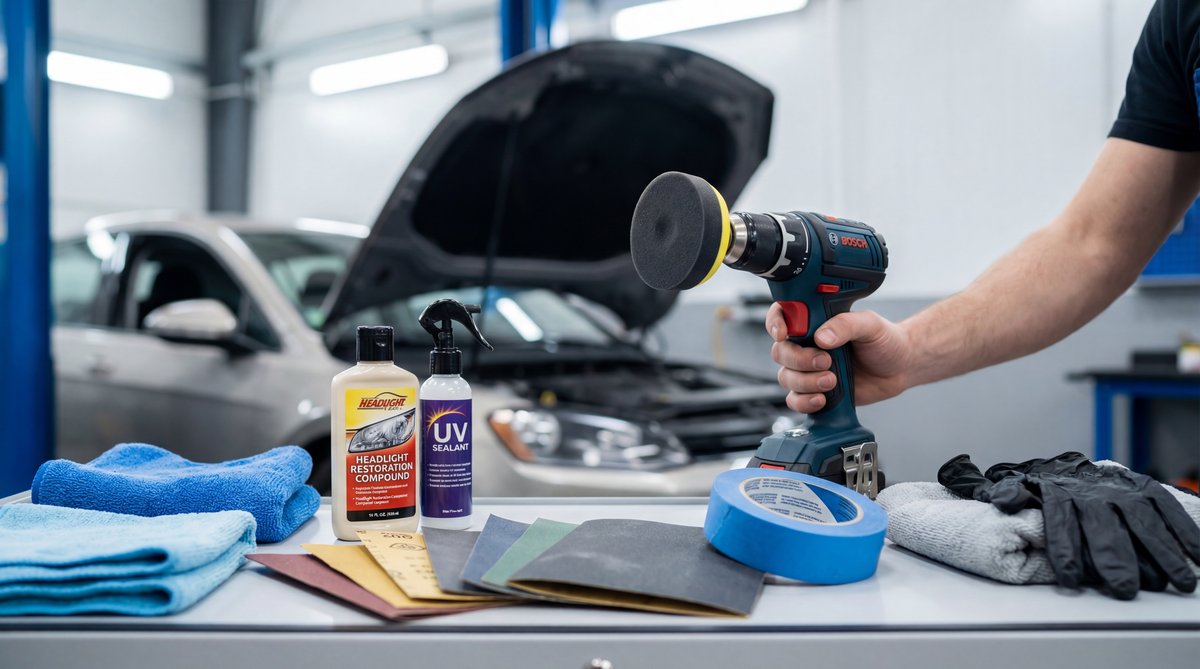
🔧 Tools Needed
- Buffing compound (headlight-specific or car wax)
- Foam-backed sanding discs (1000, 2000, 3000 grit if needed)
- Nitrile gloves (keeps oils off the lens)
- Eye protection
- Spray bottle with water for wet sanding
- Clean microfiber towels
The key here is wet sanding. You never wanna dry sand these things because you’ll end up with airborne dust and you could actually scratch the lens worse than it already was. Keep everything wet, use light pressure, and work in small circular motions.
⚠️ Warning
Always wear nitrile gloves when you’re doing this. The oils from your hands can contaminate the lens surface and mess up your finish. Plus, if you’re doing any bulb work at the same time, touching the bulb glass with bare hands will cause premature failure. Eye protection is non-negotiable too – you don’t want any of that compound or sanding residue getting in your eyes.
What you’re shooting for is about 85% clarity or better when you’re done. That’s the industry standard for a proper restoration, and honestly, it’s pretty easy to hit that mark if you follow the steps.
❌ Common Mistake
The biggest mistake I see people make is skipping grits. They’ll go from like 400 grit straight to 3000 grit thinking they’re saving time, but all you end up with is swirl marks and hazing that comes back in a few months. Don’t skip steps – it’s not worth it.
Tools and Products You’ll Need
Let me break down what you actually need for this job, because you don’t need a ton of fancy stuff. For a basic restoration like what I’m showing you here, you really just need your buffing compound, some clean towels, and maybe 30 minutes of your time.
If you’re dealing with worse headlights that need sanding, you’re gonna want a proper restoration kit. The Griot’s kit I mentioned comes with foam-backed sanding discs in 1000, 2000, and 3000 grit, plus a couple oxidation remover wipes and the ceramic sealant. That’s basically everything you need in one package for about 30 bucks.
| Budget Option | Quality Kit | Mercedes OEM |
|---|---|---|
| $5-10 (generic compound) | $25-40 (ceramic kit with sealant) | $40-60 (OEM part 2048201114) |
You can grab these kits from places like AutoZone for the universal stuff, or if you want the higher-end kits, RevZilla has that Griot’s setup. For you Mercedes guys, eEuroparts carries the OEM kit with the proper UV protection.
Real quick on tools – if you’ve got a rotary polisher, that’ll speed things up and give you more consistent results, but it’s not required. I’ve done plenty of these by hand with just the compound and some elbow grease. The hand method takes about 1-2 hours for a pair of headlights, which really isn’t bad at all.
💰 Money Saver
If you’ve already got car wax or polishing compound at home, try that first before buying a kit. For light hazing like what I’m working with here, it’ll probably do the job just fine. Save your money for the specialty kits only if you need the heavy-duty restoration with sanding.
Making Your Restoration Last Years
So the thing is, you can do a perfect restoration job, but if you don’t seal it properly, that haze is just gonna come right back. The polishing compound clears up the oxidation and brings back that clarity, but you need a protective layer on top to keep UV rays from degrading the plastic again.
That’s where the sealant comes in. If you use a proper UV-resistant sealant or ceramic coating, you’re looking at 2-3 years of protection, and some of these ceramic kits claim to last even longer than that. Without the sealant, you might get 6-12 months before you’re doing this all over again.
For maintenance, basically just inspect your headlights every year or so. If you start seeing any yellowing or fogging coming back, you can reapply sealant before it gets bad. It’s way easier to maintain clarity than to restore it from scratch.
Even with these headlights not being that bad, you can still see there’s a huge difference once you work the compound in. That’s the power of proper restoration.
One more thing – if you see any cracks in your headlight lenses, don’t try to restore them. Just replace the whole assembly. Cracks let moisture in, which causes all kinds of problems with your bulbs and wiring. Plus, cracked lenses don’t meet DOT standards for beam patterns, so you’re better off just swapping them out.
What This Actually Costs vs. The Shop
Alright guys, let’s talk about what you’re actually saving by doing this yourself, because it’s pretty significant. If you take your car to a shop for headlight restoration, you’re looking at anywhere from $100 to $200 for the pair. That’s based on about 2-3 hours of labor at typical shop rates, which run $75-100 per hour depending on where you live.
For DIY, you’ve got the $29.99 for a complete kit like Griot’s, or if you go budget with generic compound, you’re talking $10-20. That’s it. You’re saving $70-170 doing it yourself, and the time investment is about the same – 1-2 hours for a pair if you’re working by hand.
| DIY Cost | Shop Cost | You Save |
|---|---|---|
| $10-30 | $100-200 | $70-170+ |
The thing is, even if you just extend the life of your headlights by a couple years with a proper restoration, you’re avoiding having to buy new OEM assemblies. Those can run $300 or more depending on your vehicle, so this is definitely worth doing before you even think about replacing them.
While you’ve got the headlights accessible, it’s not a bad time to check your bulbs too. If you’re still running stock halogens at around 1000-1200 lumens, upgrading to something like OSRAM Night Breakers can boost your output by 220% or more. Just remember – never touch the bulb glass with your bare hands when you’re installing them.
Frequently Asked Questions
What are the best tools for restoring headlights?
How long does it typically take to restore headlights?
Are there any specific brands of headlight restoration kits that are highly recommended?
What are the common mistakes people make when restoring headlights?
How effective are DIY headlight restoration kits compared to professional services?
