
Alright guys, so you’re trying to plug in your scan tool and nothing’s lighting up? Don’t worry – I’ve seen this a hundred times and it’s usually a super quick fix. I had an F-150 roll into the shop recently with this exact problem, and I’m gonna walk you through exactly what to do when your OBD2 port has no power. The thing is, this is one of those repairs that’ll save you a couple hundred bucks at the shop, and you can knock it out in about 10 minutes once you know where to look.
Diagnosing the No Power Issue
So here’s what happened with this F-150 – customer comes in saying they can’t get any power to their diagnostic connector. I grab my scan tool, plug it in, and sure enough, none of my lights are lighting up. No power whatsoever. This is actually more common than you’d think, and before you start freaking out about expensive electrical problems, we’re gonna check the simplest thing first.
The first thing I did was pull up the service information to look up the fuse for the data link connector. And here’s what’s interesting – lo and behold, it’s the same fuse as the cigarette lighter. That’s fuse number 41, and it’s a 20 amp fuse. Now think about it – how many times do people overload their cigarette lighter with phone chargers, dash cams, or other accessories? This fuse blowing is probably not very uncommon at all.
🔧 Pro Tip
The OBD2 port shares its power circuit with the cigarette lighter on most Ford F-150 models from 2009 and up. If your lighter stopped working around the same time, that’s a dead giveaway you’ve got a blown fuse.
🔧 Tools Needed
- Fuse puller (usually built into the fuse box lid)
- Flashlight
- 20 amp ATC blade fuses (replacement)
- Multimeter (optional, for testing voltage)
Locating the Fuse Box Under the Passenger Kick Panel
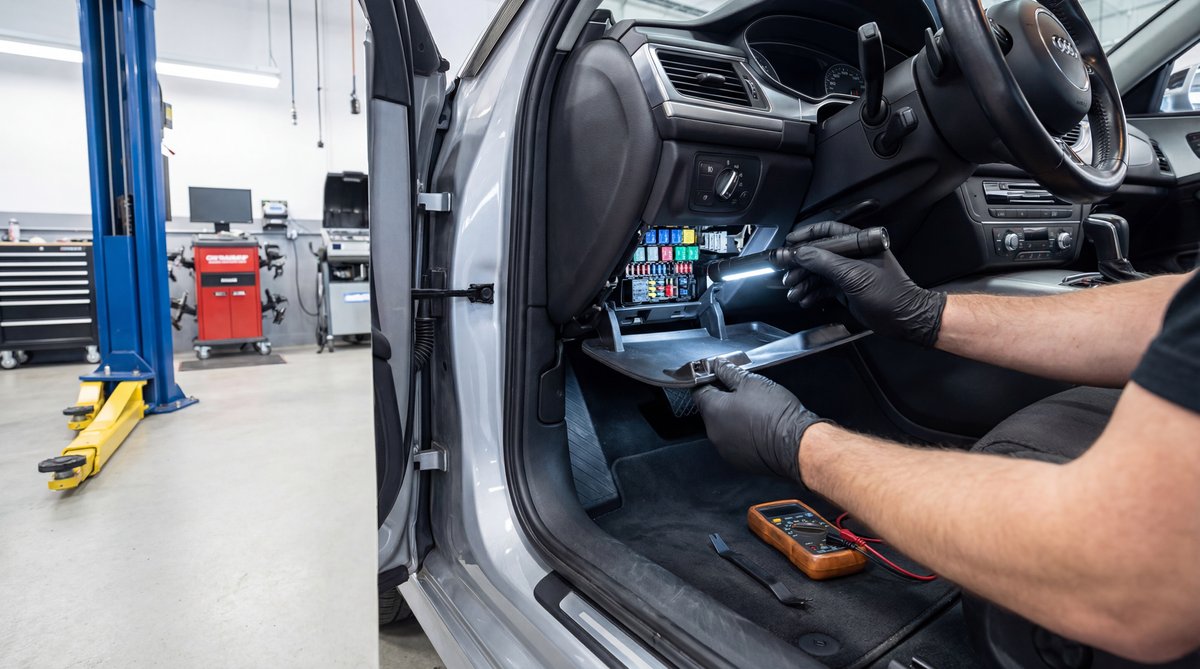
Alright, so now that we know what we’re looking for, let me show you where this thing is located. On this F-150, the fuse box is underneath the passenger instrument panel. Basically, you’re gonna be looking at the passenger side kick panel area.
When you look underneath the dash on the passenger side, you’re gonna see this little kick panel. It’s pretty easy to remove – you just pull it out from the bottom and it pops right off. Don’t force it, just give it a firm pull and it’ll come free. Once that panel is out of the way, you’re gonna see another cover. This is the actual fuse panel cover, and we’re just gonna pull this from the bottom too. It’s gonna pop off and then you’ll have access to all your fuses.
⚠️ Warning
Make sure your key is in the off position before you start pulling fuses. Even with the key off, some circuits can still be live, so never force anything or use metal tools to probe around active fuses. And if you’ve got any battery-related concerns, check out our guide on what happens when you hook up a battery backwards – trust me, you don’t want that headache.
I’ve got a diagram here of the fuse box, and it makes finding fuse 41 way easier. The diagram should be in your owner’s manual too, but basically you’re looking for a specific location once you get that cover off.
Identifying and Testing Fuse Number 41
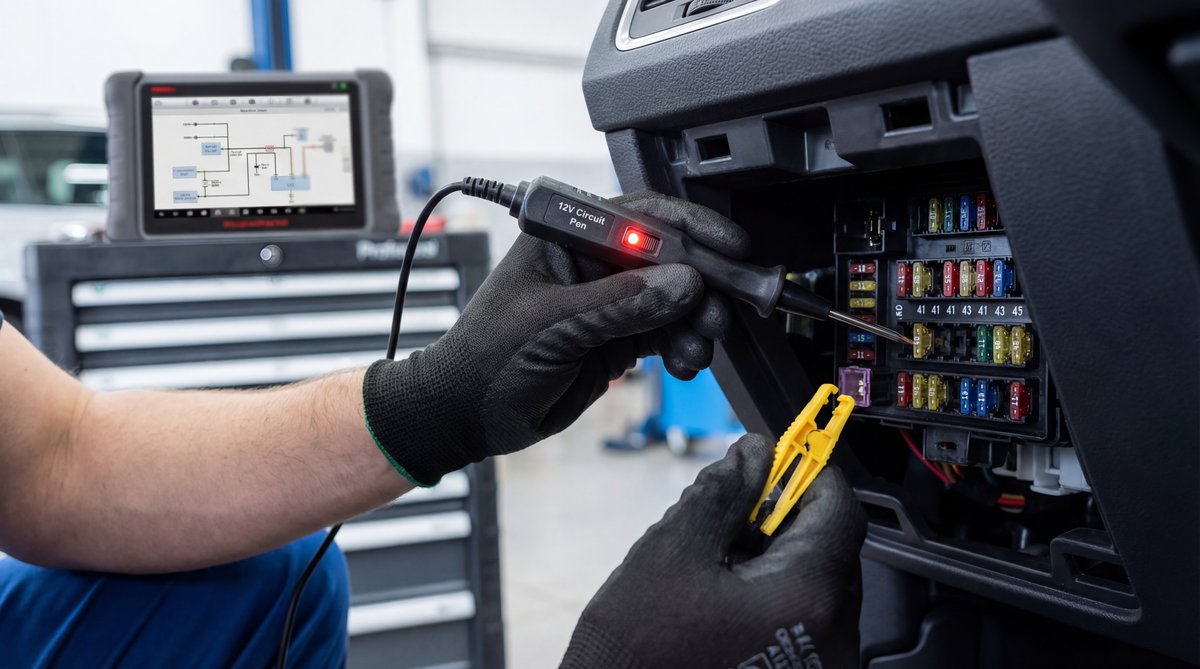
Now here’s where we get specific. That 20 amp fuse we’re looking for is gonna be the first one right above the three big fuses. When you’re looking at the fuse box, you’ll see three larger fuses at the bottom, and fuse 41 is gonna be right above those. It’s pretty easy to spot once you know what you’re looking for.
I actually pulled this one out already on the F-150 I was working on, and as you can see, it is blown. You can tell because the little metal strip inside the fuse is broken. That’s your problem right there. When that fuse blows, it cuts power to both the cigarette lighter circuit and your OBD2 diagnostic port.
What you’re gonna do is use the fuse puller – there’s usually one attached to the inside of the fuse box cover – and just grab that fuse and pull it straight out. Hold it up to the light and look at the metal strip inside. If it’s broken or looks burnt, you’ve found your culprit.
🔧 Pro Tip
If you’ve got a multimeter handy, you can test the fuse for continuity. A good fuse should show close to 0 ohms of resistance. A blown fuse will show infinite resistance. But honestly, visual inspection works just fine – if that metal strip is broken, the fuse is toast.
Replacing the Blown Fuse
Alright, so once you’ve confirmed the fuse is blown, replacement is super straightforward. You need a 20 amp ATC blade fuse – that’s the standard mini blade fuse type. Now, the thing is, you wanna get decent quality fuses here. You can grab a pack of Motorcraft WFP-20 fuses for about $10 for a pack of five, or if you’re on a budget, even the Hyper Tough 10-pack for around $5 will work fine. Just avoid the super cheap no-name brands because they can fail prematurely.
❌ Common Mistake
Never, and I mean NEVER, replace a 20 amp fuse with a higher amperage fuse thinking it’ll solve the problem. Some guys try throwing in a 30 amp fuse and yeah, it won’t blow as easily, but now you’re risking melting your wiring harness or starting an electrical fire. Always use the exact amperage rating specified – in this case, 20 amps.
Just take your new 20 amp fuse and push it straight into the slot where you pulled the old one out. It should slide in easily and sit flush with the other fuses. Give it a little wiggle to make sure it’s seated properly, then put your fuse panel cover back on by snapping it into place. Pop that kick panel back in, and you’re basically done.
| DIY Cost | Shop Cost | You Save |
|---|---|---|
| $5-15 | $100-200 | $95-185 |
Now, before you call it good, turn your key to the on position and plug your scan tool back in. Those lights should fire right up now. If everything’s working, you just saved yourself a trip to the shop and probably a hundred bucks or more in diagnostic fees and labor.
💰 Money Saver
According to current automotive repair labor rates, shops charge between $100-200 for diagnosing and fixing this issue. That’s 0.5 to 1.0 hour of shop time at around $150 per hour, plus a diagnostic fee. You’re doing this for the cost of a $5 pack of fuses and 15 minutes of your time.
When the Fuse Keeps Blowing
Now here’s where we need to talk about what happens if you replace that fuse and it blows again. If the fuse keeps blowing, you’ve got a short somewhere in the circuit. This is not normal, and it means something is drawing too much current.
The most common culprits are gonna be things plugged into your cigarette lighter – phone chargers that are going bad, portable air compressors, dash cams, or any aftermarket accessories. If you’ve got trailer wiring, that’s another common place for shorts to develop. Sometimes aftermarket stereo installations can cause issues too if they tapped into the wrong circuits.
If your fuse blows within five key cycles after replacement, you’ve got a short circuit that needs to be tracked down before it causes bigger problems.
What you’re gonna want to do is unplug everything from your cigarette lighter and any power outlets. Replace the fuse again, and if it holds, start plugging things back in one at a time until the fuse blows. That’ll tell you which accessory is causing the problem.
If the fuse blows with nothing plugged in, you might have a wiring issue that’s gonna need more in-depth diagnosis. At that point, you might need to trace the circuit with a multimeter looking for shorts to ground. You can also check fuse number 27, which powers some of the ECM and PCM related diagnostic systems. Sometimes issues there can cause similar symptoms.
⚠️ Warning
If you’ve replaced the fuse multiple times and it keeps blowing, or if you’re getting diagnostic trouble codes like U0100 (lost communications), it’s time to take it to a professional. You might have a shorted wire in the harness or a problem with the PCM that’s gonna need dealership-level diagnostic equipment to track down properly.
Some guys will try disconnecting the battery for 30 to 60 minutes to reset the modules. You’ll need a 10mm wrench to disconnect the negative terminal. This can sometimes help if you’ve got a module that’s acting up due to low voltage or a glitch. Just make sure you’ve got your radio codes and know that some of your settings might reset when you do this.
Frequently Asked Questions
What are the most common causes of a blown fuse in the OBD2 port?
How can I check if the fuse box cover is properly secured?
Are there any specific tools needed to safely access the fuse box?
What steps should I follow if the fuse blows again after replacement?
Can a blown fuse indicate a larger electrical issue in the vehicle?
🔧 Final Thoughts
Look, this is one of those repairs that seems scary at first because anything electrical makes people nervous. But it’s honestly one of the easiest fixes you can do yourself. I’ve been working on cars for 26 years as an ASE Master Automotive Technician, and I can tell you that 90% of the time, a dead OBD2 port is just a blown fuse. Replace it, figure out what caused it to blow if it happens again, and you’re back in business. Save yourself that $100-200 trip to the shop and knock this out in your driveway. And hey, if you found this helpful, I’ve got tons more money-saving repair guides on the channel. Keep wrenching, guys!
