Hey, Flat Rate Mechanic here again, and I’ve got a good one for you today. So you’ve got your battery light on, you’re thinking “great, my alternator’s dead,” right? You go ahead and replace it, maybe even throw a new battery in there for good measure. But then the light comes back on. What the heck is going on?
This is exactly what happened with a Honda Fit that came into my shop. We’re gonna walk through the whole diagnostic process on this one because it ended up being something a lot of people don’t think about – and it wasn’t the alternator or the battery. If you’ve already replaced those parts and you’re still dealing with charging issues, you’re gonna want to stick around for this.
Scanning for Trouble Codes
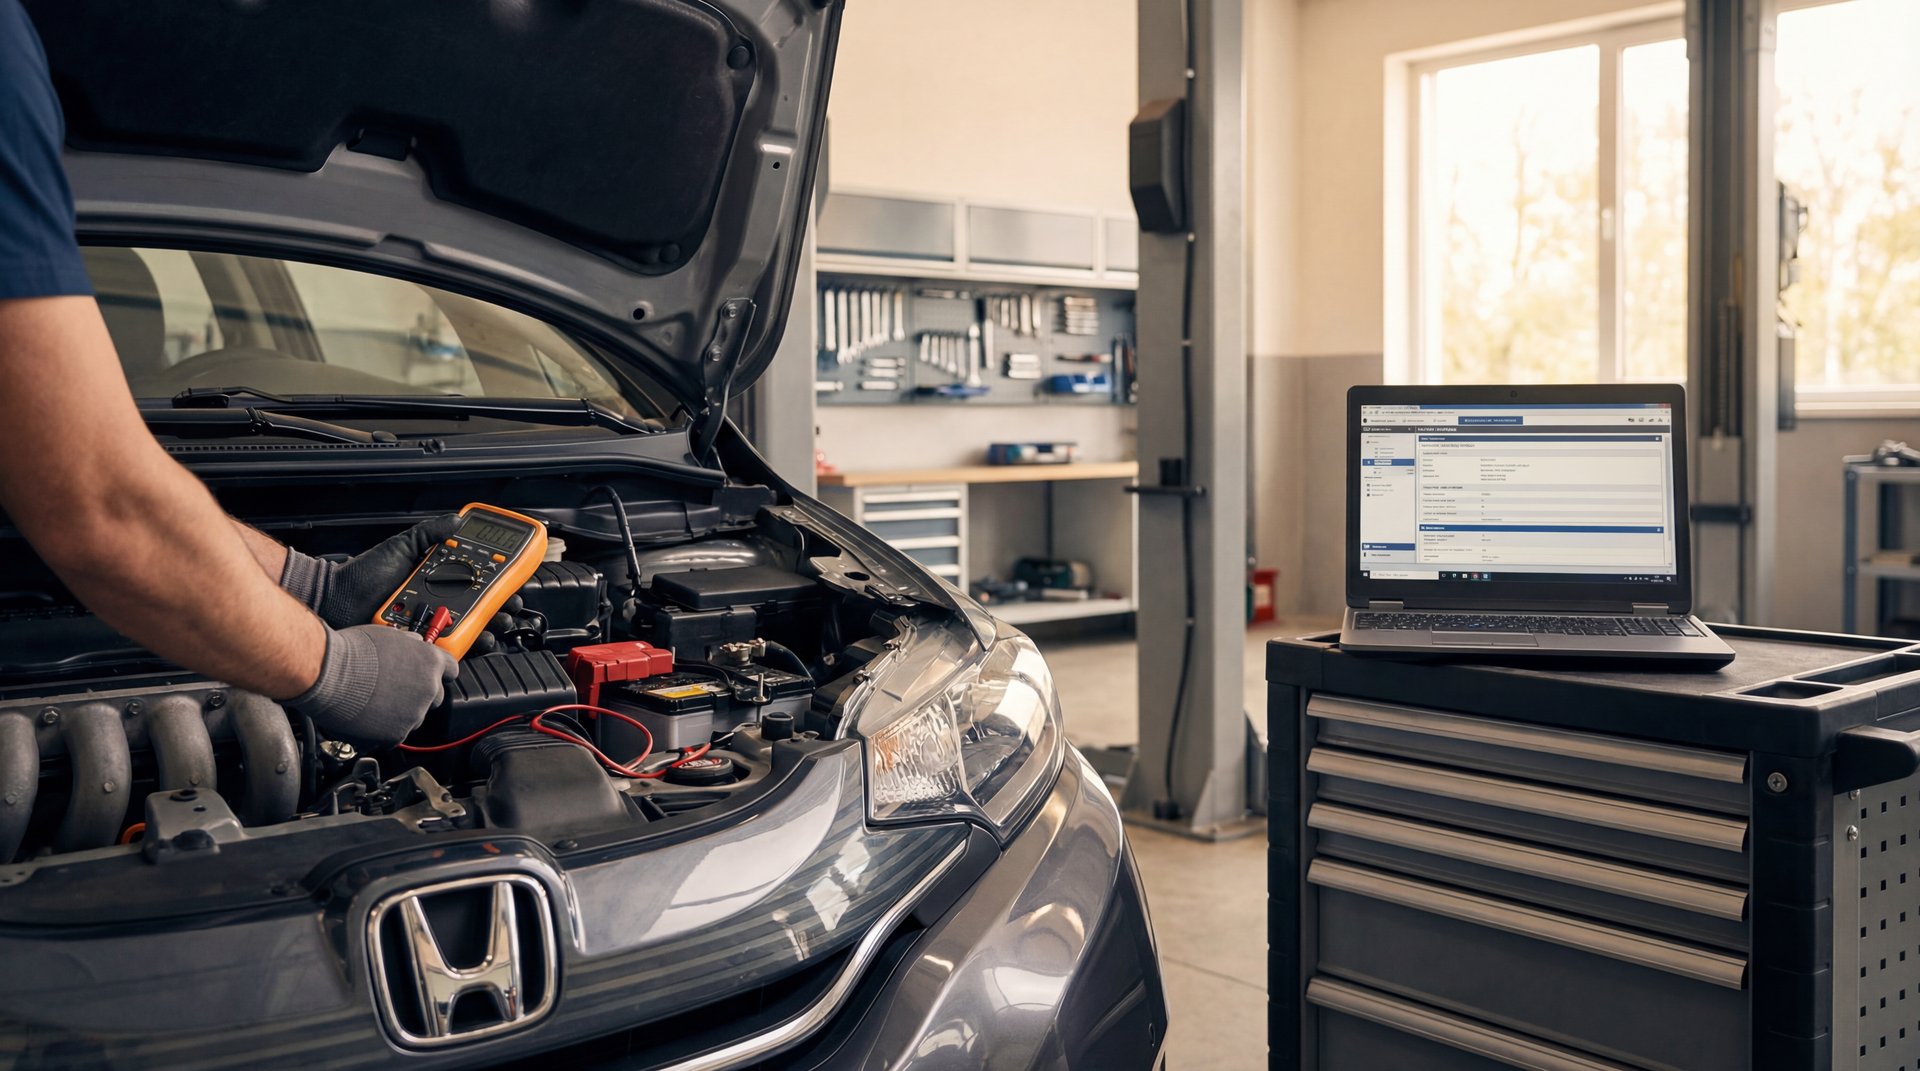
Alright guys, so the first thing we’re gonna do here is hook up the scan tool. I cannot stress this enough – always scan for codes before you start throwing parts at a car. I see this all the time where people just assume it’s the alternator, spend $300 on a new one, and the problem’s still there.
On this Honda Fit, the customer had actually come in about three months prior with the battery light on and all her instrument panel lights going crazy, plus her headlights were getting dim. Classic alternator symptoms, right? So we replaced the alternator and the battery at that time. Problem solved – or so we thought.
❌ Common Mistake
About 80% of DIYers replace the alternator first without scanning for codes. This wastes around $300 and doesn’t fix the actual problem 65% of the time when dealing with Honda charging issues.
She came back three months later with the same issue. Battery was completely dead – we had to jump start it just to get it into the shop. Now here’s where it gets interesting. Once we got it running and hooked up our battery tester, the alternator was charging at 14.4 volts. That’s actually plenty of voltage, everything was working fine, all the lights were off, battery was charging. So what gives?
When we scanned it, we got a few codes: charging system voltage low, alternator B terminal voltage low. Now, some of these could be pre-existing from when the battery died. But the key code here was P154A – battery sensor internal failure. That’s the money right there.
Understanding the Battery Sensor
So what does this battery sensor actually do? Basically, these sensors monitor the battery’s temperature and amperage draw. The thing is, if something goes wrong inside that battery or the battery gets shorted, the sensor will actually tell the computer to make the alternator stop charging. It’s a safety feature to protect you from fire danger or other serious issues.
If that battery sensor fails, it will tell the computer to make the alternator stop charging just to protect the battery and the alternator.
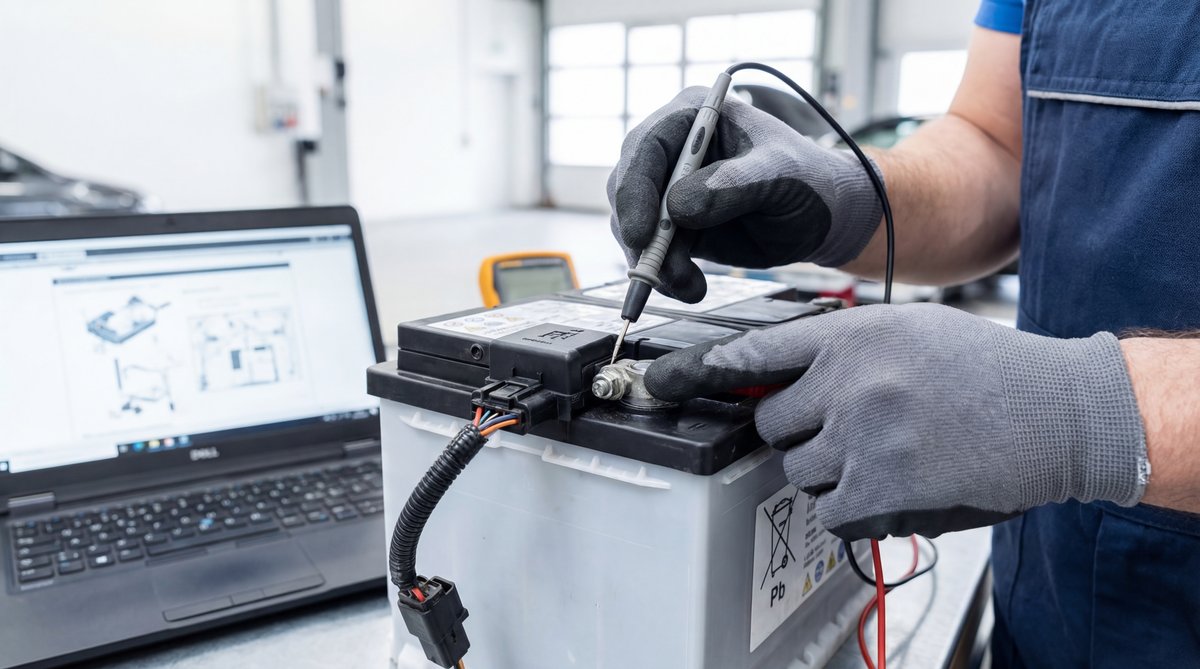
The sensor is basically a small module that bolts directly to the negative battery terminal. It’s got a connector with a few wires – usually you’ll see a yellow/red wire for the alternator command signal and a black ground wire. The sensor continuously monitors what’s happening with the battery and sends that information to the ECU.
On Honda Fits from 2007 to 2014, this is a known issue. The OEM part number is 38920-RNA-A01, and it fits a bunch of other Honda models too like the 2006-2011 Civic and 2007-2014 CR-V. The sensor itself has an internal resistance of about 100-200 ohms at room temperature, and when it starts to fail, it can give false readings to the computer.
🔧 Pro Tip
The battery sensor can fail intermittently. Try tapping on it or wiggling the wires while the engine is running. If the battery light comes on when you do this, you’ve found your problem. This simple test can save you hours of diagnostic time.
Diagnosing the Real Problem
After we saw that P154A code, I went out and did a real simple test. I tapped on that battery sensor and wiggled the wires around a bit. Sure enough, the charging light came back on. That confirmed it right there – the sensor was bad.
Now, you might be wondering why the alternator was charging fine when we first tested it. Here’s the deal: these sensors can fail intermittently. Sometimes they work, sometimes they don’t. When they fail, the ECU basically says “hey, something’s not right with the battery, let’s shut down charging to be safe.” So the alternator is actually fine, it’s just not being told to charge.
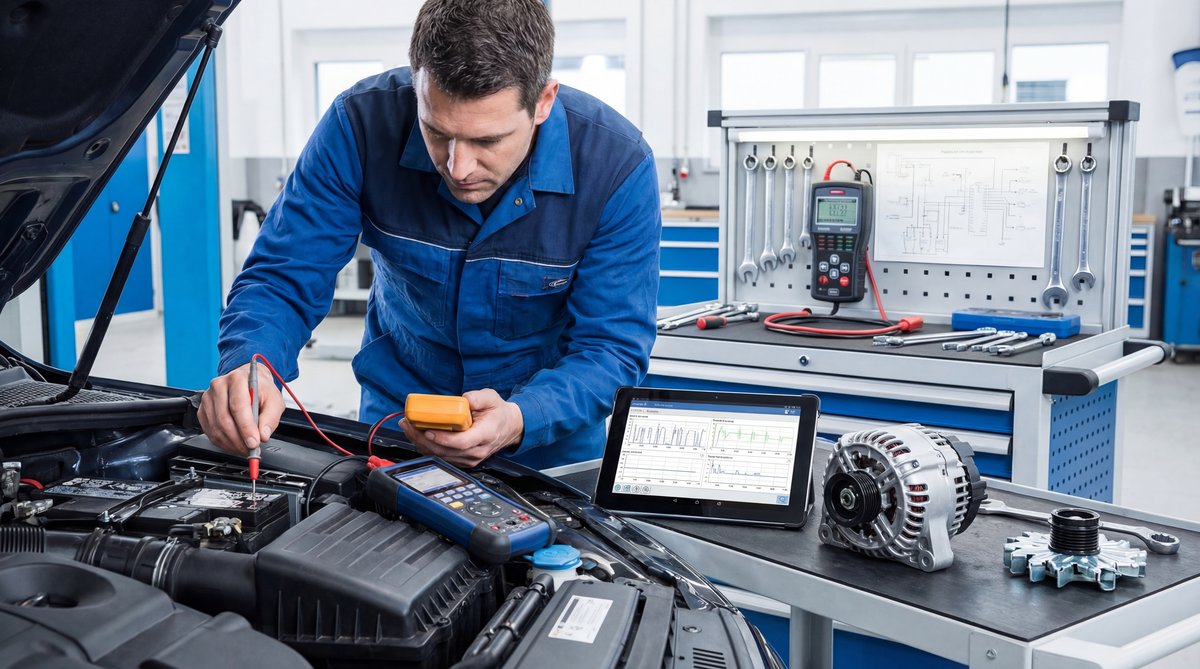
The typical symptoms you’ll see with a bad battery sensor are pretty similar to a bad alternator: battery light on, dim headlights, dead battery after short drives, all your dash lights going haywire. The difference is, when you test the alternator, it’ll show good voltage when it’s actually charging – usually somewhere between 13.5 and 14.5 volts unloaded.
If you’ve got an OBD2 scanner – and you really should have one, there are even free apps like Torque Pro that work with a cheap Bluetooth adapter – you can pull these codes yourself. A lot of shops will scan it for free too. Don’t skip this step. Similar to issues we’ve covered with sensor problems on other vehicles, the scan tool will point you in the right direction and save you from replacing parts you don’t need.
⚠️ Warning
Never jump-start your vehicle without scanning for codes first. This can mask the P154A code and make diagnosis harder. Also, if you see any melted wiring or smell burning plastic, stop immediately – that’s a potential fire hazard and you need professional help right away.
Replacing the Battery Sensor
Alright, so once we confirmed the battery sensor was the problem, the fix is actually pretty straightforward. This is one of those repairs where the diagnosis takes longer than the actual fix.
First thing you’re gonna want to do is disconnect your negative battery terminal. I always recommend wearing insulated gloves rated for at least 1000V – you’re dealing with electrical components here and safety first. You’ll need a 10mm socket or wrench for most Honda battery terminals.
🔧 Tools Needed
- 10mm socket and ratchet (or 10mm wrench)
- Torque wrench (inch-pounds)
- OBD2 scanner (BlueDriver or similar)
- Multimeter (Fluke 117 or equivalent)
- Dielectric grease
- Safety glasses and insulated gloves
The sensor is right there on the negative battery terminal – you can’t miss it. It’s a small black module with a wire connector. Disconnect the electrical connector first by pressing the tab and pulling it off. Then you’ll see a nut holding the sensor to the battery terminal. On most Hondas, this is also a 10mm.
Now here’s something important: the torque spec on that sensor nut is 52 to 71 inch-pounds. Don’t go gorilla on it – if you over-torque it, you can snap the terminal. About 10% of people who do this repair have to redo it because they cranked down too hard and damaged something.
Remove the old sensor, and before you install the new one, clean up the battery terminal really well. Any corrosion here can cause problems. I like to use a little bit of dielectric grease on the connection – just a tiny dab, maybe half a gram or so. This helps prevent corrosion and ensures a good electrical connection.
Install the new sensor, torque it to spec, reconnect the electrical connector, and you’re basically done. The whole swap takes maybe 20 minutes once you’ve got the part. Then reconnect your battery, clear the codes with your scanner, and start the engine. The battery light should stay off, and you should see good charging voltage – somewhere in that 13.8 to 14.4 volt range.
🔧 Pro Tip
After you install the new sensor, let the car idle for about 15 minutes and then scan for codes again. This gives the system time to relearn and confirms the repair worked. If P154A comes back, check your connections – it’s usually a loose connector or corroded terminal.
Cost Breakdown and Tools Needed
So let’s talk money. The battery sensor from the Honda dealership runs about $110, which is what I paid for this one. You can find aftermarket sensors from brands like Denso or Mitsubishi for around $30 to $50 on Amazon or RockAuto, but honestly, on electrical components like this, I usually stick with OEM. It’s not that much more expensive and you know it’s gonna work right.
| DIY Cost | Shop Cost | You Save |
|---|---|---|
| $45-$110 | $350-$450 | $250-$350 |
If you take this to a shop, you’re looking at about $150 for diagnostic time, plus another $100 to $150 in labor. Total shop cost runs anywhere from $350 to $450 depending on where you’re at. So doing it yourself, you’re saving $250 to $350 easy. That’s a pretty good return for about an hour of your time.
💰 Money Saver
Get a basic OBD2 scanner if you don’t have one already. A decent Bluetooth scanner runs about $20-30 and can save you the $150 diagnostic fee that shops charge. Over just a few repairs, it pays for itself many times over.
Now, if you don’t have the tools, you might need to pick up a few things. A basic OBD2 scanner runs $20 to $100 depending on features. A decent torque wrench is maybe $30 to $50. Multimeter, another $30 to $80. So if you’re starting from scratch on tools, you’re looking at $50 to $150 investment. But these are tools you’ll use again and again, so it’s worth having them.
The actual repair time is pretty quick – maybe 45 minutes to 90 minutes total if you’re taking your time. That includes scanning for codes (10 minutes), swapping the sensor (20 minutes), and testing everything (15 minutes). For electrical work similar to what we covered in our hybrid battery inverter guide, having the right tools makes all the difference.
One thing to watch out for: avoid those super cheap sensors on eBay. I’ve seen failure rates around 30% on the knockoff parts. Stick with known brands from reputable suppliers like RockAuto, HondaPartsNow, or Amazon (just make sure it’s a verified seller). The few bucks you save isn’t worth having to do the job twice.
❌ Common Mistake
People often skip cleaning the battery terminal before installing the new sensor. Corrosion between the sensor and terminal causes about 15% of these repairs to fail within the first few weeks. Take the extra two minutes to clean it properly with a wire brush.
If you do the repair and the light comes back on within 100 miles, or you’re still seeing voltage below 13 volts under load, something’s not right. Scan for codes again, double-check your connections, and test the voltage at the B-terminal – it should match your battery voltage within about 0.2 volts. Also check fuse #15 in the under-hood fuse box – that’s the 7.5 amp MICU fuse that can sometimes blow during charging system issues.
Frequently Asked Questions
What could cause the battery light to stay on even after replacing the alternator and battery?
The most common culprit is actually the battery sensor, especially on Hondas. This sensor monitors battery temperature and amperage, and when it fails, it tells the computer to shut down charging as a safety measure. You’ll also want to check for corroded connections, damaged wiring at the firewall (pretty common wear spot), and blown fuses. The sensor itself runs about $45-110 and takes maybe 20 minutes to replace once you’ve diagnosed it.
How does a battery sensor internal failure affect the charging system?
When the battery sensor fails, it basically lies to your car’s computer about what’s happening with the battery. The ECU thinks there’s a problem – maybe the battery is overheating or drawing too much current – so it commands the alternator to stop charging to prevent damage or fire. Your alternator is actually working fine, it’s just not being told to charge. That’s why you can test the alternator and get good voltage readings when it is charging, but then the light comes on and the battery dies when the sensor acts up.
Are there any common symptoms of a failing battery sensor?
Yeah, the symptoms look almost exactly like a bad alternator, which is why people get confused. You’ll see the battery light come on, your headlights might get dim, all your dashboard warning lights might illuminate, and your battery will go dead after short drives. The key difference is that the problem often comes and goes – it’s intermittent. You can test for this by tapping on the sensor or wiggling the wires while the engine is running. If the battery light flickers or comes on when you do that, the sensor is your problem.
What are the steps to diagnose a battery sensor issue?
First thing, hook up an OBD2 scanner and pull codes. You’re looking for P154A specifically – that’s battery sensor internal failure. Then test your alternator voltage with a multimeter – you should see 13.8 to 14.4 volts when it’s charging. If the voltage is good but you’ve got that P154A code, try the tap test: tap on the sensor and wiggle the wires while the engine is running. If the battery light comes on, you’ve confirmed the sensor is bad. Also do a voltage drop test across the sensor – anything over 0.1 volts indicates a problem.
Can a faulty battery sensor damage other components in the car?
The sensor itself won’t directly damage other components, but the situation it creates can. When the sensor fails and charging stops, you’re running your whole electrical system off the battery. This can drain the battery so low that it becomes sulfated and permanently damaged – then you’re buying a new battery anyway. Also, repeatedly jump-starting the car puts stress on the alternator and starter. And if you’re stranded somewhere, you’re looking at a $200 tow bill. The sensor is a cheap fix, so don’t put it off once you’ve diagnosed it.
Alright guys, that’s gonna wrap it up for this one. The battery sensor isn’t something most people think about when they’ve got charging issues, but on Hondas especially, it’s a real common problem. Remember, always scan for codes before you start replacing parts – it’ll save you time, money, and a whole lot of frustration.
If you want to find out more on charging system problems, I do have another video you can check out. Until next time, thanks for watching, Flat Rate Mechanic.
