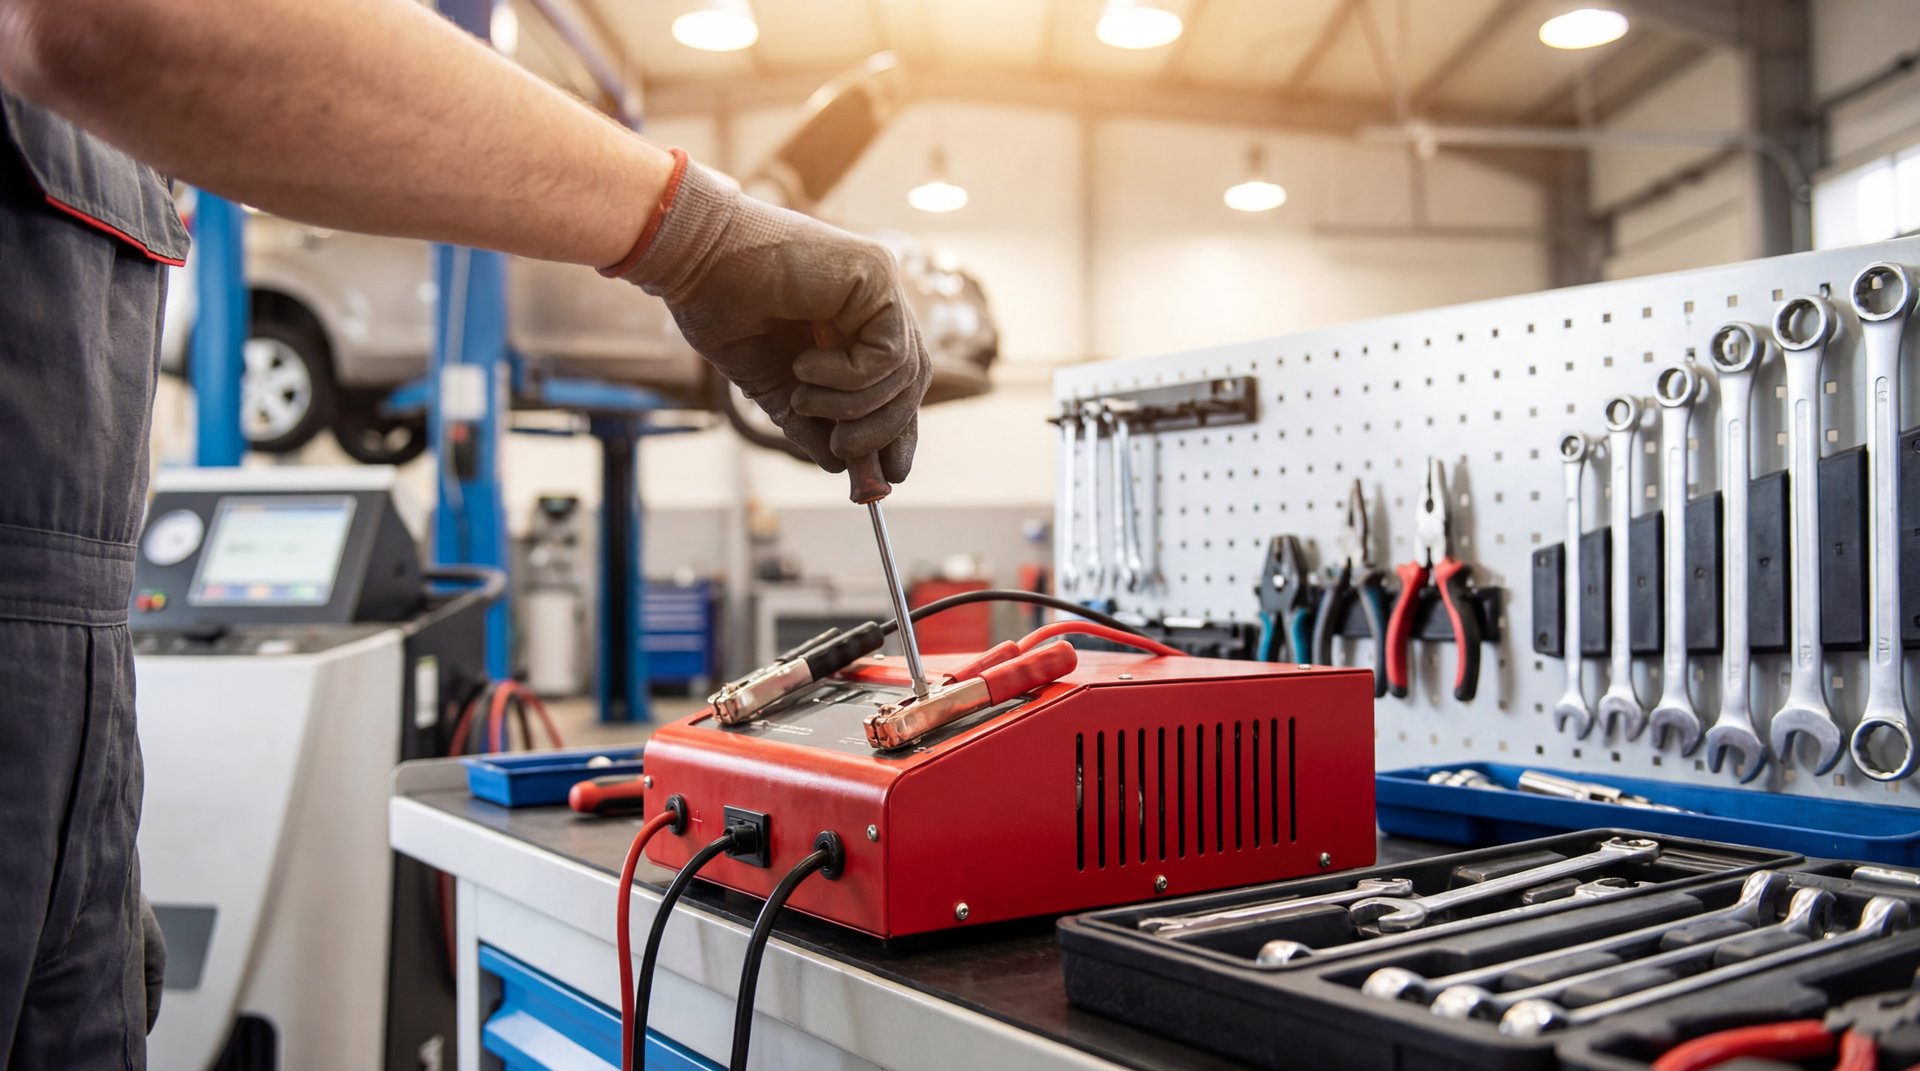
Alright guys, so I’m back with another quick tip for you. In my last video, I showed you how to magnetize a tool using a battery, and man, did that blow up! A bunch of you were saying I was faking it because one side of the tool was magnetic and the other side wasn’t. So today, we’re gonna put that to rest. We’re gonna magnetize this tool using a battery charger, and we’re gonna check both sides to prove this thing actually works. Let’s get into it.
Why You’d Want to Magnetize Your Tools
Before we dive into the actual process, let me tell you why this is such a handy trick. When you’re working in tight spaces or doing repairs where you keep dropping screws and bolts, having a magnetized screwdriver or wrench can be a real lifesaver. The thing is, you don’t need to go buy expensive magnetic tools or those little magnetizer gadgets. You can do this with stuff you probably already have in your garage.
I use this trick all the time when I’m working on electronics or doing repairs where I need to hold onto small fasteners. Having that bit of magnetism on your tool means screws stick to it, and you’re not fumbling around trying to position things with one hand while holding the tool with the other.
What You Need for This Process
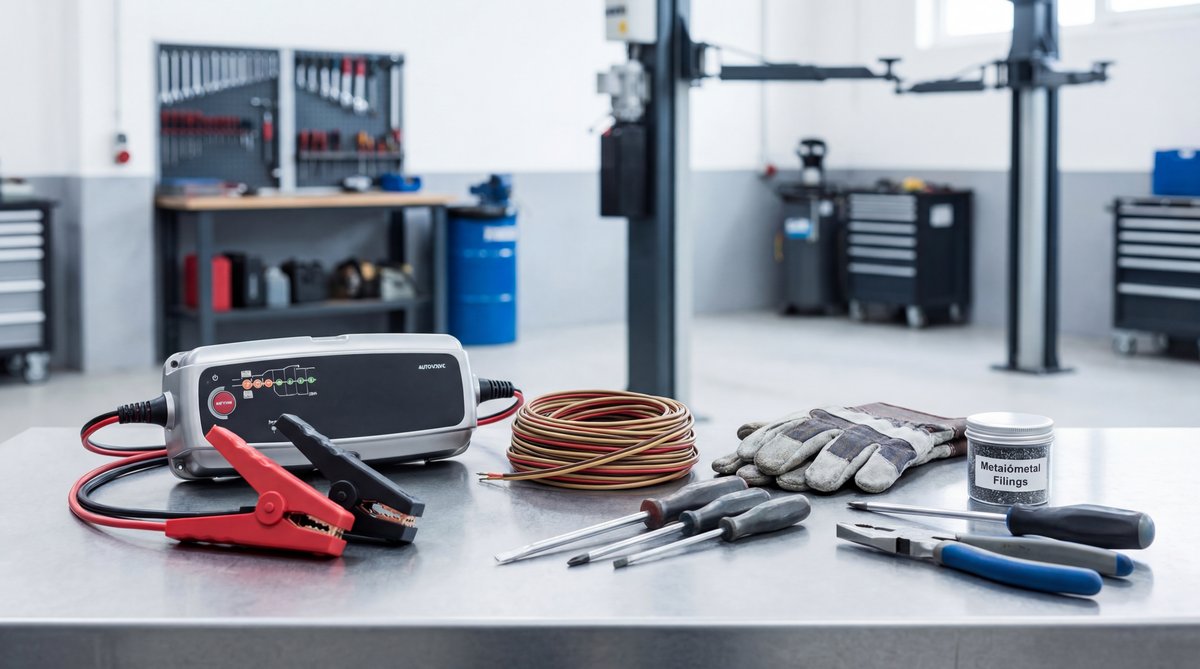
The beauty of this method is how simple it is. You don’t need a bunch of fancy equipment. Here’s basically what we’re working with:
🔧 Tools Needed
- Battery charger (12V works great – brands like Schumacher or NOCO are solid)
- Alligator clip leads or insulated wires
- Steel tool you want to magnetize (screwdriver, wrench, whatever)
- Safety glasses and insulated gloves
Now, here’s the thing about what tools you can actually magnetize. This only works on ferromagnetic materials – basically steel and iron tools. If you’ve got aluminum or brass tools, this isn’t gonna do anything for you. Those materials just don’t hold a magnetic field. Stick with your regular steel screwdrivers, wrenches, and similar tools.
A decent battery charger is gonna run you anywhere from $30 to $150 depending on what features you want. You can grab one at any hardware store or online. The clips and wiring are cheap – maybe $5 to $15 tops. Once you’ve got this setup, you can magnetize as many tools as you want.
⚠️ Warning
Always wear insulated gloves and safety glasses when working with a battery charger. You’re dealing with electrical current here, and you don’t want to risk getting shocked or having sparks fly into your eyes. Also, keep magnetized tools away from sensitive electronics and anything with magnetic storage.
The Magnetizing Process Step-by-Step
Alright, let’s get into how we actually do this. We’re going to hook everything up real quick, and I’ll walk you through it.
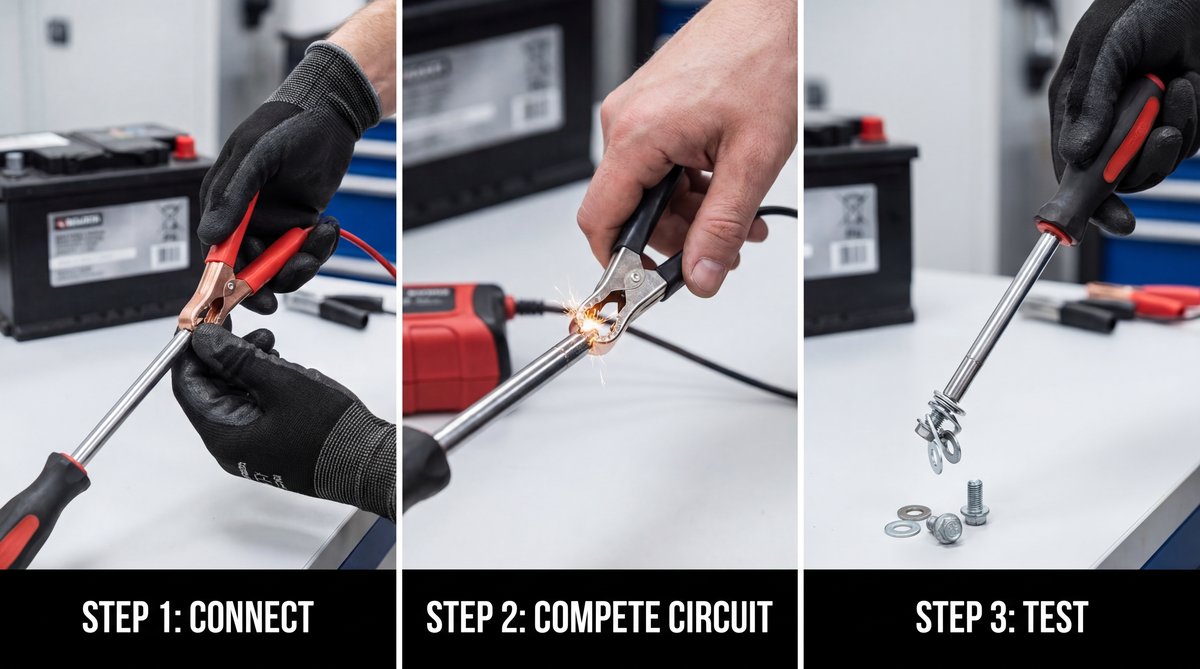
First thing, clean off your tool if it’s got any rust or dirt on it. You want good contact with the metal. Then we’re gonna connect our battery charger leads to the tool using those alligator clips. Make sure you’ve got good solid contact on both ends – one clip on each side of the tool you’re magnetizing.
Now here’s what was causing confusion in my last video. The polarity matters. When you run current through the tool, you’re creating a magnetic field that aligns the magnetic domains within the metal. Basically, you’re organizing all those tiny magnetic particles inside the steel so they all point the same direction. That’s what creates the magnetism.
Connect your positive lead to one end and negative to the other. Then turn on the charger for about 10 to 30 seconds. You don’t need to go crazy with it – we’re talking maybe 1 to 5 amps of current. That’s plenty to get the job done.
🔧 Pro Tip
Do a couple pulses instead of one long continuous charge. Turn it on for 10 seconds, turn it off, then do it again a couple more times. This helps build up the magnetism without overheating your tool or charger.
Now, to address what people were saying about my last video – if you want both sides of the tool to be magnetic, you can reverse the polarity and do it again. Just swap your positive and negative leads and repeat the process. That’s what we’re doing in this video.
After you’ve run the current through it a couple times, let the tool cool down for a minute. Then test it out with a small screw or bolt. If it picks it up, you’re good to go. You can test both sides to make sure you got even magnetization across the whole tool.
Let’s turn it on real quick. Do that a couple times. One more time. Let’s see if it works.
How This Actually Works
Let me explain the science behind this real quick, because it’s actually pretty cool. When you pass electrical current through a piece of steel, you’re creating what’s called an electromagnetic field around and through that metal. Steel has these tiny magnetic domains inside it – think of them like little compass needles all pointing in random directions.
When you expose the steel to that strong magnetic field from the current, according to research on magnetization techniques, those domains start aligning themselves with the field. The stronger the field and the longer you apply it, the more domains line up. Once enough of them are pointing the same direction, the tool itself becomes magnetic.
The cool thing is, this magnetism sticks around even after you remove the current. The domains stay aligned, at least partially, giving your tool permanent magnetism. It might weaken over time with use, but you can always just re-magnetize it using the same process.
The typical exposure time of 10 to 30 seconds is usually enough for most hand tools. Bigger tools might need a bit longer or slightly higher current, but you gotta be careful not to overdo it and overheat things.
Common Mistakes to Avoid
Alright guys, let me save you some headaches by telling you what NOT to do. I’ve seen people mess this up in a few common ways.
❌ Common Mistake
Leaving the current on too long. Some people think more is better and leave the charger connected for minutes at a time. All you’re doing is overheating your tool and potentially damaging your charger. Stick to short bursts of 10-30 seconds max.
Another mistake is not checking your connections. If your alligator clips aren’t making good solid contact with clean metal, you’re not gonna get good results. Make sure you’ve got bare metal contact points and that the clips are clamped on tight.
People also try this with the wrong materials. Like I said earlier, this only works on steel and iron tools. If you’ve got an aluminum wrench or a brass fitting tool, forget it. It’s not gonna work no matter how much current you run through it.
🔧 Pro Tip
If your magnetism seems weak or fades quickly after magnetizing, try increasing the current slightly or doing a few more pulses. Sometimes tools with certain steel alloys need a bit more juice to get a strong magnetic field that lasts.
The polarity confusion is another big one. If you want consistent magnetization, keep your polarity the same each time. If one end isn’t as magnetic as you want, that’s when you reverse the leads and do another round. Don’t just randomly switch things around.
And for the love of all that’s holy, don’t touch the live terminals with your bare hands. Use insulated gloves and make sure you’re not standing in water or on a wet surface. Safety first, always.
💰 Money Saver
Instead of buying those $20-$40 magnetizer/demagnetizer gadgets from the tool store, use this method with equipment you likely already own. You can magnetize unlimited tools for the cost of a battery charger you probably already have for working on vehicles.
If you’re working with electrical systems and batteries regularly, you might want to check out our guide on hybrid battery inverter removal for more tips on safely handling automotive electrical components.
Frequently Asked Questions
What are the best tools to magnetize using a battery charger?
How long does it typically take to magnetize a tool with a battery charger?
Are there any safety precautions to consider when magnetizing tools with a battery charger?
Can magnetizing tools with a battery charger damage the tool or the charger?
What types of tools can be magnetized using a battery charger?
| DIY Cost | Professional Magnetizer Tool | You Save |
|---|---|---|
| $0-$150* | $20-$40 per tool | $20-$40 per tool |
*Assuming you already own a battery charger for vehicle work
So there you have it, guys. We magnetized this tool using a battery charger, checked both sides, and proved this thing actually works. It’s a super simple trick that can make your life easier when you’re working on repairs. Give it a shot next time you need a magnetic screwdriver and don’t want to run to the store. Just remember to be safe with the electrical current, and you’ll be good to go.
