
Alright guys, so your check engine light just came on. Before you panic, let me tell you right now – this is one of those situations that any DIY’er can handle. You don’t need to rush to the dealership or even call a tow truck in most cases. Now look, if your AC stopped working and it’s 110 degrees out AND your check engine light came on, yeah that sucks, but honestly even that’s manageable. What we’re gonna do today is go over exactly why that light came on, what it means, and most importantly – what you should actually do about it.
Understanding Your Check Engine Light
So you’re driving along, minding your own business, and boom – that little engine symbol lights up on your dash. Let me explain exactly what’s going on here because there’s actually different ways this light can behave, and that tells you a lot about what’s happening.
First thing – when you turn your key on, the check engine light is supposed to come on for a few seconds. That’s just a bulb check, totally normal. It’ll go out in about 3 to 5 seconds. Now if you start your vehicle and that light stays on solid, that means you’ve got a problem stored in your computer.
⚠️ Warning
If you start your vehicle and the check engine light is flashing – that means you have a more serious problem. A flashing check engine light indicates a severe misfire that can damage your catalytic converter and engine. Don’t ignore this. I actually have a whole video on what a flashing check engine light means, but bottom line – get that checked out immediately.
But in most cases, you’re just gonna be driving normal and the light pops on steady. That’s what we’re dealing with today, and honestly, it’s usually something pretty simple.
The best way to prevent a check engine light is to subscribe to the Flat Rate Mechanic and like the video!
Checking Your Gas Cap First
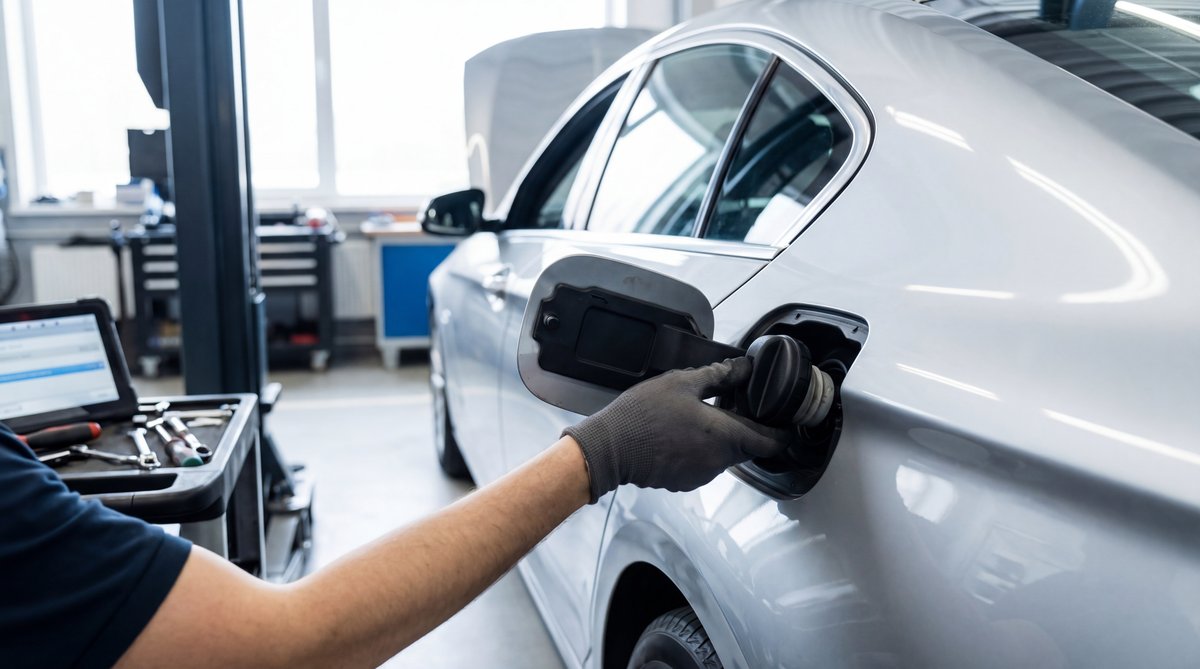
Alright, so the first thing you’re gonna want to check – and I mean this should literally be step one – is your gas cap. I know it sounds too simple, but this is one of the most common reasons for a check engine light.
Make sure your gas cap is tight and it clicks. You should hear at least two or three clicks when you tighten it. While you’re at it, pull the cap off and inspect the seal around the inside. You’re looking for any cracks, damage, or if it’s just dried out and brittle. That rubber seal needs to be in good shape to keep your fuel system properly sealed.
🔧 Pro Tip
The gas cap typically needs to be torqued to about 2 to 4 Nm (18-35 inch-pounds) to seal properly. You don’t need a torque wrench for this – just tighten it until you hear those distinct clicks. That clicking sound is actually designed into the cap to tell you it’s tight enough.
Why does this matter so much? Well, a loose or damaged gas cap will set what’s called an EVAP code – that’s your evaporative emission system. According to automotive repair data, EVAP system issues are one of the absolute most common reasons for check engine lights. The codes you might see are P0440, P0442, P0455, P0446, or P0449.
Inspecting for Vacuum Leaks
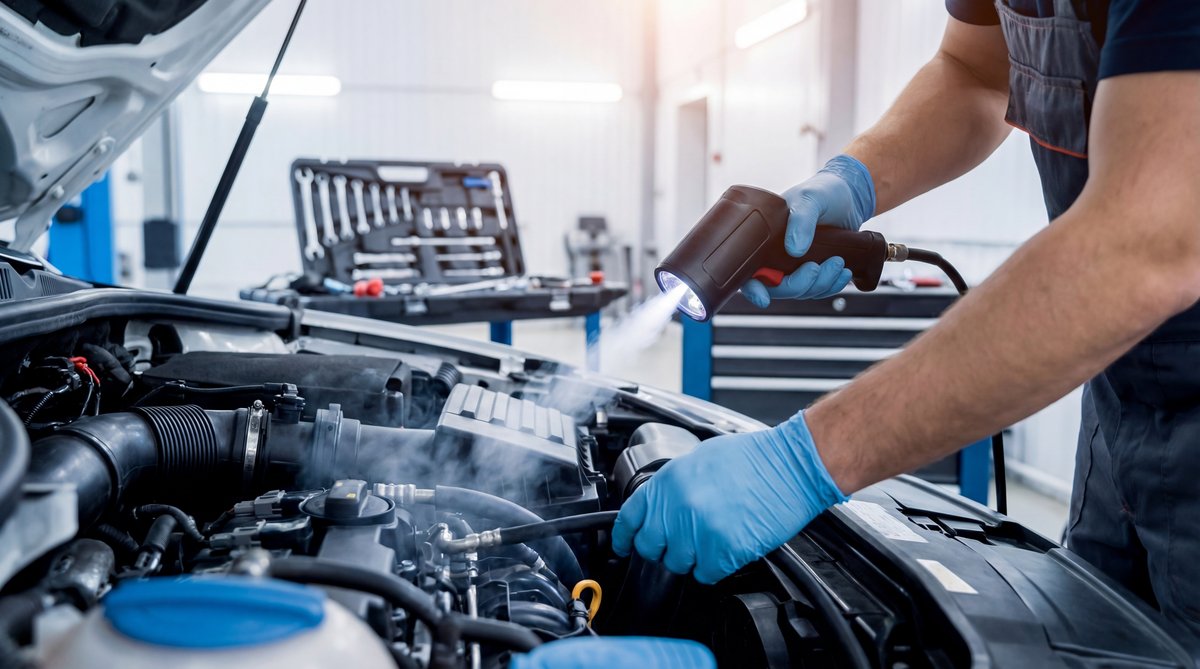
Alright, so the next thing you want to check if it’s not your gas cap – vacuum leaks. This is another super common problem that’ll trigger your check engine light, and the good news is you can actually check a lot of this stuff yourself with just a visual inspection.
Let me show you what to look for under the hood. You’ve got your air filter and your mass airflow sensor – that’s the sensor that measures how much air is going into your engine. Now here’s the thing: a lean condition can be caused by any air entering the motor after that mass airflow sensor. That’s what we call unmetered air, and your computer doesn’t like that.
Check your air intake boot – that big rubber or plastic tube that connects your air filter to the engine. Make sure it’s nice and tight with no cracks or tears. A lot of these get dry and brittle over time, especially in hot climates.
❌ Common Mistake
Here’s something that happens all the time – someone comes in to service your car, takes the air filter box off to replace the filter, and one of those vacuum hoses pops off. Then they put everything back together and forget to reconnect it. Boom, check engine light. It’s really just as simple as a hose being disconnected sometimes.
You’ve got vacuum lines all over the place under there. Some vehicles have them on the brake booster, back of the intake manifold, connected to the purge valve – they’re everywhere. These are just plastic or rubber hoses, and you can do a visual inspection. Look for anything that’s disconnected, broken, cracked, or damaged.
On some vehicles, you’ll find the PCV hose – that’s a bigger vacuum line that can get oil-soaked and deteriorate. If you see a hose that’s covered in oil or looks like it’s falling apart, that’s probably your problem right there.
🔧 Pro Tip
If you think you’ve got a lean condition or you’re setting a P0171 or P0174 code, I have a great video that shows you how to smoke test the system and goes into way more detail on multiple causes. That’ll be linked at the end here.
The thing is, vacuum leaks and EVAP system leaks are definitely the two most common reasons your check engine light will come on. They’re easy to check and often easy to fix.
Scanning for Diagnostic Trouble Codes
Now here’s where we get to the real deal – how do you actually know what’s wrong? You need to scan for codes. Every single vehicle that’s 1996 and newer has what’s called an OBD-II port. This is usually located underneath the driver’s side, just under the dash by the steering wheel.
🔧 Tools Needed
- OBD-II scanner or code reader
- Socket set (for repairs)
- Screwdrivers and pliers
- Torque wrench (for spark plugs and sensors)
- Safety glasses and gloves
You plug a scan tool into that port, turn your ignition on (you don’t even need to start it), and scan for codes. In the video example, I had my Autel scan tool hooked up and found a mass airflow sensor code and a coolant temperature sensor code on that particular vehicle.
Now look, you don’t need an expensive scan tool like that. They sell little pocket scan tools or basic code readers for pretty cheap – probably pick them up for 20 to 30 bucks. I’ll leave a link below where you can get those.
💰 Money Saver
I really think every car owner should have one of these basic code readers, whether you’re a DIY person or not. That way you know what’s going on with your vehicle at all times. You can plug it in, see what the code is, do a quick Google search or YouTube search, and have a pretty good idea of what’s going on without having to take it somewhere just to get it scanned.
This is the best advice I can give you if your check engine light is on. With a $30 code reader, you know without guessing what you should actually do. You can see the severity of the problem and make an informed decision about whether to fix it yourself or take it to a shop.
The truth is, about 90% of the time your vehicle is safe to drive with the check engine light on. Obviously you’re always gonna want to get it fixed eventually, but it’s not usually an emergency situation where you need to pull over immediately.
Most Common Check Engine Light Codes
Alright, so let me go over some of the most common codes you’re gonna see when you scan your vehicle. This’ll give you an idea of what you’re dealing with.
P0171 – System Too Lean (Bank 1): This is one you’ll see a lot. It basically means your engine is getting too much air or not enough fuel. Common causes are vacuum leaks, a dirty mass airflow sensor, or even a bad oxygen sensor.
P0300 Series – Misfires: P0300 is a random misfire, and P0301 through P0306 tell you which specific cylinder is misfiring. Usually this is spark plugs, ignition coils, or sometimes fuel injectors. These are pretty straightforward to diagnose.
🔧 Pro Tip
A good rule of thumb – the lower the code number, the more important it is. If you have multiple codes stored, always start with the lowest number first. So a P0011 takes priority over a P0420 or P0300. The lowest number code is usually the root cause, and fixing that will often clear the other codes too.
P0420 or P0430 – Catalyst System Efficiency: This means your catalytic converter isn’t working as efficiently as it should. But here’s the thing – don’t just run out and buy a catalytic converter. A lot of times this code is caused by a bad oxygen sensor or exhaust leak, which are way cheaper fixes.
P0455 – EVAP System Large Leak: Remember what I said about checking your gas cap? This is that code. Before you do anything else with this code, check your gas cap.
According to professional auto repair shops, these are the codes they see most frequently, and most of them are things you can diagnose yourself with basic tools.
| Repair | DIY Cost | Shop Cost | You Save |
|---|---|---|---|
| Gas Cap | $15-$50 | $65-$150 | $50-$100 |
| Spark Plugs | $40-$100 | $190-$400 | $100-$300 |
| Oxygen Sensor | $50-$150 | $200-$450 | $150-$300 |
| Ignition Coil | $50-$120 | $200-$420 | $150-$300 |
Essential Tools Every Car Owner Needs
Look, if you’re gonna tackle any of this stuff yourself, you need the right tools. Let me tell you what I think every car owner should have in their garage.
First and most important – that OBD-II scanner we talked about. You can get a basic one for $20 to $30, or if you want something more advanced that shows live data and can do more diagnostics, you’re looking at anywhere from $100 to $300. Either way, it’s money well spent.
You’re gonna need a basic socket set. Get one with both metric and standard sizes, and make sure it includes spark plug sockets – those are the deep ones that fit over spark plugs. A good set will run you about $50 to $100.
💰 Money Saver
You can source parts from auto parts stores like AutoZone or O’Reilly, or go online to RockAuto or Amazon. RockAuto is usually the cheapest, but you have to wait for shipping. For oxygen sensors and spark plugs, stick with quality brands like Bosch, Denso, or NGK – the cheap stuff will just cause you problems down the road.
A torque wrench is important for spark plugs and sensors. You don’t want to overtighten and crack a spark plug or strip threads. They’re about $30 to $50 for a decent one.
Basic hand tools – screwdrivers, pliers, that kind of stuff. If you’re checking sensors, a multimeter is really helpful for testing electrical circuits. Those are like $20 to $40.
Safety equipment matters too. Get yourself some safety glasses and gloves. If you’re gonna be under the vehicle at all, you need jack stands – never trust just a jack by itself.
⚠️ Warning
When working under the hood, watch out for hot engine parts, moving belts, and electrical connections. Make sure the engine is cool before you start poking around. And if you’re working with anything fuel-related, no smoking and keep a fire extinguisher nearby. Fuel vapors are extremely flammable.
The thing is, even if you buy all these tools, you’re still gonna save money compared to taking your car to the shop every time the check engine light comes on. That first repair basically pays for your tools.
Frequently Asked Questions
What are the most common mistakes people make when trying to fix a check engine light?
The biggest mistake I see is people just throwing parts at the problem without actually diagnosing it. They’ll replace oxygen sensors when the real problem is ignition coils, or they’ll buy a new catalytic converter when all they needed was a $50 gas cap. Always scan for codes first and do your research on what that specific code means. Another big one is ignoring a flashing check engine light – that’s serious and can cause major damage if you keep driving. And guys, please tighten your gas cap before you spend money on anything else. You’d be surprised how many people skip that simple check.
How can I tell if my catalytic converter needs replacing?
So here’s the deal with catalytic converters – if you’re getting a P0420 or P0430 code, don’t assume it’s the converter right away. First, check your oxygen sensors because a bad O2 sensor will throw that same code. Look for exhaust leaks too. You want to test the oxygen sensor readings with a scan tool that shows live data – if the upstream and downstream sensors are reading exactly the same, then yeah, your converter probably isn’t working. You might also notice a rotten egg smell or loss of power. But seriously, rule out the cheaper stuff first. Catalytic converters run $200 to $1,200 depending on your vehicle, so you don’t want to replace one unless you’re absolutely sure that’s the problem. According to diagnostic experts, many “bad converter” codes are actually caused by other issues.
What tools do I need to diagnose a check engine light issue myself?
At minimum, you need an OBD-II code reader – that’s non-negotiable. You can get a basic one for $20-30 that just reads and clears codes, and honestly that’s enough for most DIY guys. If you want to get more serious about it, step up to a scanner that shows live data for around $100-300. Beyond that, grab a basic socket set with spark plug sockets, a torque wrench for proper installation, screwdrivers, and pliers. A multimeter is super helpful if you’re testing sensors and electrical stuff. And don’t forget safety glasses and gloves. If you’re really gonna dig into diagnostics, a smoke machine helps find vacuum leaks, but that’s more advanced. Start with the code reader though – that one tool will save you so much money and headache.
How often should I replace my oxygen sensor?
Oxygen sensors don’t really have a set replacement interval like oil changes. Basically, you replace them when they fail. That said, they typically last anywhere from 60,000 to 100,000 miles, sometimes longer. You’ll know it’s time when you get codes like P0135, P0141, or P0155, or if you notice poor fuel economy and rough running. The upstream sensors (before the catalytic converter) tend to fail more often than the downstream ones. If you’ve got high mileage and you’re getting oxygen sensor codes, it’s probably time. They run about $50-150 each for decent quality brands like Bosch or Denso. And look, if one fails at high mileage, you might want to consider replacing them in pairs since the others are probably not far behind.
What are the signs that my ignition coils are failing?
Alright, so failing ignition coils usually give you some pretty obvious symptoms. The most common is a misfire – you’ll feel the engine running rough, especially at idle. You might get a P0300 code for random misfire or P0301-P0306 telling you which cylinder is misfiring. The engine might hesitate or stumble when you accelerate. You could notice poor fuel economy or even smell raw fuel from the exhaust. Sometimes you’ll see the check engine light flashing, which means severe misfire. If you pull the coil off and inspect it, look for cracks, carbon tracking, or oil contamination. The thing is, ignition coils don’t always fail completely – they can break down under load, so the car might run fine at idle but misfire under acceleration. They’re pretty easy to diagnose by swapping coils between cylinders and seeing if the misfire moves with it. If you’re experiencing any of these symptoms along with reduced engine power, check out my guide on reduced engine power codes for more help.
Alright guys, so bottom line – a check engine light doesn’t have to be scary. Get yourself that code reader, do some basic visual inspections, and you can handle probably 90% of these issues yourself. Start with the simple stuff like your gas cap and vacuum lines, scan for codes, and go from there. My YouTube channel has videos covering just about every diagnostic trouble code you’re gonna run into, so make sure you’re subscribed.
And remember, the lower the code number, the higher the priority. Fix that first code and a lot of times the others will clear themselves. You got this!
